Photo Manipulation: How To Get Zombified
Want to show off your Halloween spirit without breaking the bank? Well, have I got the perfect way for you to do that. All you'll need is a photo and the BeFunky Photo Editor to help zombify your photos. I guarantee your friends and family members will scream after seeing the end result, so let's get started on this ghoulish journey!
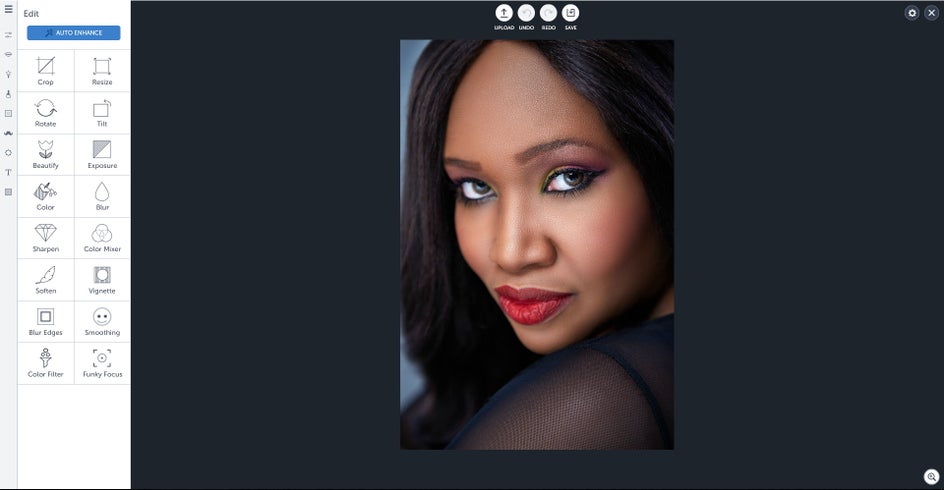
First, choose a photo you would like to zombify. I used a lovely stock photo from our friends at Pixabay.

I know you're wondering how in the world are you going to turn this beautiful photo into a zombie photo?, but just you wait and see. Upload your photo into the BeFunky Photo Editor:
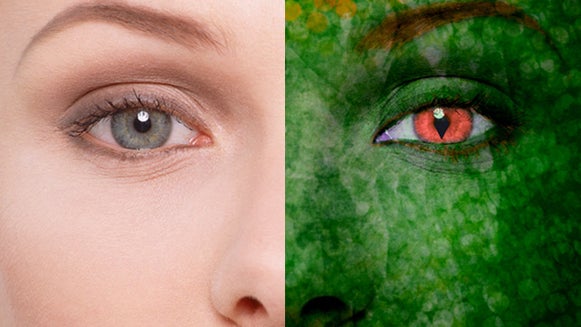
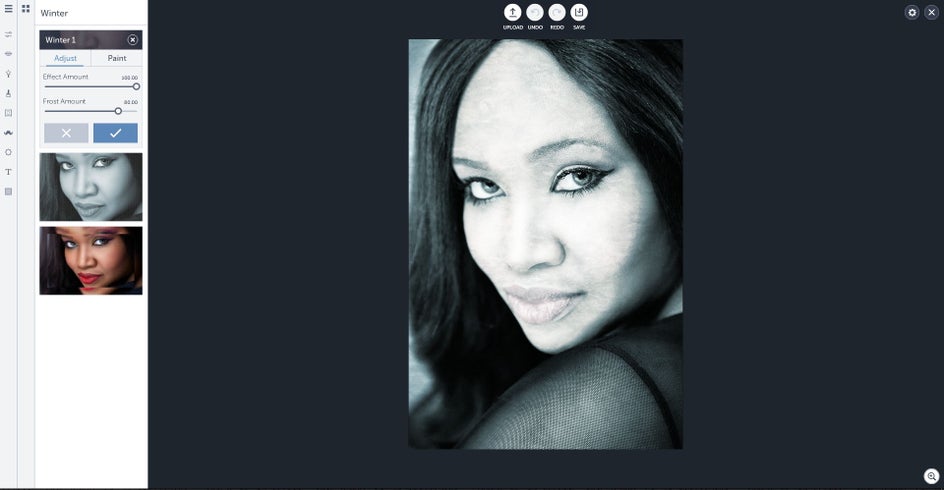
The first thing you'll want to do is change the look and texture of your skin. Zombies are known for their pale and pasty skin, and to achieve that look, you're going to go to the Effect panel, click on Winter, and select Winter 1 and move the sliders to your liking.
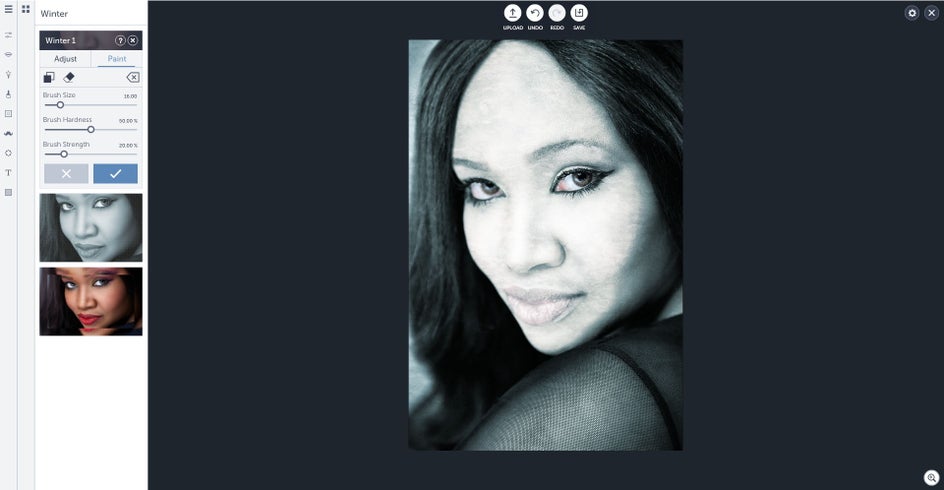
Your photo should look cold and zombie-ish now. If you don't want every part of your photo to have that look, then feel free to erase those parts. I decided to erase the eye areas in my photo.
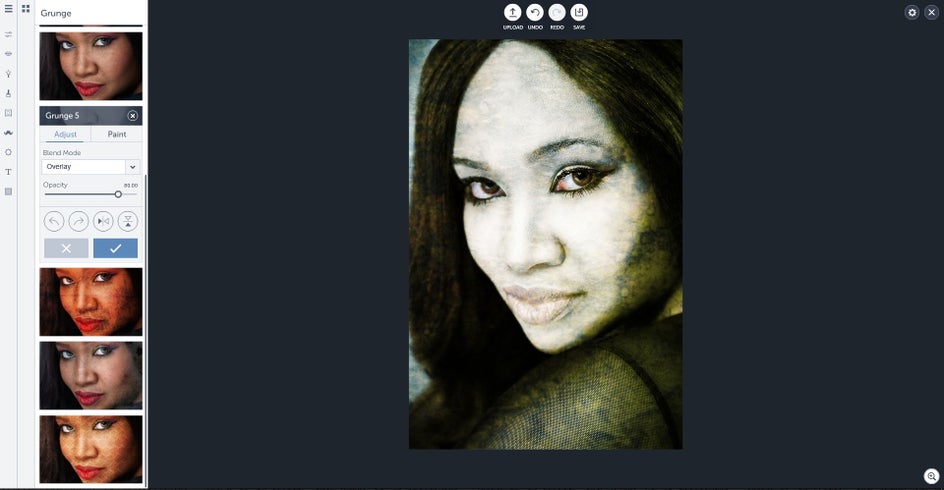
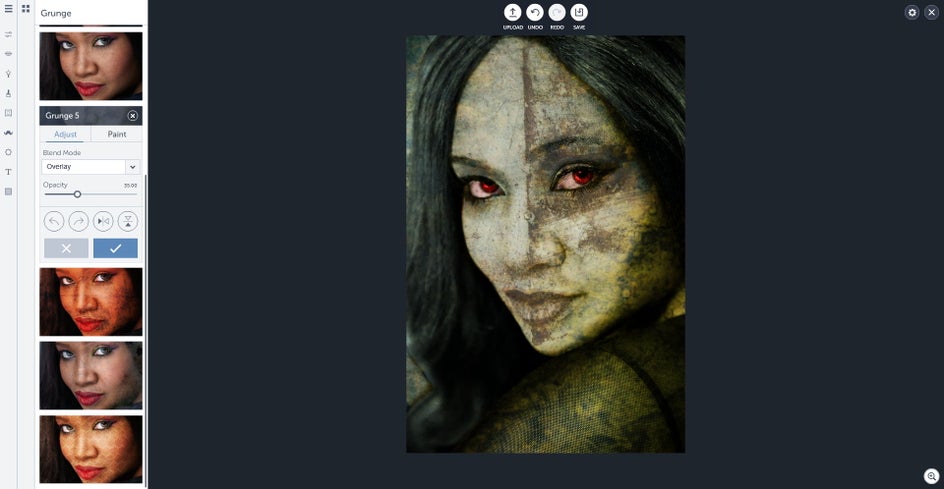
To make your zombie look like it was once human, you're going to add some character to the skin. I wanted the woman's skin in the photo to look a little jaundiced so that her skin was so paper thin that you could see the dry blood vessels underneath. I also wanted her skin to look like she was a half zombie and half monstrous creature of the night. To achieve that look, you're going to go to the Textures panel, click on Grunge, select Grunge 5 and adjust.
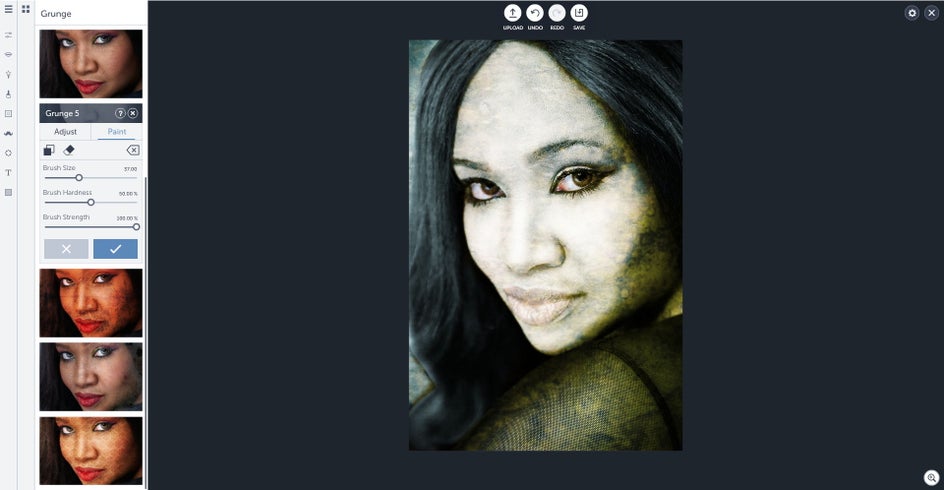
The grunge texture is going to leave a yellowish tint on some areas of your photo, so you're going to erase the areas you don't want the tint to be. I erased the tint from the woman's hair.
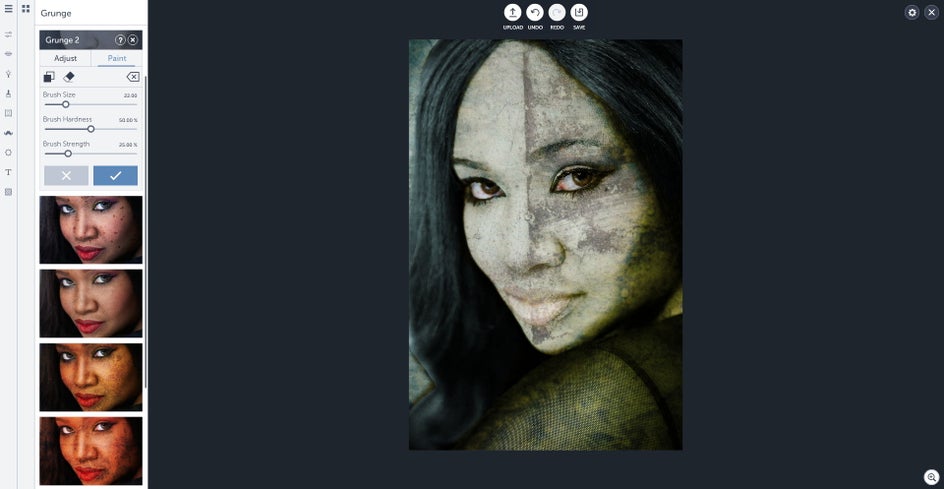
In this next step, I wanted to make the woman look like she rose from the dead and has been rambling through cemeteries and battling zombie hunters for ages. To create that effect, I knew I had to use a texture that would give the woman's face some serious distress. I went to the Textures panel, clicked on Grunge, and selected Grunge 2 and bam my zombie with cosmetic issues was born.

If the Grunge 2 texture gives you a little too much grunge in some areas, then feel free to erase those areas. I changed the brush strength on my eraser and erased some grunge from the woman's lips.
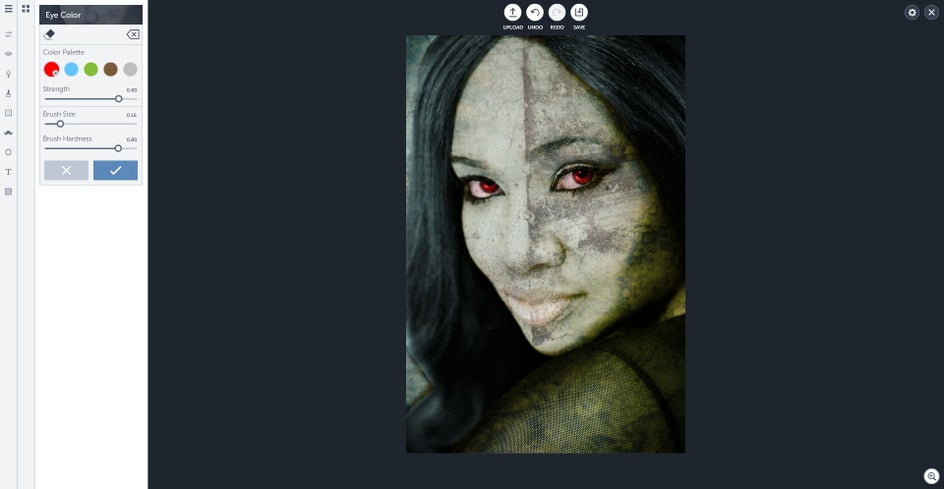
The woman's eyes looked too white for a zombie's eyes, so I went to the Touch Up panel, clicked on Eye Color, selected a light pink color and made sure my brush strength was at 1.00 as I brushed on the light pink color over both eye areas. I thought the light pink on the white areas of the eyes would make it look like the zombie was irritated and hasn't had a good night's sleep since she was dearly departed.

If you want to show that your zombie is even more irritated and that they're not to be messed with, then you may want to change their eye color too. I went back to the Touch Up panel, clicked on Eye Color, and selected red and painted the woman's irises. I wouldn't want to see her coming down a dark alley with these steely red eyes.
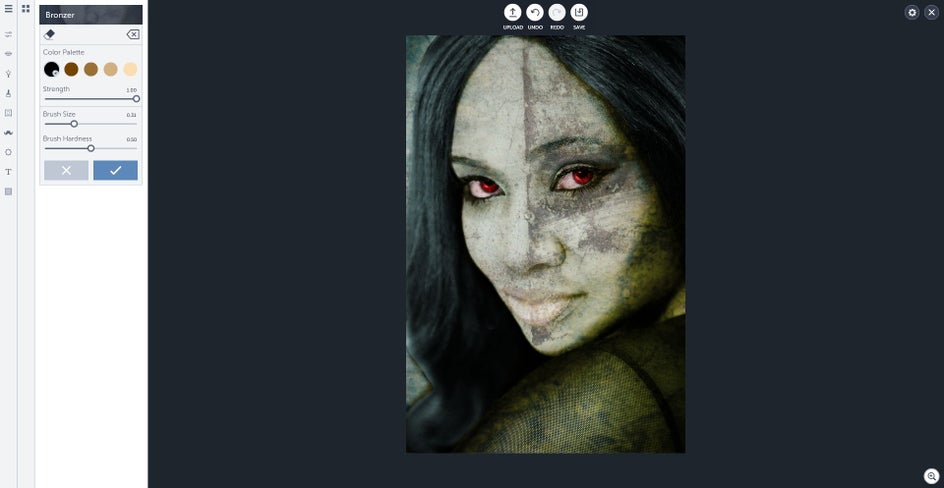
Every zombie I have seen looks really exhausted and always have dark rings around their eyes, so I decided to add some rings around my zombie's eyes too by going to the Touch Up panel, clicking on Bronzer, and selecting the color black and painting around both of her eyes.
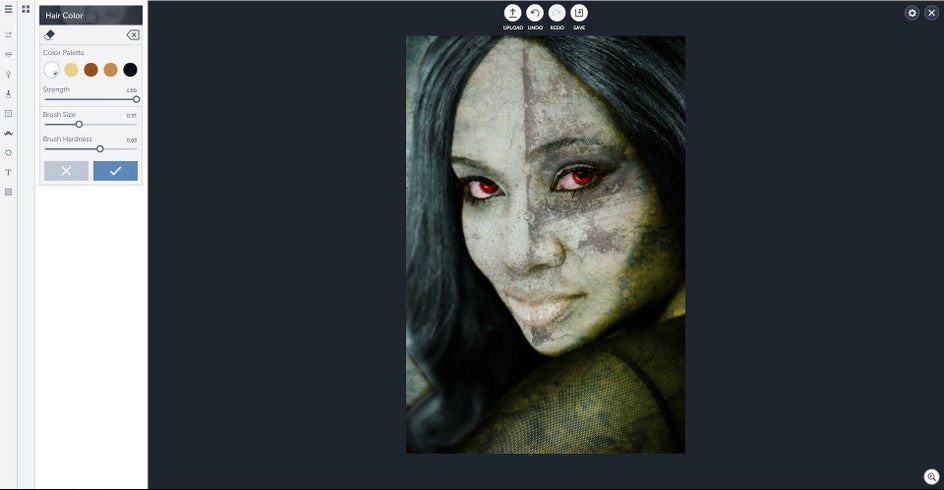
The Winter 1 effect I used earlier in the tutorial to create the base color and texture for the zombie's skin added a much needed aged effect to the zombie's hair. I wanted to add on to that aged effect by adding some more white to her hair, and I did this by going to the Touch Up panel, clicking on Hair Color, and selecting white and brushing the white onto her hair.
Now it's time to focus on your zombie's lips. I wanted to add a little more drama and distress to my zombie's lips by making them a little darker. I went back to the Touch Up panel, clicked on Lipstick, and selected black and made sure my brush strength was set to .50 and colored in her lips. The black lipstick really brought out the grunge and enhanced the level of distress on her lips.

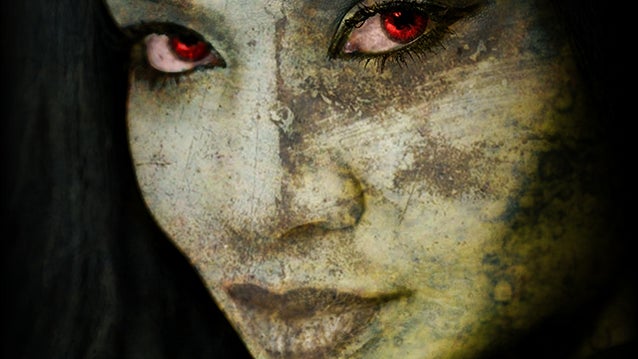
This next step will take your zombie from regular zombie to movie style zombie. You're going to add some more color and texture to your zombie by going to the Textures panel, clicking on Grunge, and selecting Grunge 5 and selecting overlay and moving the opacity slider to your liking. The extra layer of grunge really made my zombie look as if she was going to jump out of my computer screen and chase me and I think it's going to do the same with yours.
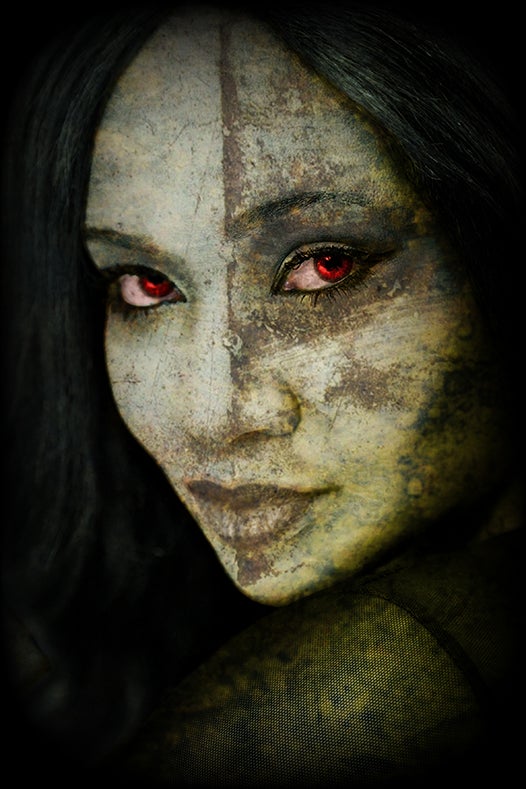
I wanted to add a little more creepiness and mystery to my zombie photo by adding a vignette to it, and I did that by going to the Edit panel and clicking on Vignette. I really love what the vignette did to my zombie photo.

You should now have a zombie photo that'll make your friends and family members scream with delight, but if one thing's for sure, you'll definitely get plenty of Halloween cool points when you show it off on all your social media accounts.
Feeling the Halloween spirit but don't want to jump through all the Halloween hoops? Why not off your Halloween spirit in a photo?