How to Refine Your Pinterest Business Page
Pinterest can be a powerful social media platform for product-based businesses. Its users (Pinners) are comprised of people actively creating curated boards filled with new ideas to try and new things to buy. That means if you’re going to take advantage of all Pinterest has to offer, your branding has to be on point, and we can help with that!
At Befunky, we want to empower you with the tools, training, and resources you need to design Pinterest-specific assets for your business. For Pinterest, that starts with your profile logo and cover photo. Today we’ll show you how to create a cohesive logo and cover photo for your Pinterest business page using our Graphic Designer.
How to Create a Logo for Your Pinterest Profile Photo
If you already have a logo, feel free to skip this part. If not, you’ll want to start by opening the Graphic Designer to follow along. In this tutorial, we will be creating a logo for a local coffee shop. Let’s get started.
Step 1: Start With a Blank Canvas
Once you’re in Graphic Designer, click the Blank Canvas tab to start your design. The standard size for Pinterest’s profile image is 1 x 1 square, which is then cropped into a circle. We’ll choose the 1080 x 1080 Instagram Post template.

Next, you’ll want to determine whether you’ll want a colored background for your logo or not. If you’re sticking with a white background, feel free to skip this step. To add color to your background, click the Customize tab in the icon menu on the left, followed by the first color tile under the Background Color section, then select your desired color.

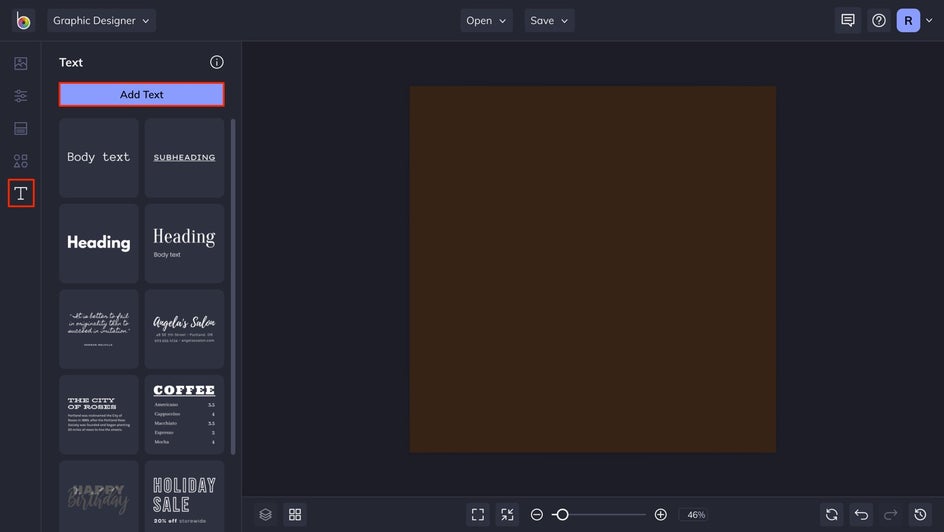
Step 2: Add Text
Now it’s time to add text to build the base of our logo. Start by clicking on the Text tab, followed by the blue Add Text button to add a textbox to your canvas. You can also select from our custom text presets, or upload branded fonts.
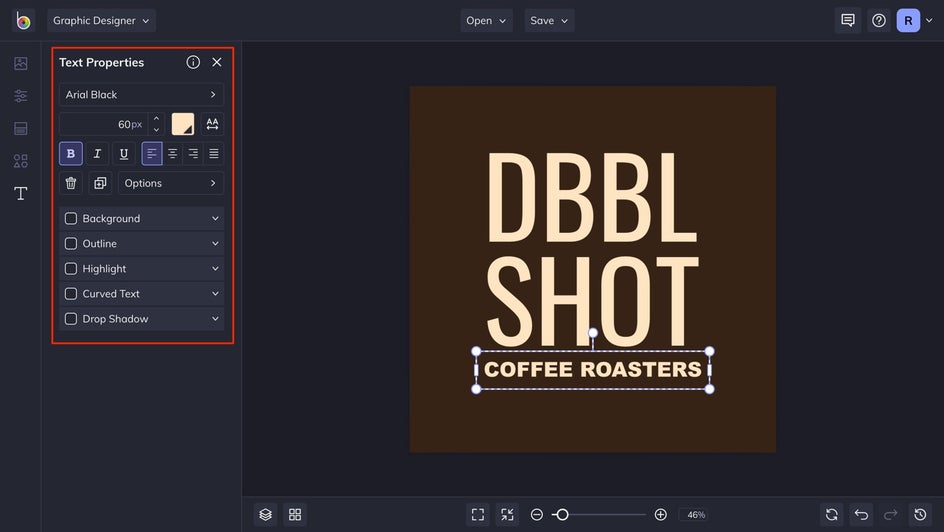
Once you’ve added a text box to your canvas, it’s time to customize your text. Start by clicking on the textbox to open the Text Properties tab. From here, you can customize the font style, size, color, or add effects to your text, such as Drop Shadow or Curved Text. Once you’ve made your desired customizations, it’s time to move on to the next step.
Step 3: Add Graphics
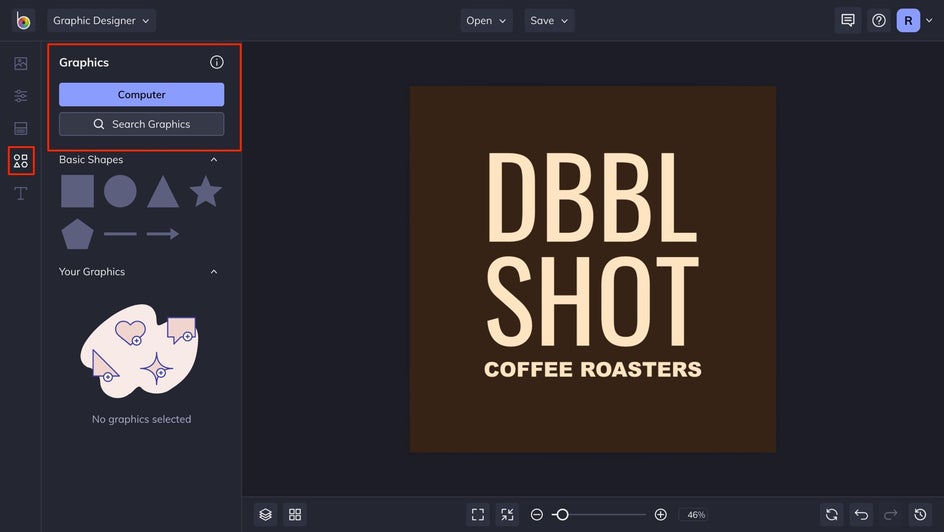
Now it’s time to put the cherry on top by adding a graphic to our text-only logo. You’ll need to be creative here, so take some time to experiment with different placements. To choose a graphic from our collection, click the Graphics tab in the menu, followed by Search Graphics, or click Computer to upload your own design elements. Be mindful to choose graphics that accentuate or emphasize your brand’s values and messaging.
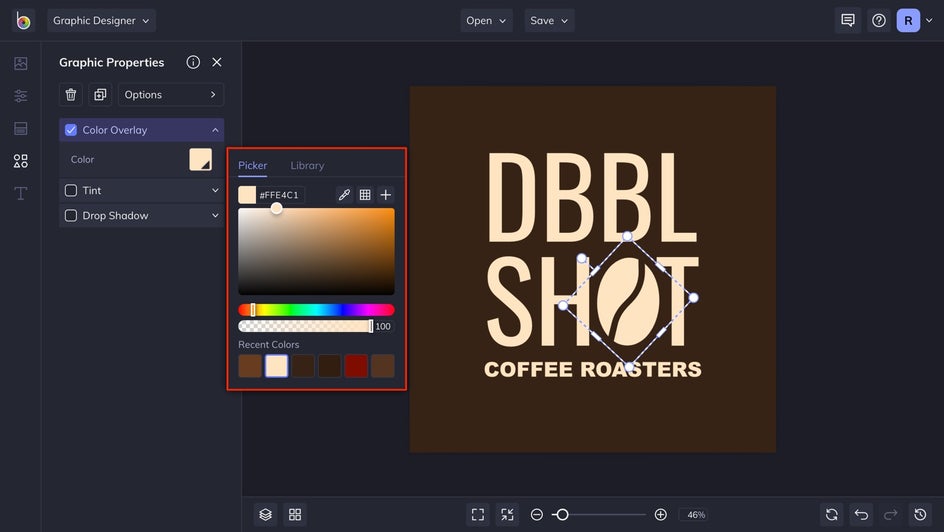
After selecting a graphic, you customize your design in the Graphic Properties toolbar. Add color to your graphic by clicking the Color Overlay option and entering your brand color hex codes, selecting one of our color presets, or using the Color Picker tool to choose the perfect color.
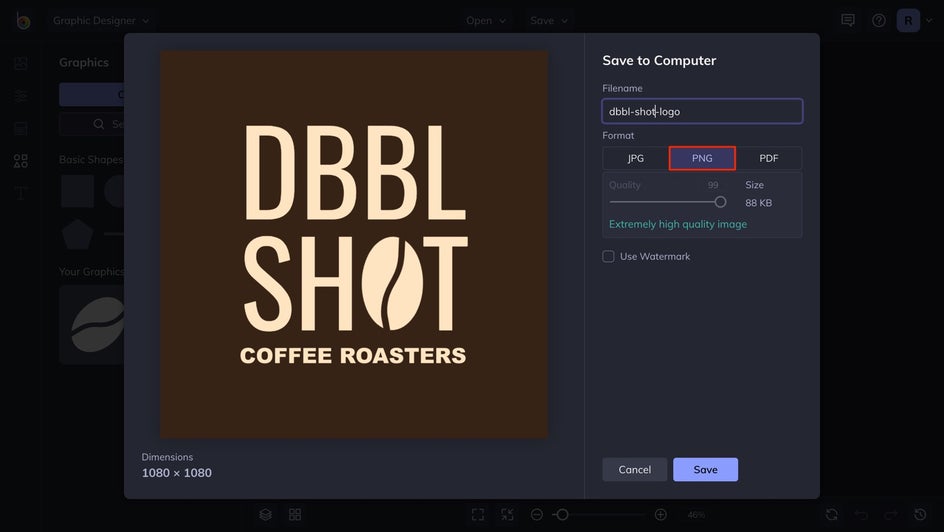
Step 4: Save It
Once you’re satisfied with your logo, save it by clicking the Save button above your canvas, followed by your desired destination. We recommend saving your project to BeFunky for easy editing in the future.
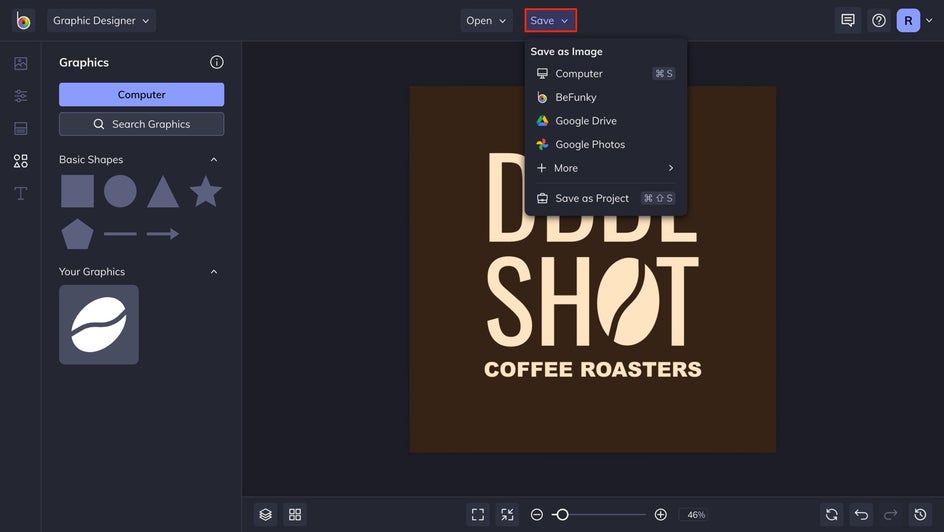
You’ll also want to save your logo to your computer as a high-quality PNG for optimal appearance on Pinterest. With that out of the way, let’s shift our focus to the cover photo!
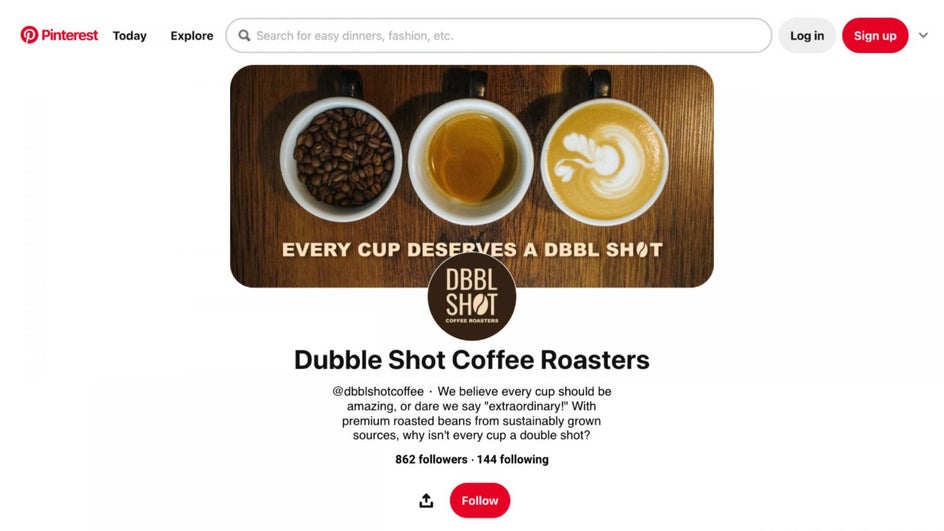
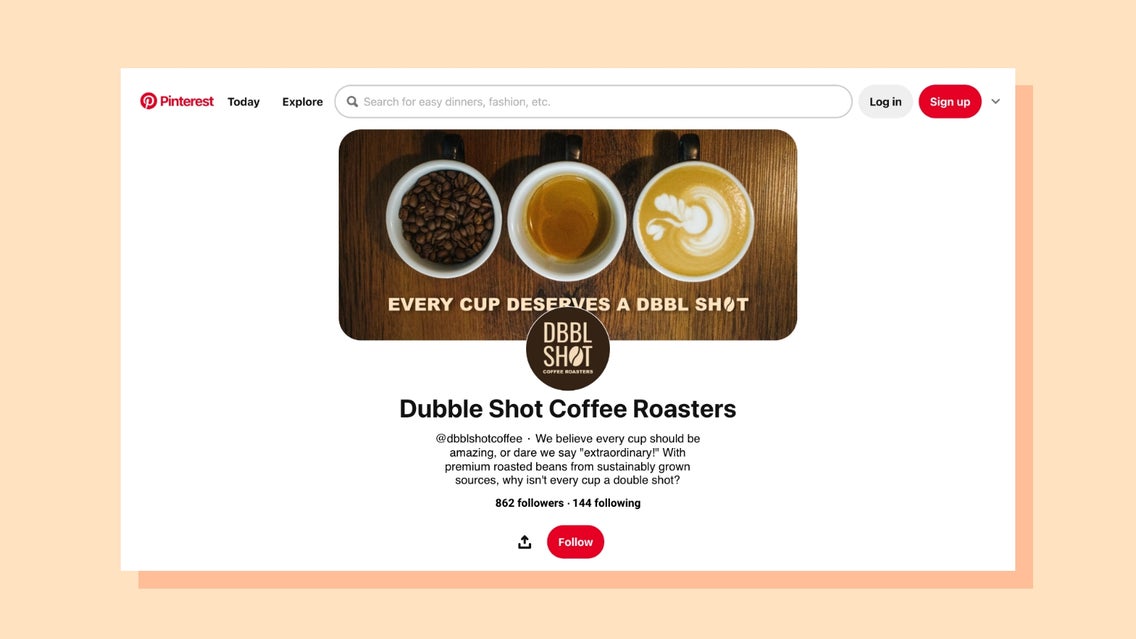
How to Create a Cover Photo to Match Your Logo
This is where we add cohesiveness to our Pinterest business page. Our goal is to design an aesthetic for our cover photo that matches our logo’s look and feel. I’ll show you how below.
Step 1: Start With a Blank Canvas
The ideal size for Pinterest’s cover photo is 1200 x 675 or 16:9 canvas. For this application, we’ll choose BeFunky’s 1920 x 1080 (16:9) presentation template.

Step 2: Design Your Cover Photo
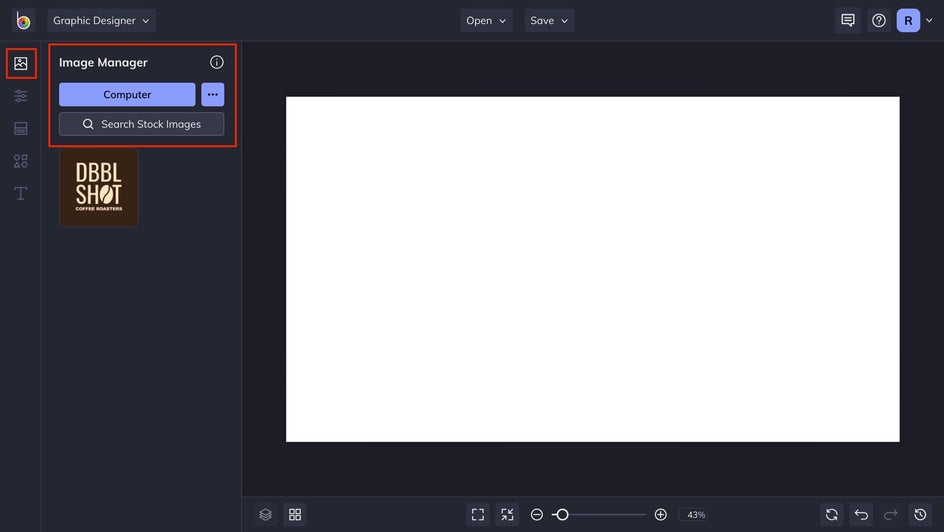
We’ll focus on adding cohesive elements to marry our logo design with our cover photo in this step. Start by clicking on the Image Manager tab, followed by the blue Computer button to upload a brand-related image to your canvas to act as your cover photo’s background. If you prefer to select one of our stock images, click the Search Stock Images option.
Once you’ve added an image, resize it to fill the entire canvas by dragging the blue circles in the corners around your image or by right-clicking on the image, hovering over the Canvas, and clicking Fill Canvas.

Next, add a branded message to layer over your background. To customize the text, click on the textbox to open the Text Properties tab. From here, you can choose from several options ranging from text effects to color. For our purposes, we added a drop shadow and color to our text, using the same color as our logo’s text.
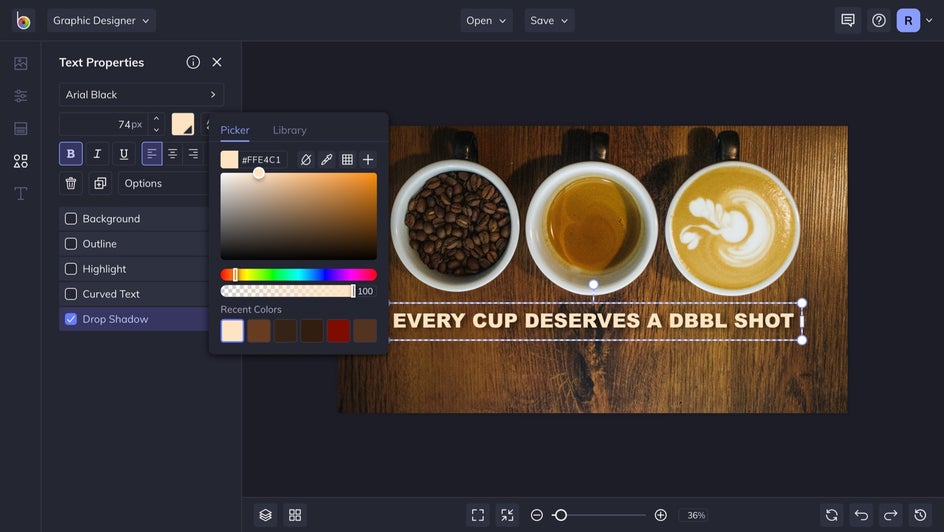
If you prefer to match colors from a predesigned logo, drag and drop your logo onto the canvas and use the Eye Dropper Tool, found in the Color Picker, to get the exact color. Once you're done, save it in the same way you did for the logo!
Create a Cohesive Pinterest Business Profile Page
Pinterest can be a powerful marketing tool for your business, and your branding is at the core of that marketing message. Whether you’re just getting started or want to refresh your profile, BeFunky’s Graphic Designer makes it easy to design a cohesive Pinterest business page. Polish your profile today with BeFunky!