How to Create Viral Pins
Looking to promote yourself or your brand on today’s burgeoning social media scene? With over 450 million active monthly users, Pinterest is definitely worth taking an extensive look at! Pinterest describes itself as the “world’s catalog of ideas”, but offers so much more than just images and inspiration.
The one caveat is there are billions of Pins already on the platform, so it can be extremely difficult to stand out from the crowd. If you wish to utilize the awesome powers of Pinterest, then you must learn the secrets to create eye-catching Pins, deserving of a click-through.
Thankfully, this is where BeFunky’s Graphic Designer and Collage Maker come in handy. These web-based tools can help you easily create viral Pins in just five minutes with a few clicks of your mouse. Continue reading as we reveal how to create a viral-worthy Pin, as well as useful tips and tricks to achieve Pinterest stardom!
How to Design a Single Image Pin
If you want to show off a single image to draw attention, here's the best way to create a single image Pin. Since we don't need a grid here, let's open the Graphic Designer.
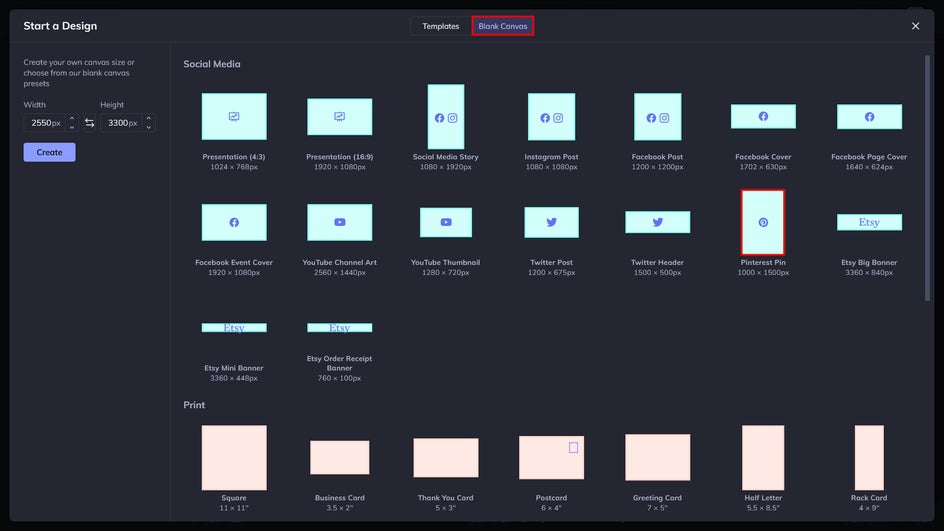
Step 1: Select Your Template
If you clicked on the link above, you will automatically be brought to the Templates section. From here, head to Blank Canvas and click on Pinterest Pin. Similarly, you can choose a predesigned template and edit to your liking. But for this tutorial, we'll start from scratch.
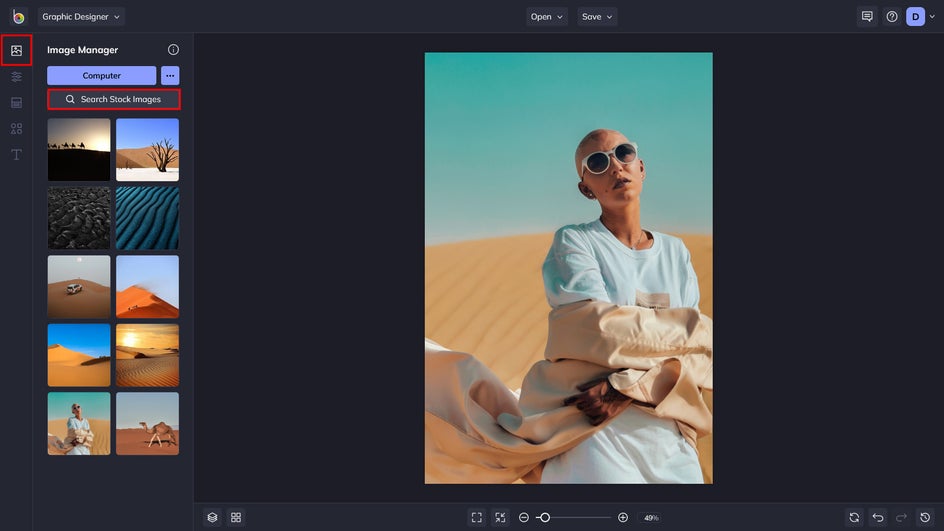
Step 2: Choose Your Image
Next, let's add an image. You can drag and drop an image from your computer, click on the Computer button found in the Image Manager, or use our Search Stock Image function to find the perfect royalty-free image. All images will appear in your Image Manager.
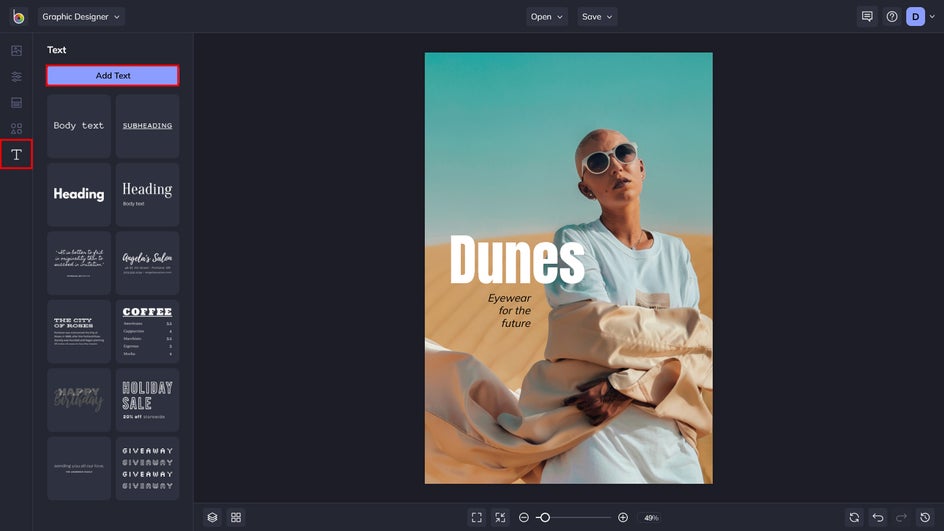
Step 3: Add Your Text
A best practice when creating a Pin is to include text overlay – as big and attractive text will entice viewers as they scroll. Head on over to the Text tab and either choose a preset or arrange your own combination of fonts.
Step 4: Add More Detail
To make your Pin really stand out, why not add some graphics? Simply navigate to the Graphics menu and either add your own from your computer, or utilize our library lines, shapes, symbols, and more.
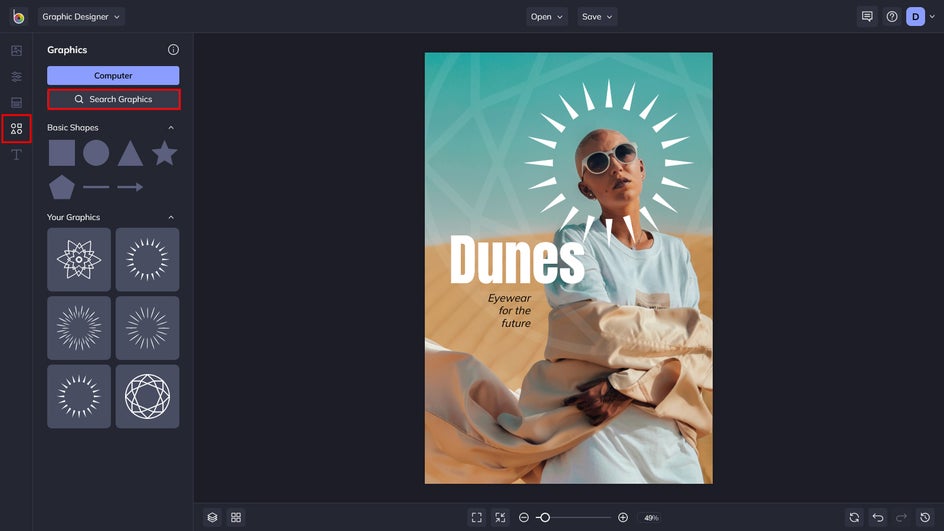
For Pinterest, it's best not to cover up too much of your beautiful image with text and graphics. Use your judgment and add just enough to make your Pin stand out.
Step 5: Save and Share
Once you’re happy with how your Pin looks, you can share it straight to Pinterest by clicking on Save, followed by More, which can be found at the top of the Graphic Designer.
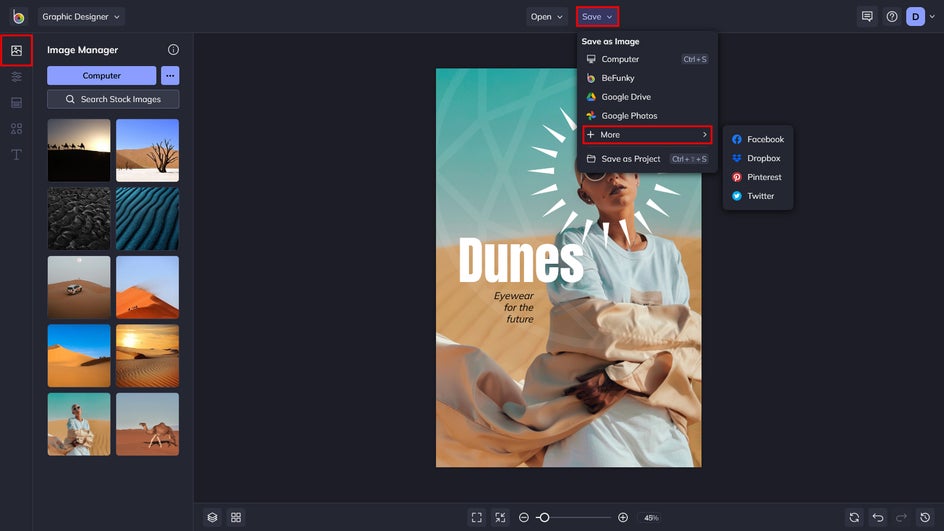
Alternatively, you can save it to a destination such as your computer, Google Drive, or Dropbox via the same Save button, and then upload it to Pinterest manually. Either way works!
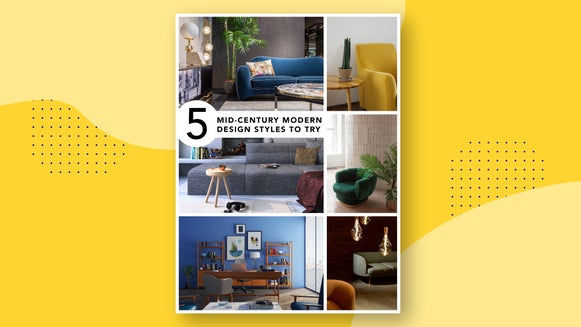
The Final Single Image Pin
And our final result! See how the font and color choices really make the image pop? You're sure to get some attention with a Pin like this.

How to Design a Pin With Multiple Images
If creating a collage-style Pin with multiple images is how you want to present your content, BeFunky has a bunch of layouts that will suit your needs. To start designing, you’ll want to head to the Collage Maker.
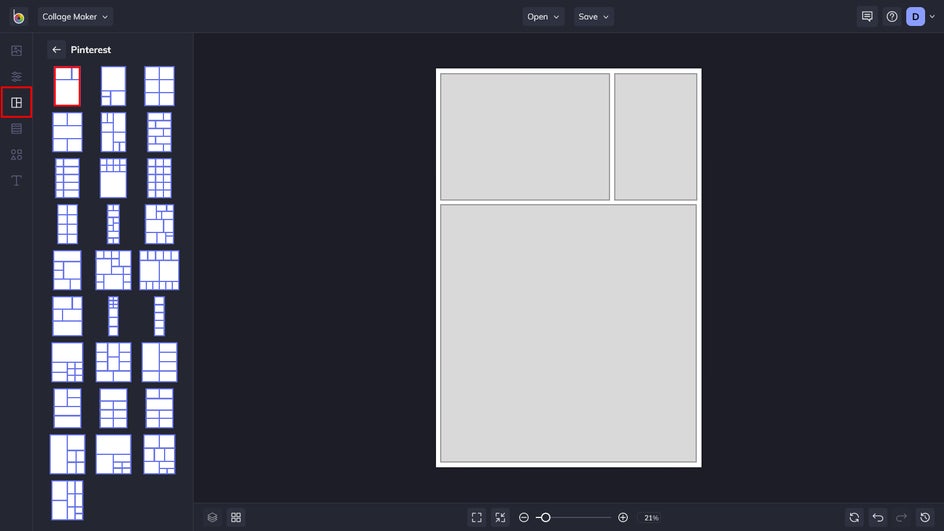
Step 1: Choose Layout
From here, click on the Layouts section in the left-side menu. Then, navigate to the Pinterest category and select a template that takes your fancy!
Step 2: Add Photos
You’ll want to upload your desired images by drag and dropping photos from your computer into each cell, or by using the Image Manager. From the Image Manager, you can upload your photos for easy organization, or make a selection from our Stock Image Library.
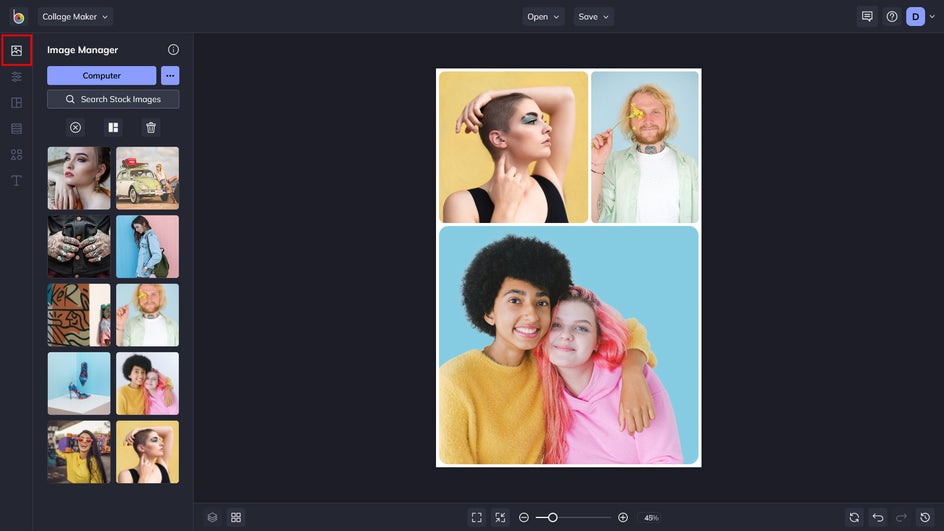
Now you can start dragging and dropping your images into their chosen cells. If you’re not happy with an image’s placement, you can simply drag it into a different cell.
Pro Tip: Want to change the background color of your layout? You can do so by navigating to Customize. From here, you can also edit other features such as Spacing, Corner Rounding, Width, and Height.
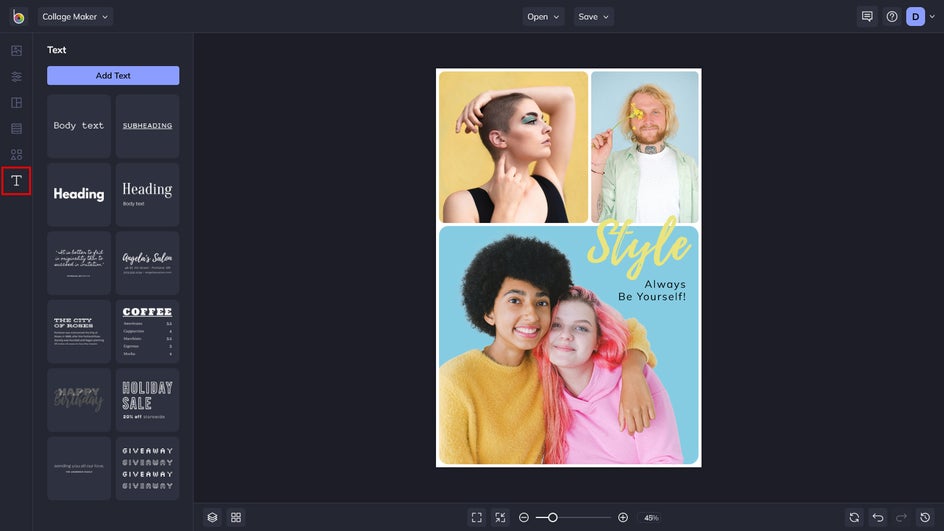
Step 3: Add Text
With your images perfectly in place, it’s time to add a clear and catchy title! You can do this by navigating to Text in the left-side menu. You can either select a text preset from the list and customize it, or click the Add Text button to start your text overlay from scratch.
When you select your text, a Text Properties toolbar appears which allows you to edit the Font Family, Font Size, Spacing, Paragraph, Color, Opacity, and more. Spend some time experimenting with different techniques.
Step 4: Save and Share
Once your Pin is good to go, the final step is to save and share it with the world. These steps are the same as with the single image Pin.
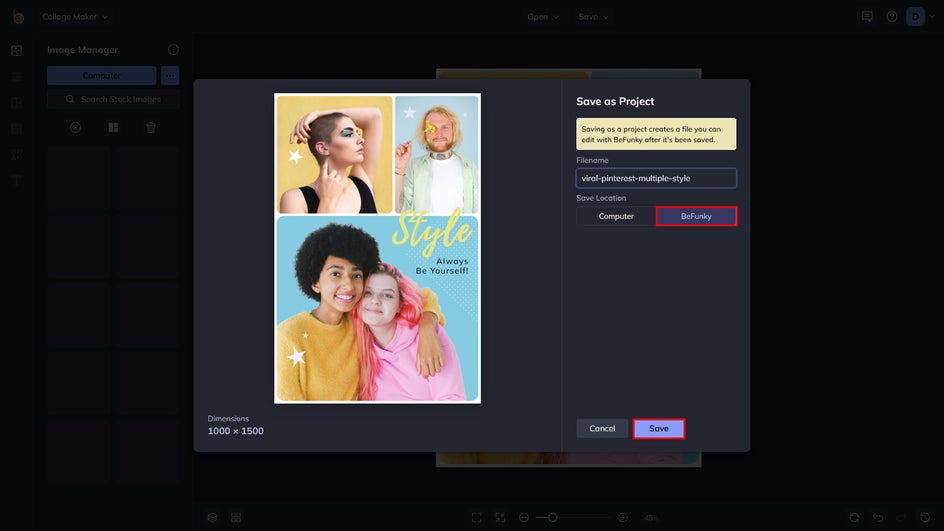
You can choose to share your newly-designed Pin straight to Pinterest by selecting Save, followed by More in the drop-down menu. If you'd rather wait to share it or just want a copy on your computer, click the same Save button and choose your location of choice. You can also save it as a project to continue editing later.
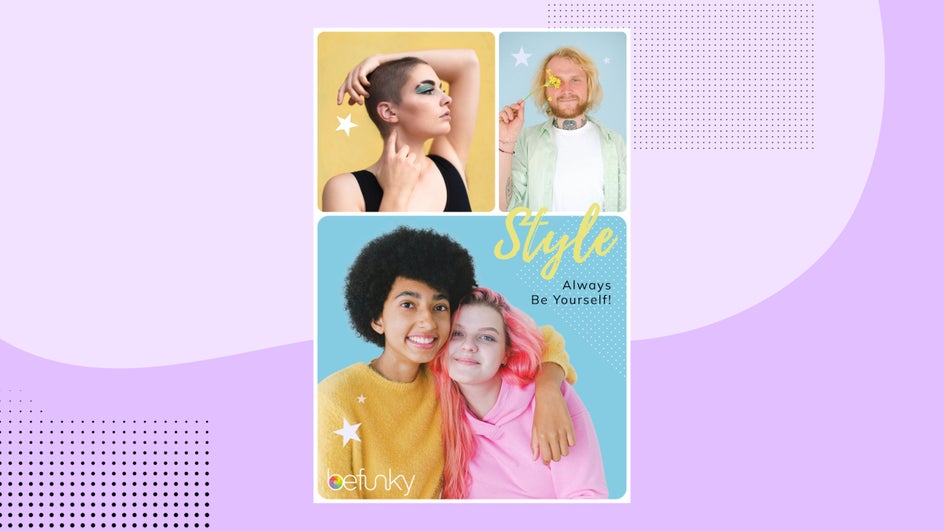
The Final Collage Pin
Now you have the final result of your design work. An attention-grabbing Pin that features high-quality images and fonts. A clickable Pin that will help you amass more followers – who could resist?
Top Four Features of a Viral Pin
What exactly makes Pinterest images go viral? Now that you know how to create a viral Pin, it's time to learn some more about the top features of one. There are precisely four key elements to creating the perfect Pins that beg to be clicked. Let’s go step-by-step through the process:
1. Gorgeous Images
It probably comes as no surprise that bright, crisp, and colorful images work best on Pinterest. After all, you want to instantly grab your viewer’s attention and convince them that your Pin is unique enough to be displayed on their own feed or collection.
Images that are eye-catching are often re-pinned so the viewer can come back to them later, increasing the chances of having them click-through to view your equally-as-beautiful content. So when it comes to creating viral Pins, abandon all dark and blurry photos and embrace vibrant images that pop instead.
The Stock Image Library gives you all the power you need to find specific photos for your projects. Type a search term into the field at the top left of the page. All images have multiple tags to provide you with the most accurate results.
Use the Popular Searches buttons below the search field for quick access to the most searched terms. Click on the selections you want to use to add them to your Image Manager tab on the left.
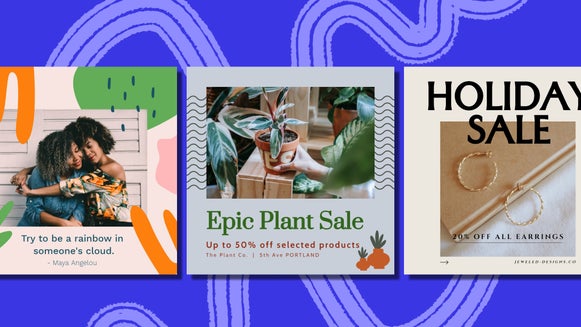
2. Bodacious Fonts
Pinterest users endlessly scroll through posts until something catches their eye. While it can be tempting to simply pin a single photo straight from your blog post, it’s way more effective to create one featuring a clear and outstanding title and subtitle using two complementary fonts. Why is this necessary? Because this instantly identifies to the viewer what your blog post is about and encourages them to click-through and read it. Utilizing multiple, clashing fonts just creates a visual mess, so sticking to two complementary fonts makes your pin both aesthetically pleasing and easy to read.
3. Web Links
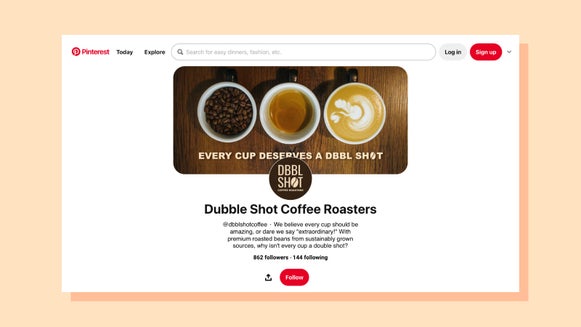
Including a web link on your Pin doesn’t just brand your image, but helps to drive awareness of your website or blog. Eventually, fellow Pinners will begin seeing your name pop up more and more, making you appear as an authoritative source within your chosen niche. It also ensures that Pinners will still know the source of your content, just in case an error occurs and your Pin stops automatically forwarding them to your chosen link.
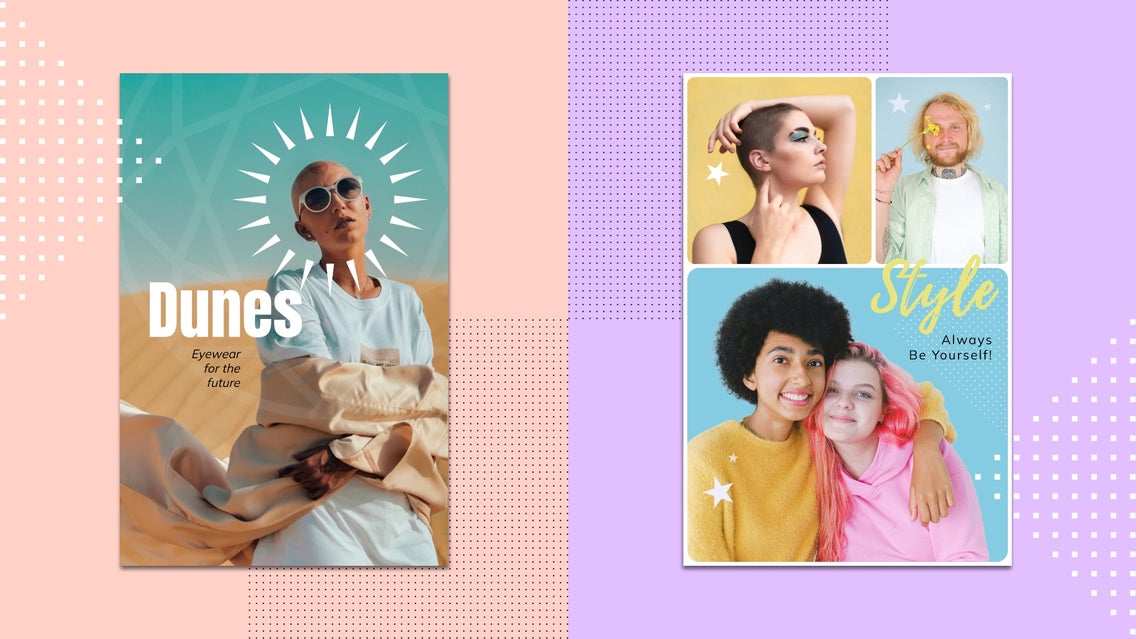
4. Portrait Designs
Pinterest’s grid-like feed makes portrait Pins more eye-catching, as they take up more space than horizontal images. While Pins will appear at just 238 pixels wide when shrunken-down to be viewed in the feed, Pinterest recommends designing your vertical Pins to be 735 pixels wide with a length no larger than 2,061 pixels, as any longer will cut off the image. These dimensions will ensure your Pins still look crisp, clear, and beautiful when presented as thumbnails in the feed.
While one big, vertical image is effective as a Pin, so is a collage of images in a vertical orientation. It just depends on how you want to present your Pin's content. Thankfully, BeFunky has the tools necessary for you to experiment with both of these formats.
Now Get Pinning!
Now that you’ve learned everything to create a viral Pin, including some top features of a successful Pin, it’s time to start posting. Following what was outlined in this article can definitely get you on the path to successfully engage new users. Thanks to BeFunky’s Graphic Designer and Collage Maker, you can create highly successful content to promote yourself or your business on Pinterest.