Product Photography 101: Creating Images That Sell

Setting up your own website, Amazon account, or Etsy shop can be one of the most exciting steps you take as you start to sell your own products or services. You may notice after weeks of having your shop up and running, you’re still not seeing any purchases and you don’t know why! Your product has been well marketed across many channels for your target demographic, it’s set at an affordable price, yet still, no sales are coming in.
If this has happened to you, it may be time to examine how effective your product photography really is. The answer to eCommerce success lies in having clear, stand-out images that showcase the must-have qualities of your product.
According to a study by Weebly, over 75% of eCommerce shoppers say product images are very influential when deciding whether they want to buy a product online. Furthermore, an impressive 63% of consumers said that good product photography is more important than product descriptions. If you’re finding your product images aren’t where you want them to be, now is the time to get them updated! Keep reading to find out how you can create images that sell.
5 Effective Types of Product Photography
Popular eCommerce platforms like Amazon or Etsy allow you to include numerous images in your product’s listing. This gives you an opportunity to showcase your product in a full 360 degrees and let your customer see why they want to add it to their cart ASAP.
Below, we’re going to delve into not one, but five different (yet effective) types of product photography every listing should have. And here’s some more good news – no matter what the shot, BeFunky’s Photo Editor has a little something for editing any style of product photography.
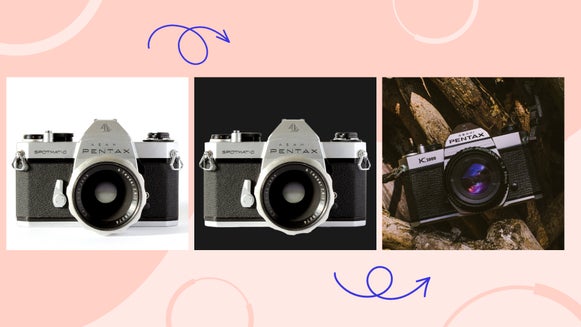
1. The Studio Shot
You know those product images featuring a plain white, colored, or transparent background? These are referred to as studio shots. They show the product in a simple, yet flattering way, without the added distraction of background imagery.
For these types of product photos, BeFunky’s Replace Color tool can help create any background color (including transparent) in just a few clicks!
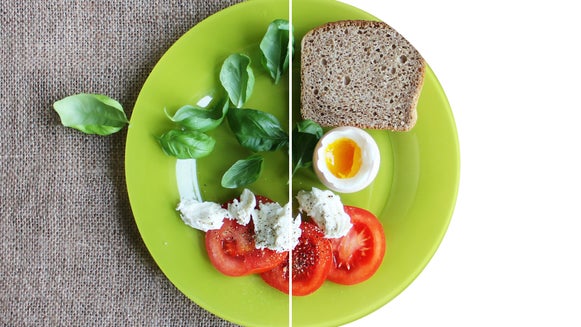
2. The Lifestyle Shot
This product image shows the product being worn or in use, whether using a model or a styled flat lay.

Not only does it provide important examples of how the customer can use the product in their everyday life, but it also gives you a chance to let your company’s branding shine through.
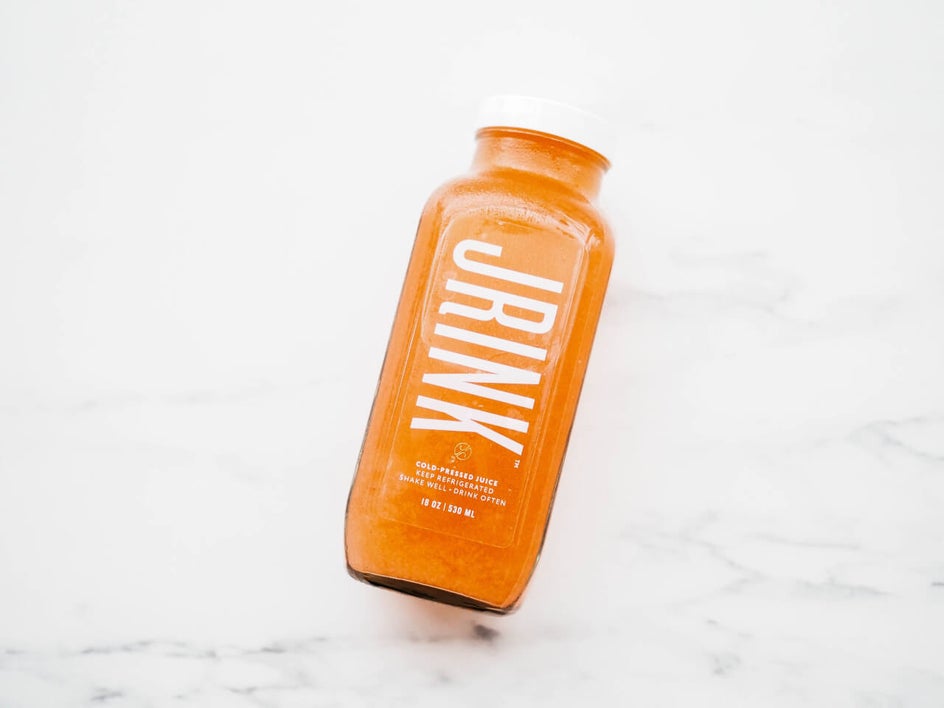
3. The Packaging Shot
Customers like to know exactly what they’ll receive when they purchase your product, and this extends to its packaging too. Keep in mind that we’re not just talking about some bubble wrap here – you’ll actually want to make your packaging as persuasive and beautiful as your product!

Think colored tissue paper, drawstring bags, or stickers featuring your brand’s logo.
4. The Scale Shot
Even though your listing will ask you to include the measurements of your product, it’s a great idea to give your customers a visual representation of its size.
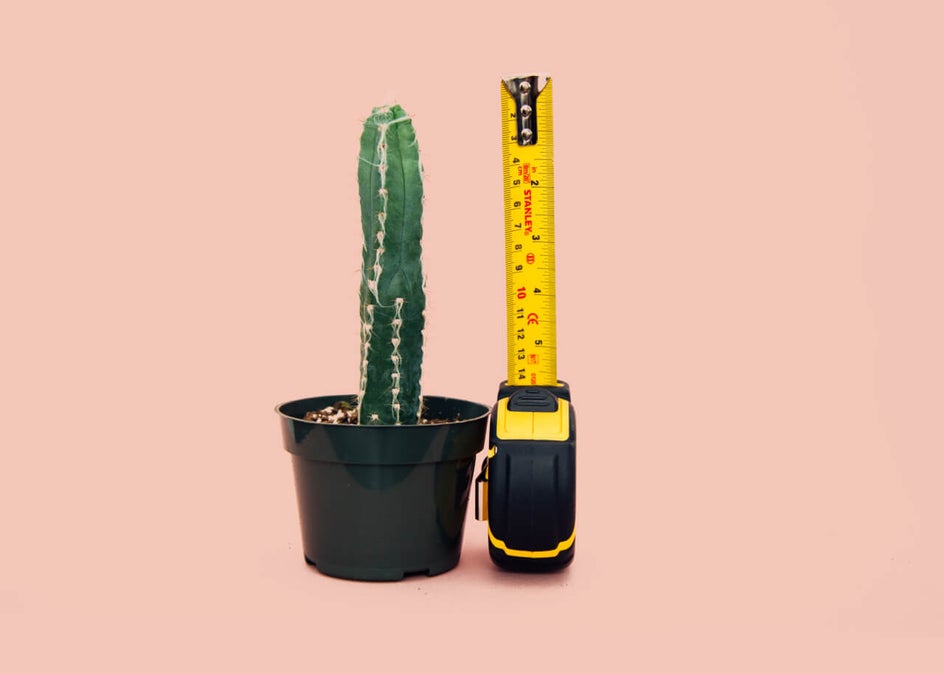
This involves showing the item to scale by using a model or another object (i.e., a coin, smartphone, etc.). Get creative!
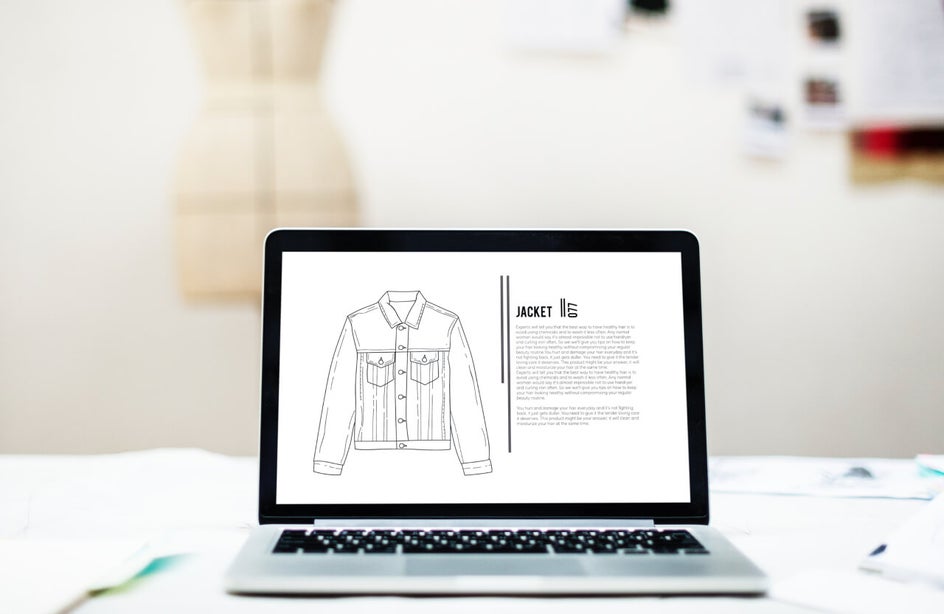
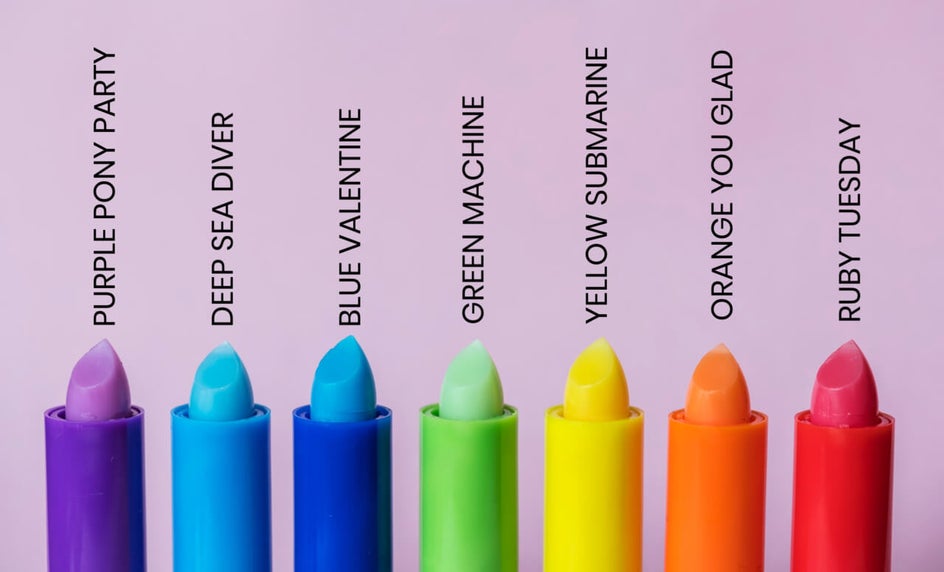
5. The Descriptive Shot
When it comes to product photography, you don’t want to leave anything to your customer’s imagination. This is why it’s best to include as many visual cues about your product as possible, including the various options they have when purchasing, such as product color. BeFunky’s Text Editor can help by adding text to photos for labeling the different options. Too easy!
Remember, due to the online nature of eCommerce sites, customers can’t pick up and hold your item with their own hands (as they would in a bricks-and-mortar shop). This is why product photography is your most powerful and persuasive tool. You want your photos to show them exactly what they’re getting, so they feel totally confident in hitting that ‘Buy Now’ button.
How the BeFunky Photo Editor Can Enhance Your Product Photography
Now that we've learned about the different types of product photography and why it's important to include multiple types in your listings, it's time to show you the tools you need to get those images looking top-notch. BeFunky's Photo Editor offers a huge library of photo-enhancing tools for every kind of photography.
Use the A.I. Image Enhancer to Make Your Photos Pop
BeFunky’s Photo Editor has a plethora of awesome tools to fix any issues you may have had when initially shooting your product photography. Look through your images to make sure they have well-balanced color, have details enhanced, and are clearly focused.
Depending on what you’re starting with, you may use different tools to help your image. However, a good place to start is with the A.I. Image Enhancer. This powerful tool quickly identifies where your images may need help, and automatically applies the results for you in just a few clicks.
Step 1: Upload Your Image and Head to A.I. Image Enhancer
Once your image is uploaded into BeFunky’s Photo Editor, look for the Edit menu and you’ll see the first blue button at the top of the screen is labeled A.I. Image Enhancer.
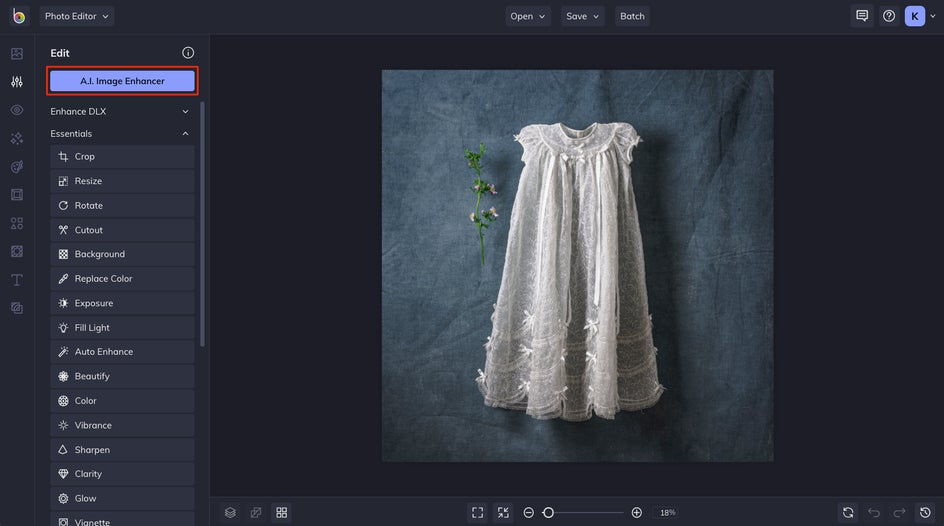
As soon as you click on the A.I. Image Enhancer button, you’ll see a spinning wheel appear as it processes the best results for your specific image.
Step 2: Adjust the Sliders and Apply the Results
Because this tool is automatic, you may find the results are a little too extreme or applied to places in the image you would rather not have it.
Use the Amount slider under Adjust to lessen the enhanced results for a hybrid of your original image and the enhancement.
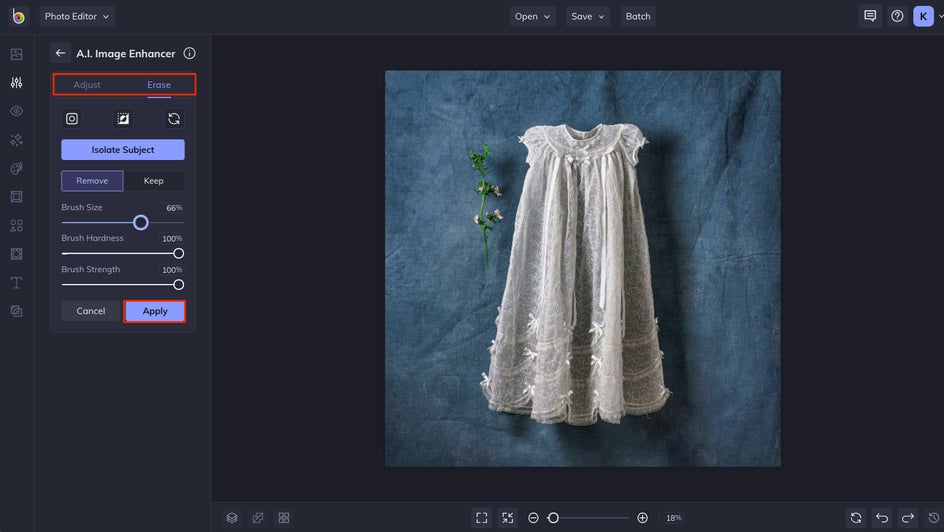
Under the Erase tab, you’ll have access to the full scope of Eraser tools. Use the Remove and Keep buttons as well as the brush options to either add or subtract the enhanced results onto your image.
When you have the results you’re looking for, click Apply to finalize them on your image!
Step 3: Make Further Edits, If Necessary
Under the Edit menu in the Photo Editor, you’ll see a variety of tools available to fix any problem areas you might run into!
If you find the A.I. Image Enhancer wasn’t quite what you’re looking for, or you’re still wanting to focus on specific issues, don’t be afraid to look through the full menu of Essentials under the Edit menu and try them out with your product photography!
Use the Cutout Tool to Quickly Create Transparent Backgrounds
Even if you’re new to the eCommerce game, you’ve probably noticed that popular sites like Amazon require a transparent or fully white background for your product’s featured image. This short tutorial will show you how to quickly remove backgrounds on your product images.
Step 1: Upload Your Image and Head to the Cutout Tool
When you have your image uploaded into BeFunky’s Photo Editor, head over to the Edit menu, then choose Cutout.
One of the first options you’ll see is Remove Background. This advanced tool uses in-house AI to auto-detect the subject and backgrounds of an image and remove the background automatically. It works especially well on images with contrasting subjects and backgrounds.

After clicking Remove Background, you’ll see a preview of your results appear. If you’re happy with them go ahead and click the checkmark to apply them to your image.
Step 2: Make Adjustments to Your Results
If you find the background remover had some sections leftover that you don’t need, or that it went too far and you want to add some of the image back, use the Remove and Keep buttons to adjust the background until you get the results you want.
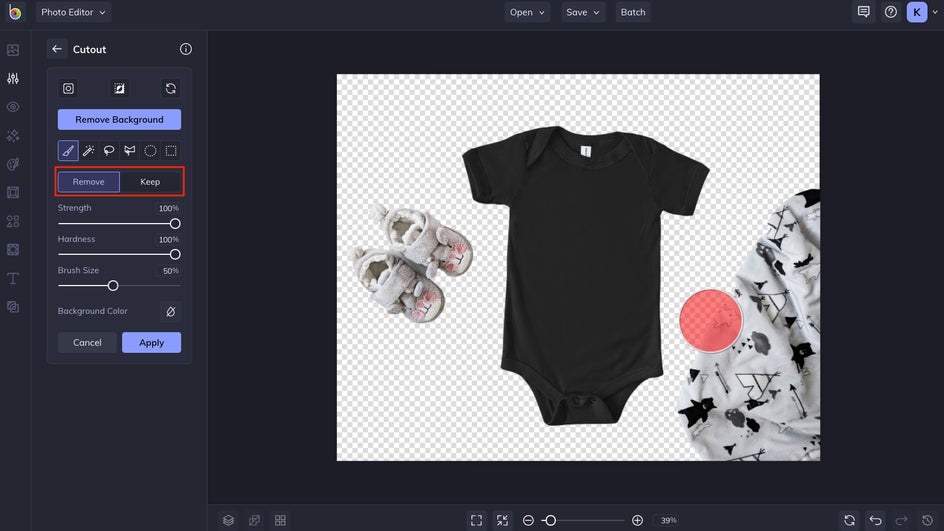
You can use several different brush options and change the strength, hardness, and brush size to make adjustments.
Step 3: Trim Transparency or Add a Solid Colored Background
When you have results how you want, click the Apply button. Here you’ll see options to Trim Transparency around the image, which will cut away excess canvas. You can also choose to Export as Layer, which will save this cutout as another image layer in your Image Manager.

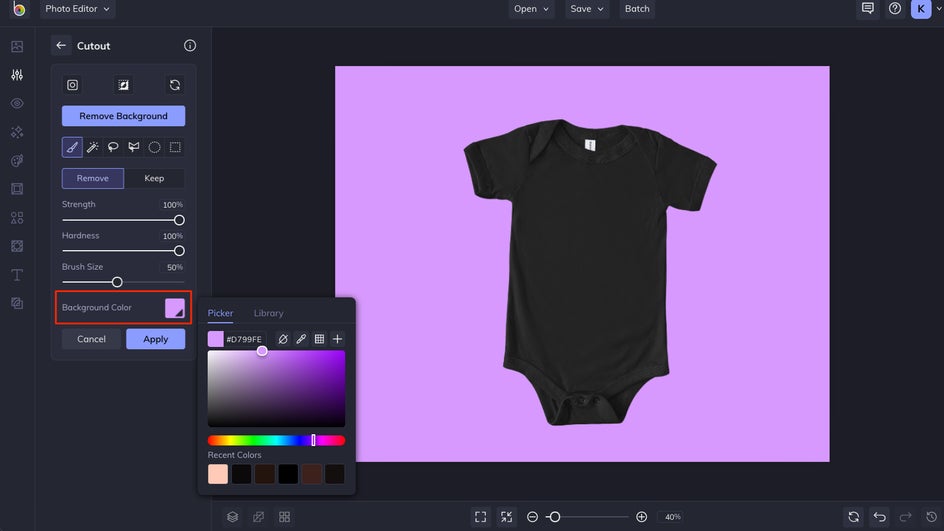
Transparent backgrounds aren’t the only option you have for making stand out product photography! Some sellers may want their images to pop on a solid colored background, giving the product center stage while still promoting a specific look.
Instead of clicking Apply after removing the background, click the Background Color button at the bottom of the Cutout menu. You can still save it as a layer once it's applied!
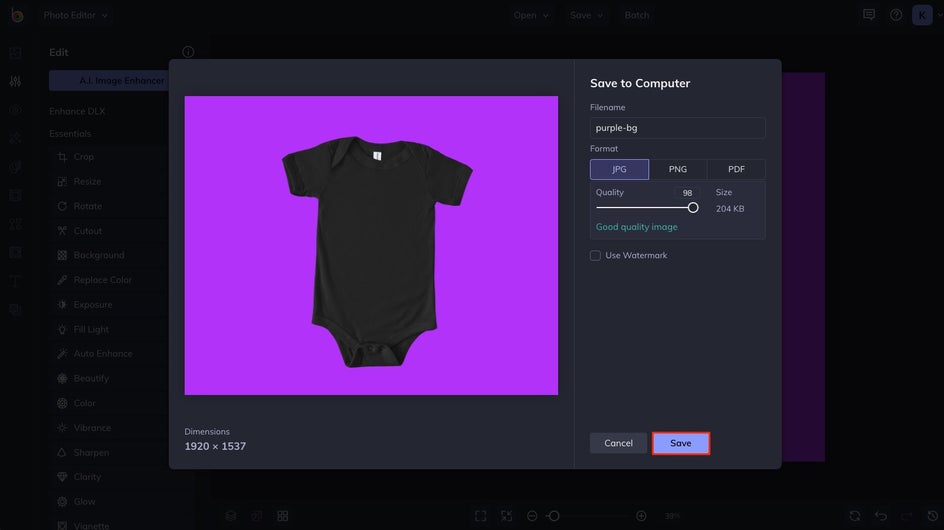
Step 4: Save Your Image
The final step is to save your image as a layer or to the location of choice. If you choose to save it to your computer, we suggest doing so as a PNG to make sure the transparency aspect is preserved for use online. This ensures that your image can be placed against any website background color or texture without an unsightly white box surrounding it.
When your presented with the Cutout Options menu, as we saw in the step above, simply check the Export as Layer button to save it to your Image Manager. You can also click the Save button found at the top of your canvas.
Create Stand-Out Product Photography With BeFunky’s Editing Tools
Whether you’re removing backgrounds, using essential editing tools, auto-enhancing with A.I., or crafting a brand new image from your original shoot, BeFunky’s vast amount of editing tools will get your product photos looking picture-perfect.
When it comes to product photography, the sky is your limit, so don’t feel restricted to just the 5 most common styles we’ve discussed today. Try out our Background Remover and upload an image to create professional-looking product photography that represents your brand.