Common Indoor Photography Problems and How to Fix Them
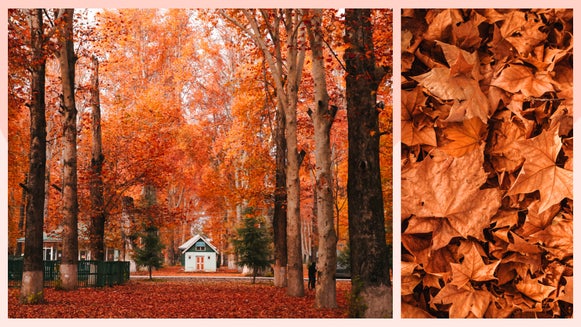
Whether it's for a special event or a creative project, it's important to account for weather and light conditions when taking indoor photography. But rain or shine, you have some photos to take. Although we cannot control mother nature’s showers surrounding our events, we can change how we photograph and edit them!
Top 3 Indoor Photo Problems and How to Fix Them
Usually, the solution is to move indoors to avoid the rain. But in doing so, your images may need some editing post-shoot. BeFunky has identified three areas where you might run into problems and solutions of how to fix them with the Photo Editor!
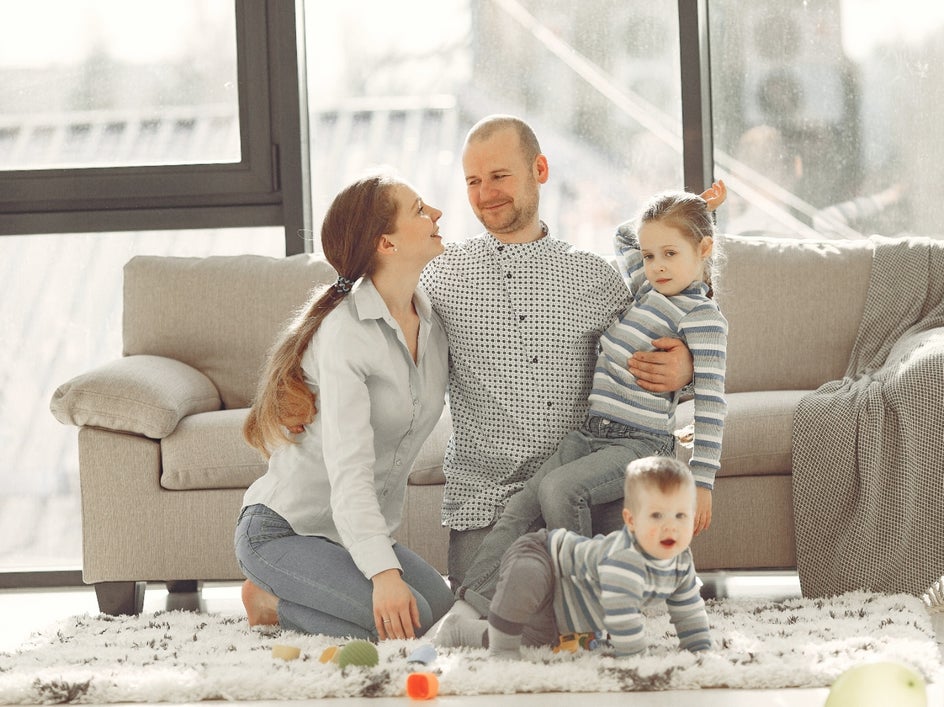
Problem 1: Distracting Backgrounds
Taking photos indoors presents the difficulty of backgrounds that are not so friendly! With lots of distracting items in backgrounds, it can make the viewer not focus on the main subject in the photo and get lost in the details that are not important.
Solution: Clone Tool
BeFunky has an awesome solution to unsightly issues in the background with the Clone tool! Located in the Touch Up tab, the Clone tool is perfect to disguise any background distractions. From unsightly cords to hanging photos you just don’t want the attention on. It is as easy as two clicks to rid your photo of background imperfections, simply click to select your Source Selection, and then use the brush to apply the surface of the source to the unsightly object.
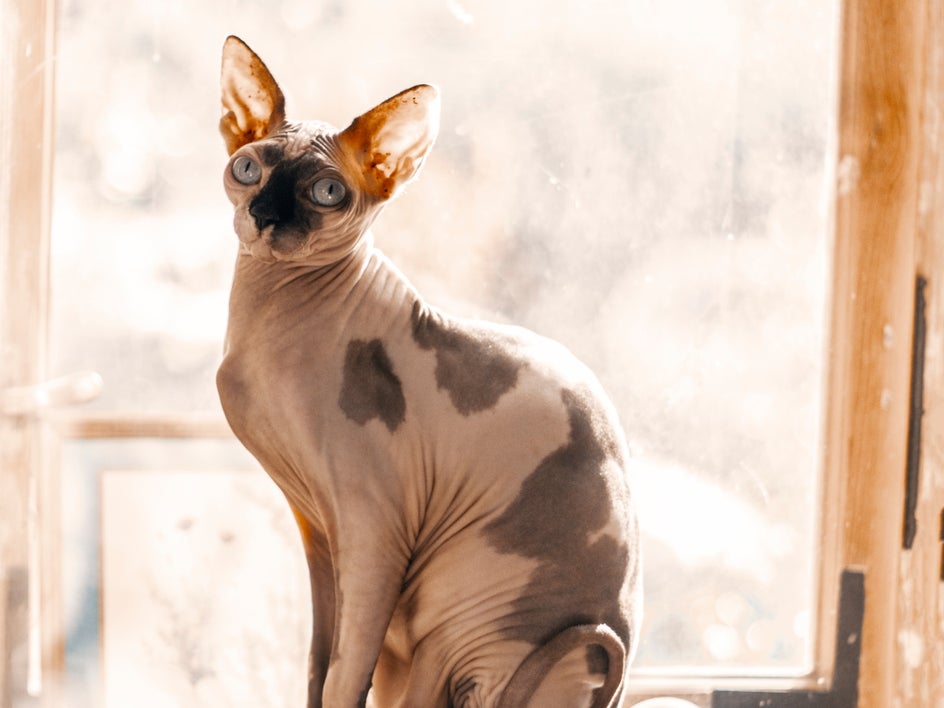

Problem 2: Poor Lighting
Rainy days pose their own problem in the way of lighting for your indoor photos, the dark hazy sky doesn’t give off the best-diffused light through windows. Although you should try and use the lighting you have, sometimes it just isn’t bright enough!
Solution: Exposure Tool
A great solution to poor lighting is the Exposure tool, found under the Edit Tab. This is a really easy way to adjust the lighting so that you can achieve the perfect look without fussing with lighting at the moment. Snap the best photo, and adjust after. Using the Brightness slider allows you to correct poorly lit scenes, while the Contrast slider accentuates tones, but playing around with every Exposure slider will give you the best results.

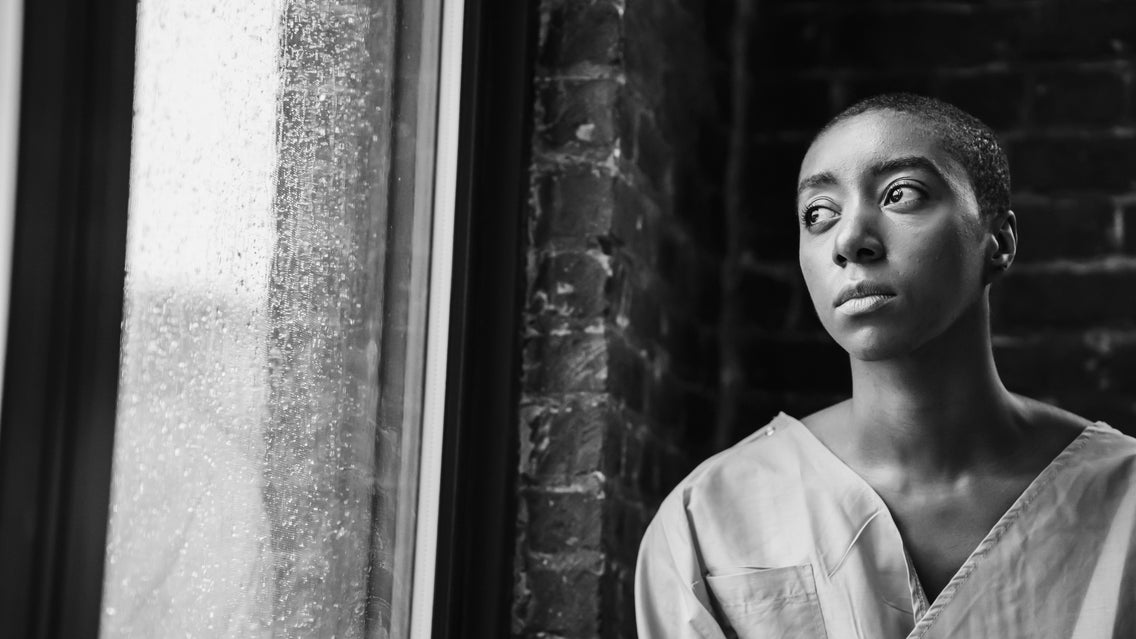
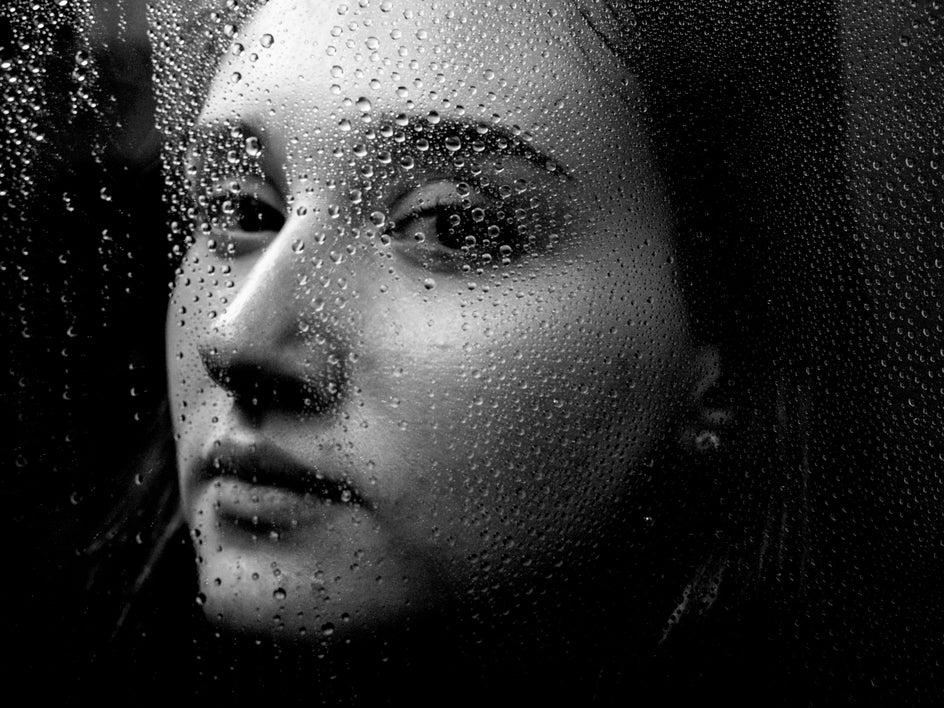
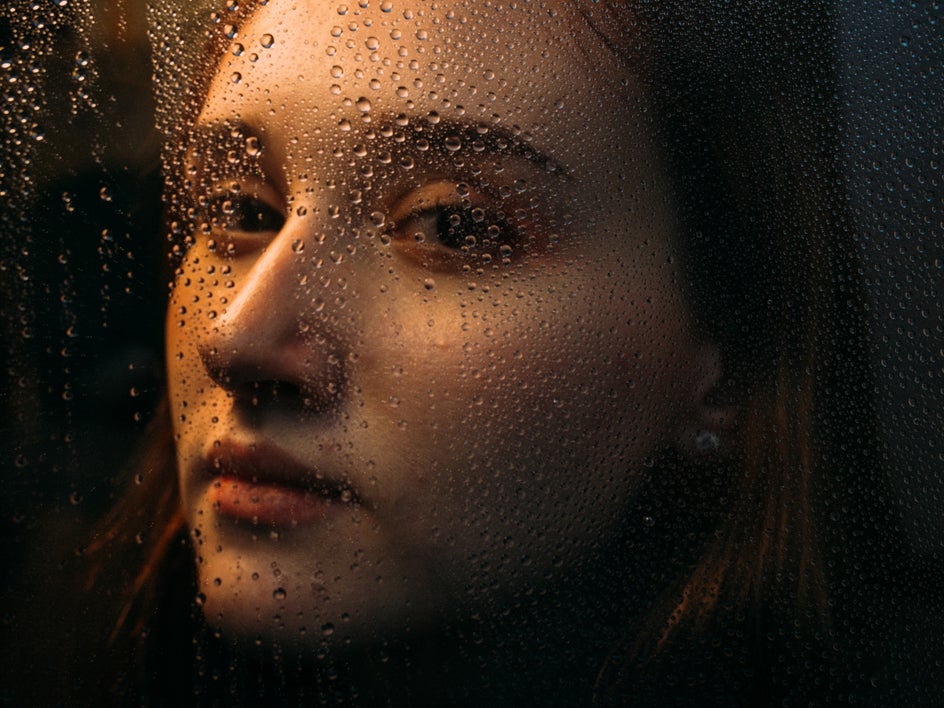
Problem 3: Strange Hues
Occasionally, indoor photos can capture strange hues in images and there isn’t much you can do to change it. It comes with the territory of poor lighting, and different objects inside that are diffusing colors in a weird way. Sometimes, poor lighting leads to blotches of diffused color that make objects look muted or cause unwanted colors to refract onto your subject.
Solution: B&W Tones Effect
When in doubt about the colors, you can always try a black and white filter with the B&W Tones that is located under the Effects tab. With so many to choose from, there will be something that will compliment your photo nicely and create a nice contrast.
Don't Let the Rain Ruin Your Photography
Now you don’t have to waste away a rainy day when you could snap some awesome photos! These simple solutions to normal problem areas of rainy day photography are a breeze. Long gone are the days where rain meant poor images, BeFunky has the tools to help you keep making rainy day memories. Get started making adjustments to your photos today.