How to Retouch Photos With the Reshape Tool
Reshaping tools have been used on models and people in magazines for decades. Although they can also be used to distort subjects into comical shapes, they are normally used to fine-tune a subject’s best assets and minimize parts that are less desirable. Retouching photos is made simple with BeFunky’s Reshape tool in the Photo Editor.
How to Use the Reshape Tool
The Reshape tool, found in the Touch Up tab, can be used in three different ways: smudge, grow, and shrink. Each feature has a unique way of reshaping your images in just a few clicks. Each offers the ability to adjust the pressure or intensity of the effect, the brush size, and the strength. If you make a change to the photo you don’t like, you can always return to the Erase option to erase the effect from a specific area, or click the Undo button (⌘Z). Now, onto the specifics of each feature of the tool:
Smudge to Exaggerate
The Smudge option is great for when you want to exaggerate or stretch something in the image. Simply select the Smudge button and adjust your brush, then drag the cursor to your desired result. Once you are satisfied, click the Apply button to apply the changes.

This is a good choice for when you want to correct a hairline, make an animal fluffier, or lift an eyelid! Take a look at how we transformed our subject’s hairline and eyelids.

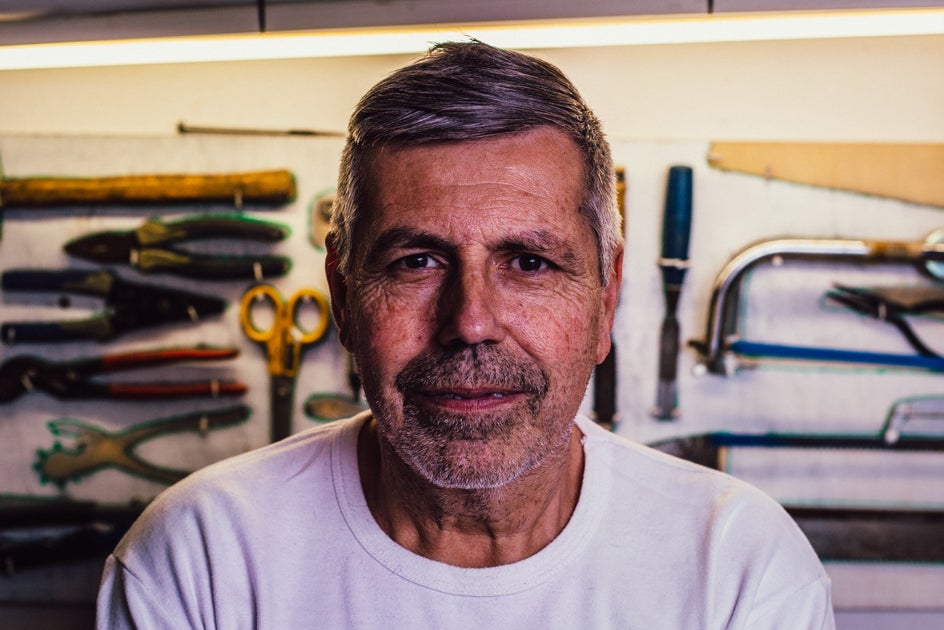
Grow Your Best Assets
Using Grow is a great option for enlarging features. You can click and hold down your cursor to see the selection grow and grow, or you can click once for a more subtle effect. Once you are happy with the outcome, click the Apply button to apply the changes.
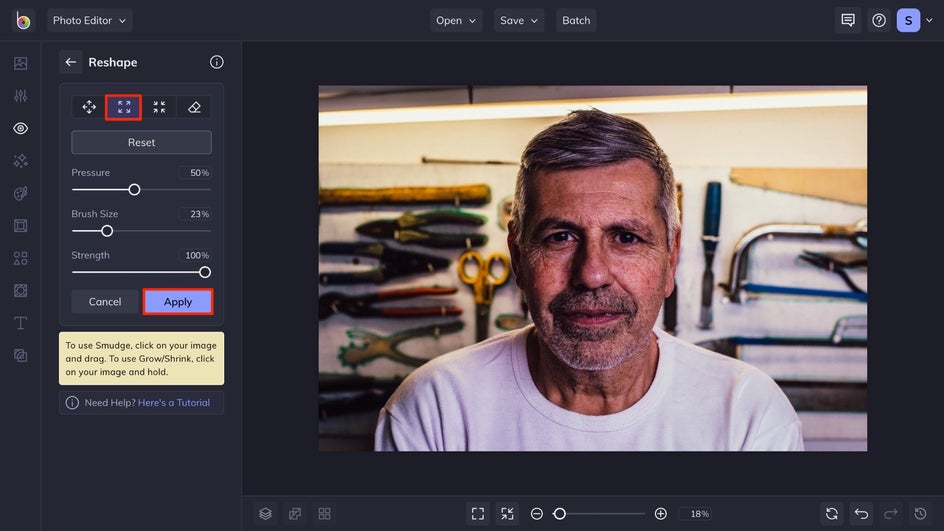
This is a good choice to use on eyes, lips, or other body parts that you would want to make bigger. Take a look at how we used Grow on this man’s eyes, mouth, and chin to make a subtle change to our subject’s appearance.


Shrink the Least Desirable
Shrink is used to make selections smaller in your image. Similar to the Grow option, you can click and hold your cursor to watch the selection shrink before your eyes. Or, you can click multiple times to reach a more subtle desired effect. After you have reached the perfect amount of shrinking, click the Apply button to apply the changes.

This option is perfect for large features on faces that are not desirable like ears, noses, and veins. Take a look at how this image was transformed by shrinking our subject’s nose, and, earlobes.

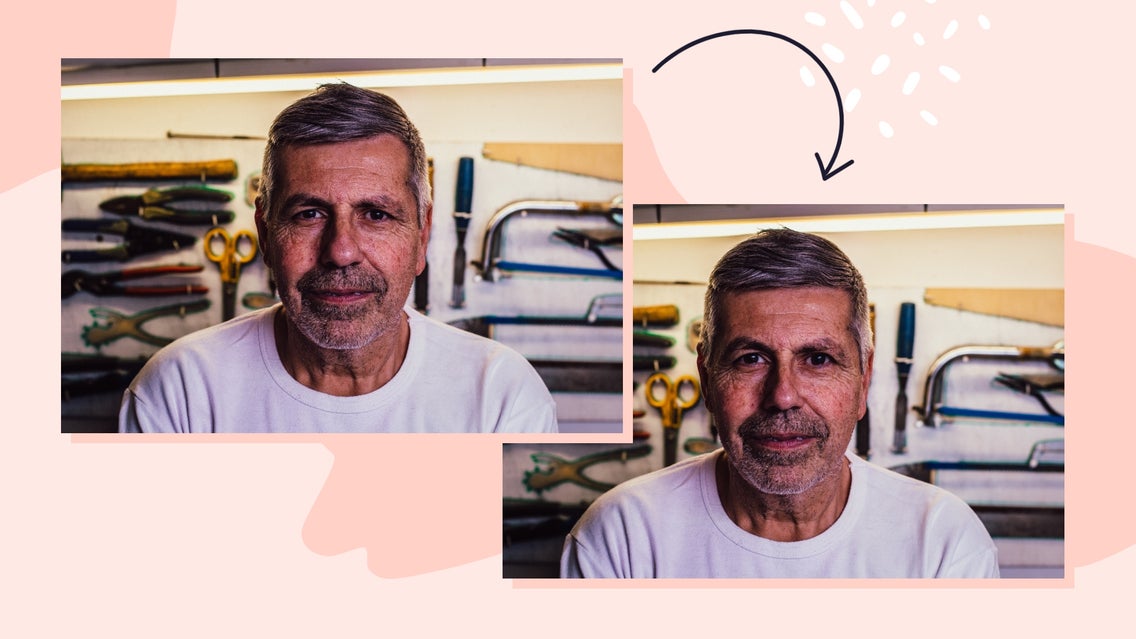
Use Them All Together to Retouch Your Image
We walked through each feature of the Reshape tool individually, but play around with using them together for the best outcome. In just a few clicks, you can subtly change your image into a more desirable one. Look at the subtle yet impactful changes we made to this portrait by combining all of the features of the Reshape tool.


In just a few clicks with the BeFunky Photo Editor, you can make adjustments to your favorite and least favorite parts of an image with the Reshape tool.