How to Retouch Portrait Photos and Remove Blemishes
It's irritating when a small detail is the only thing keeping a picture from being fantastic. Before you delete them forever, there are several ways that BeFunky’s Touch Up tools can rescue these photos. From whitening teeth and removing blemishes to adding digital makeup and beyond, you can transform your selfies and portraits easier than ever!
The best thing about our Touch Up tools is that they’re incredibly intuitive and simple to use. There’s an entire library for retouching photos in the Touch Up tab of our Photo Editor, all of which work in just a few clicks – no expertise necessary. Here are some of our favorite tools from the collection and what they're best for:
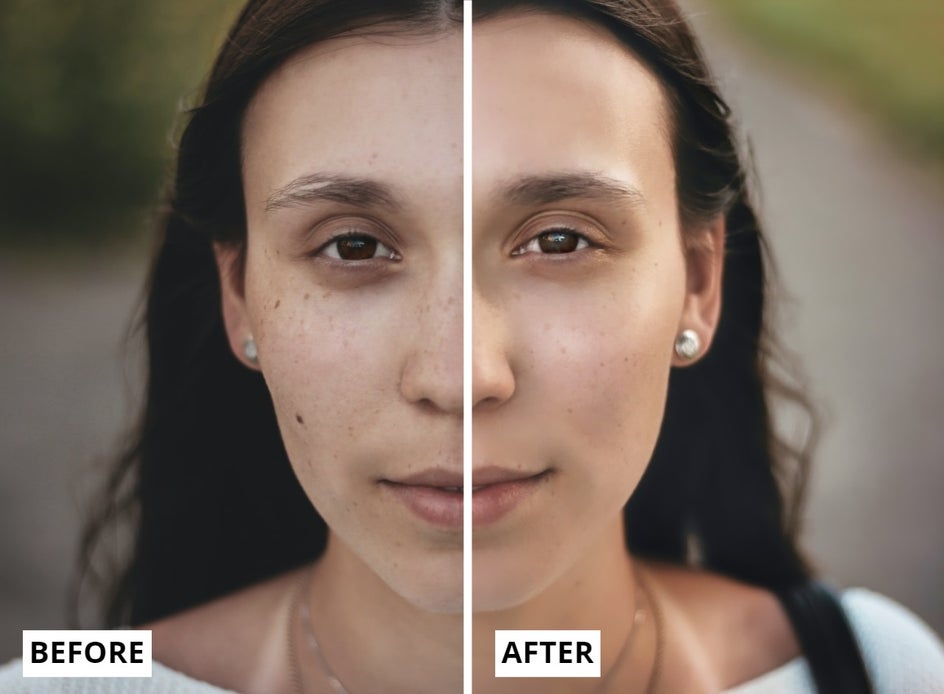
Achieve Perfection With the A.I. Portrait Enhancer
How about a tool powered by A.I. that enhances your portrait to perfection – all with a single click? BeFunky’s A.I. Portrait Enhancer can correct blemishes on your skin, minimize the appearance of fine lines and wrinkles, and enhance features such as your eyes and teeth, without making your face look overly airbrushed or eliminating the things that make you, you.
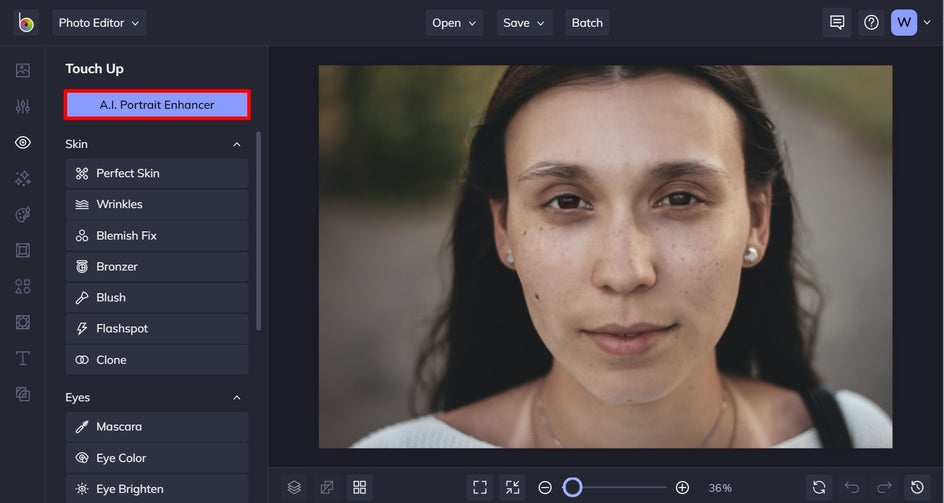
Step 1: Click A.I. Portrait Enhancer
Head to BeFunky's Photo Editor and upload a photo by using the Open tab or by dragging it from your files into the interface. This is located at the top of the Touch Up menu.
Step 2: Make Adjustments, if Necessary
Once the A.I. Portrait Enhancer has worked its magic, you can adjust the Amount, if necessary, using the slider below. Then, click the Apply button.
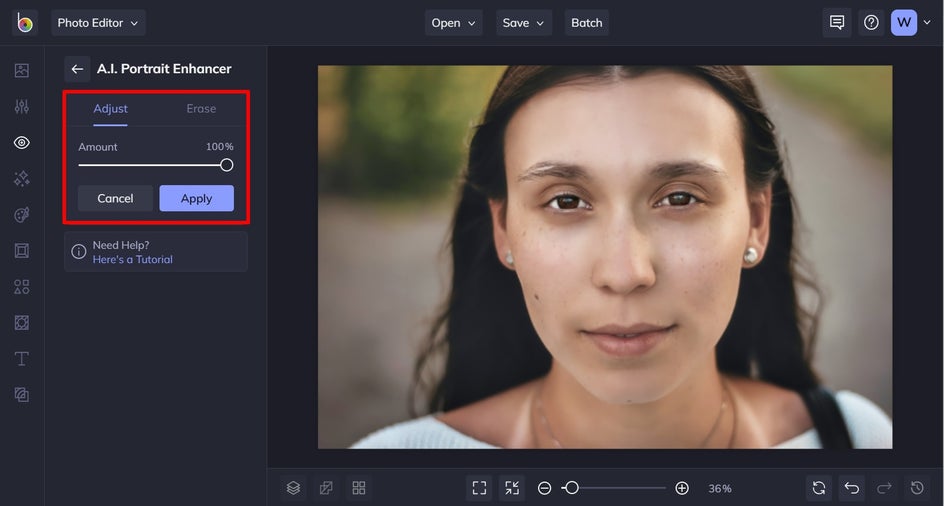
Check out the amazing finished product. Thanks to just one button!
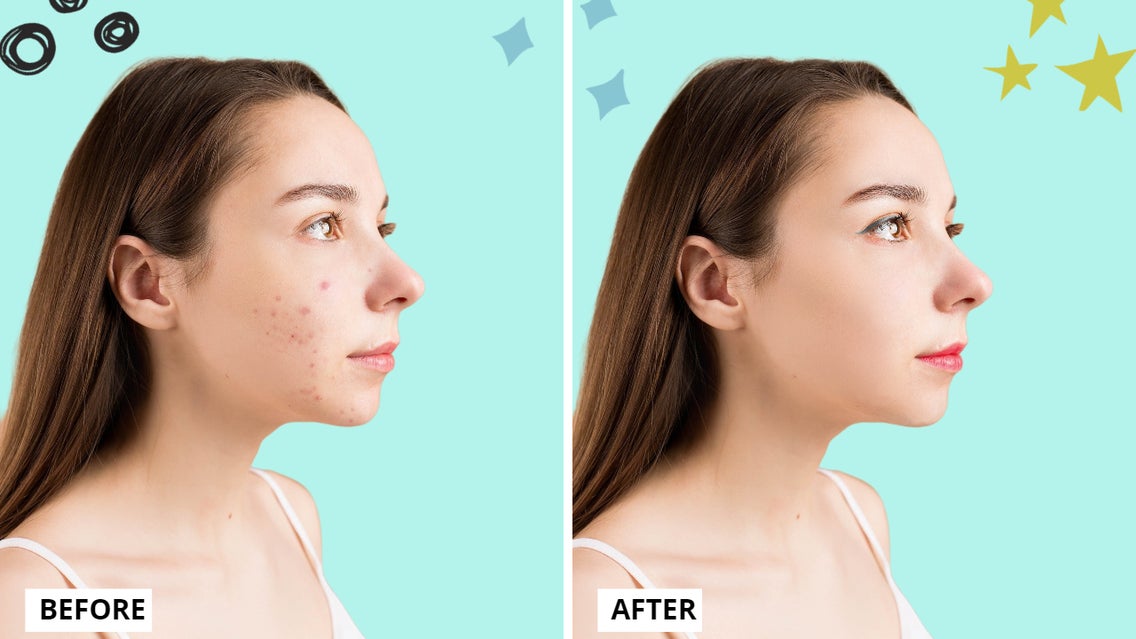
Get Blemish Free Skin
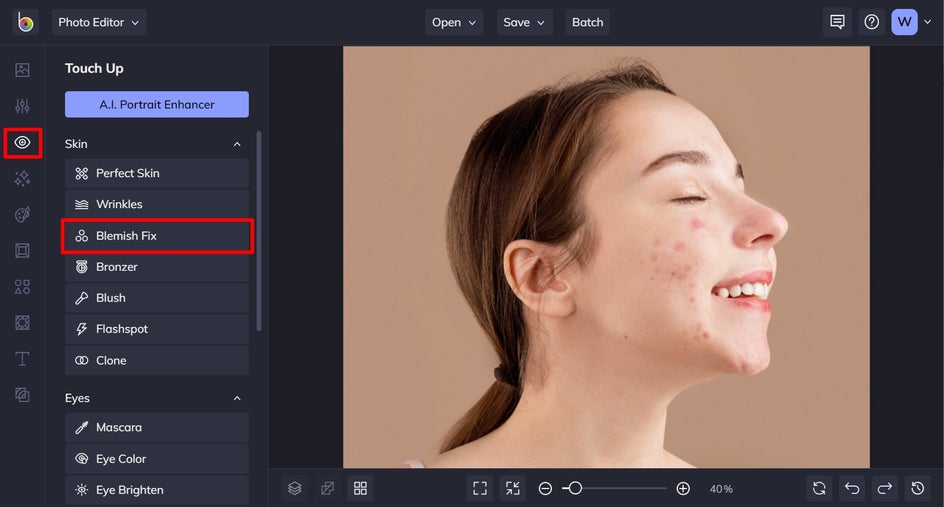
Whether you've got an unsightly pimple, red marks, or areas of uneven skin tone, the Blemish Fix tool will erase them in seconds.
Step 1: Click on Blemish Fix
You’ll find this located in the Touch Up menu under the Skin category.
Step 2: Adjust and Apply
Once you're in the Blemish Fix menu, adjust the Brush Size and Brush Hardness to accommodate the blemishes in your photo. You can think of Brush Hardness in terms of how "stiff" a brush is; the harder the brush, the crisper the effect. Conversely, turning down the brush hardness will yield a softer, more fuzzy outline of your brush stroke, which blends the areas you're fixing more seamlessly with the rest of your skin. After you've adjusted the sliders to your liking, just click over the problem areas to paint over flaws and watch them vanish.
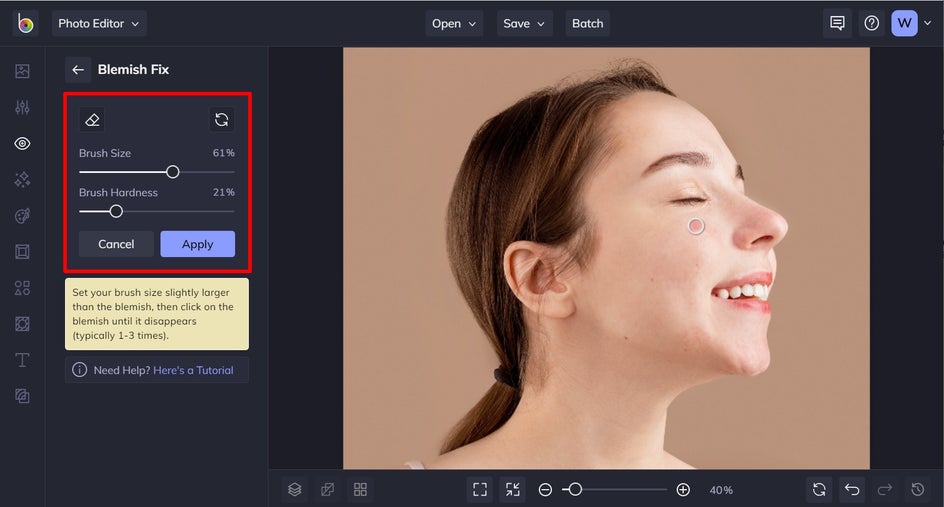
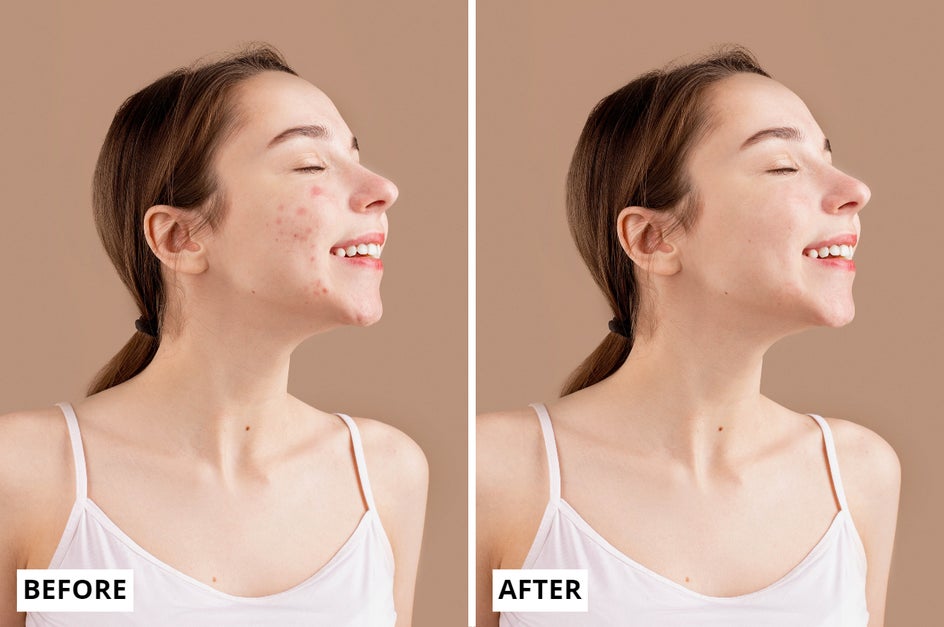
Click the Apply button once you're done. We can't control when we get blemishes, but we can control how they appear in photographs!
Get Smooth, Perfect Looking Skin
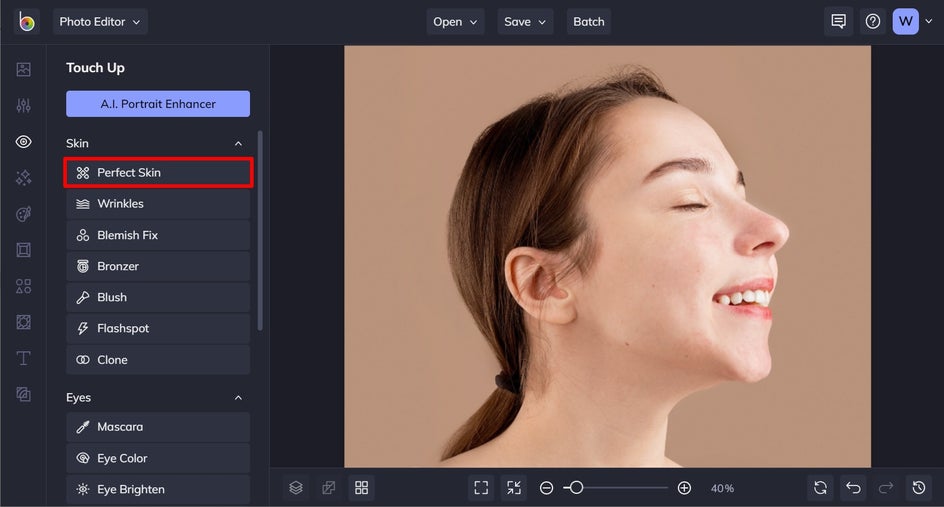
If you want to take things one step further and really achieve the super-smooth look you're wanting for your complexion, look no further than the Perfect Skin tool. This is one of our most intuitive Touch Up tools, as it's able to sense the exact color of your complexion and apply smoothness – blending uneven skin textures and tones while maintaining a realistic and non-airbrushed look. It's the perfect tool to blend areas together where the Blemish Fix tool was applied, or use it as a standalone tool – either way, your skin will look radiant.
Step 1: Click on Perfect Skin
This is located in the Touch Up menu in the Skin section.
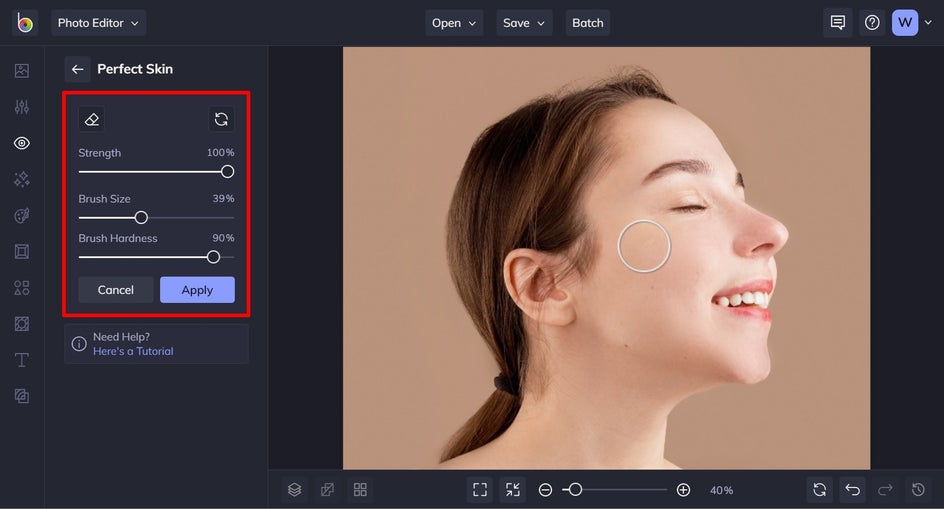
Step 2: Adjust and Apply
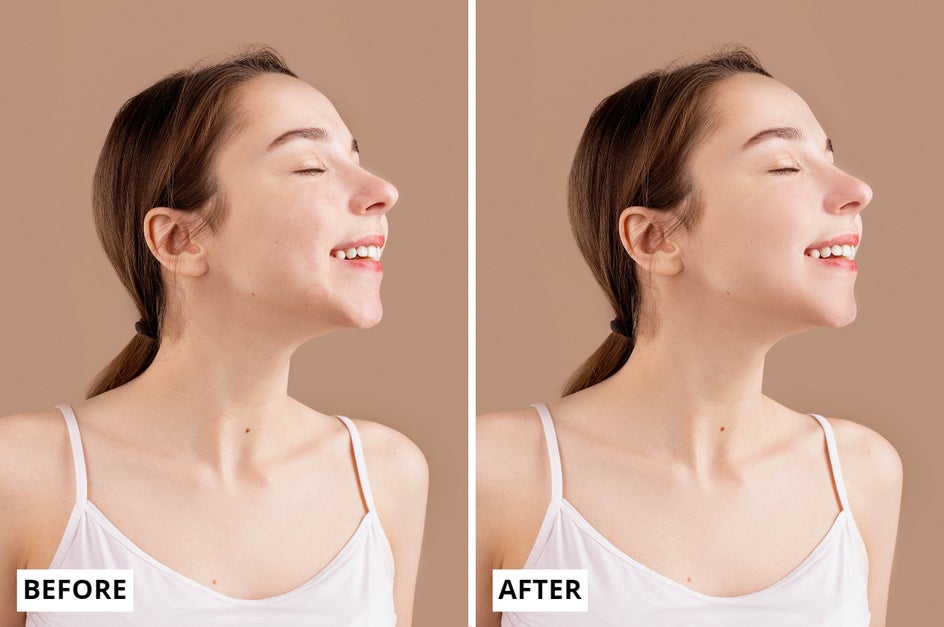
After adjusting the Strength, Brush Size, and Brush Hardness, simply glide your brush along your skin. Then, when you're satisfied, click Apply. Look at how the Perfect Skin tool helped give the perfect finishing touch to this portrait photo as a step after using Blemish Fix:
Combined with the Blemish Fix tool, you can achieve a flawless, natural-looking complexion – all while embracing your natural features.
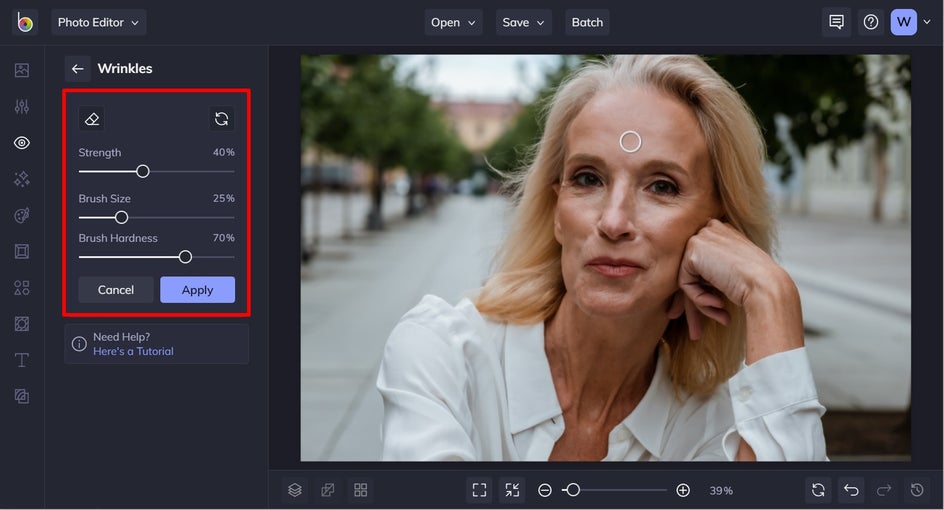
Get Rid of Wrinkles and Fine Lines
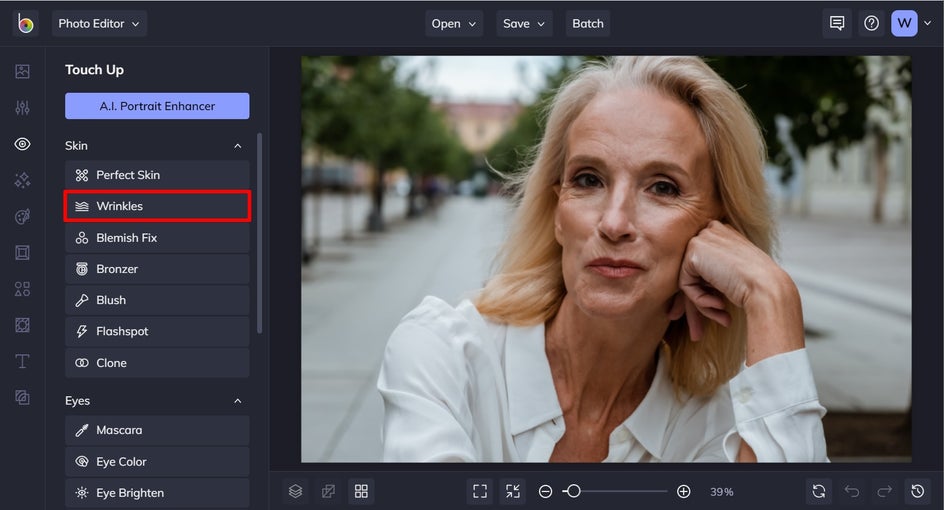
We think laugh lines and wrinkles are beautiful, but if you have a few that you're self-conscious of, the Wrinkle Remover tool is a great one to get rid of creases and create a more youthful look.
Step 1: Locate the Wrinkles Tool
You'll find it in the Skin category of our Touch Up tools tab.
Step 2: Adjust and Apply
Much like with the Blemish Fix tool, you'll need to adjust Brush Size and Brush Hardness before clicking and dragging with your mouse over the areas you wish to conceal. Once those areas are painted over, use the Strength slider to increase or decrease the effect until you have the perfect blend of those creases. Then, click the Apply button.
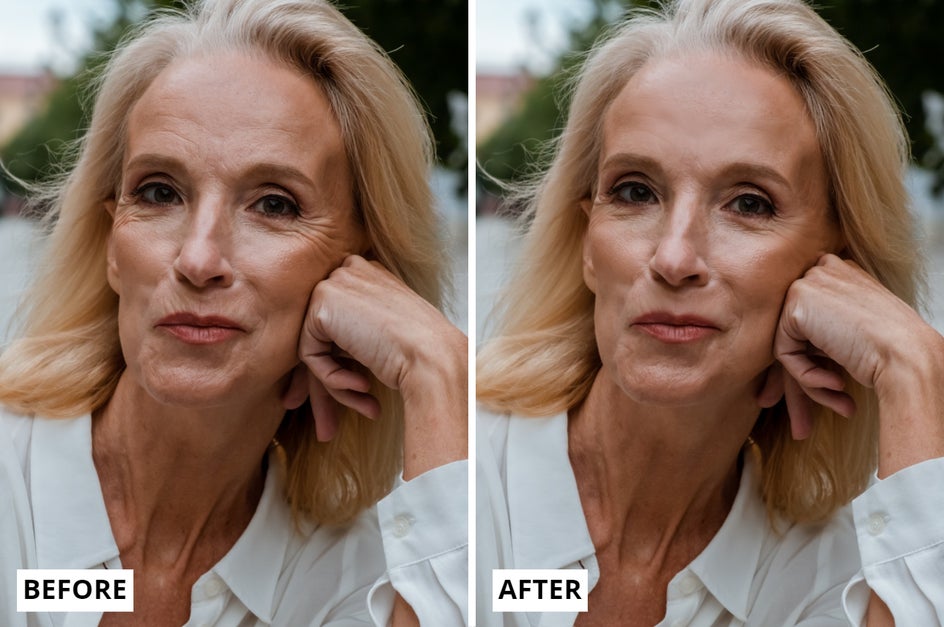
What do you think? Using the Wrinkles tool, just a subtle touch can create a seamless portrait – minus any wrinkles that you aren't fond of.
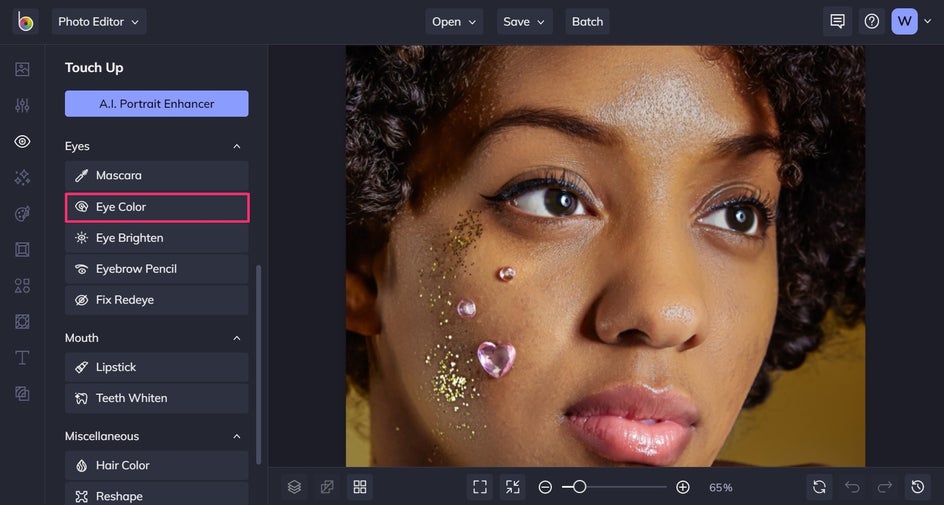
Adjust Eye Color
Ever wanted to see what you’d look like with different colored eyes? With our Photo Editor’s Eye Color tool, you can!
Step 1: Click on Eye Color
This is located in the Eyes section of the Touch Up tools.
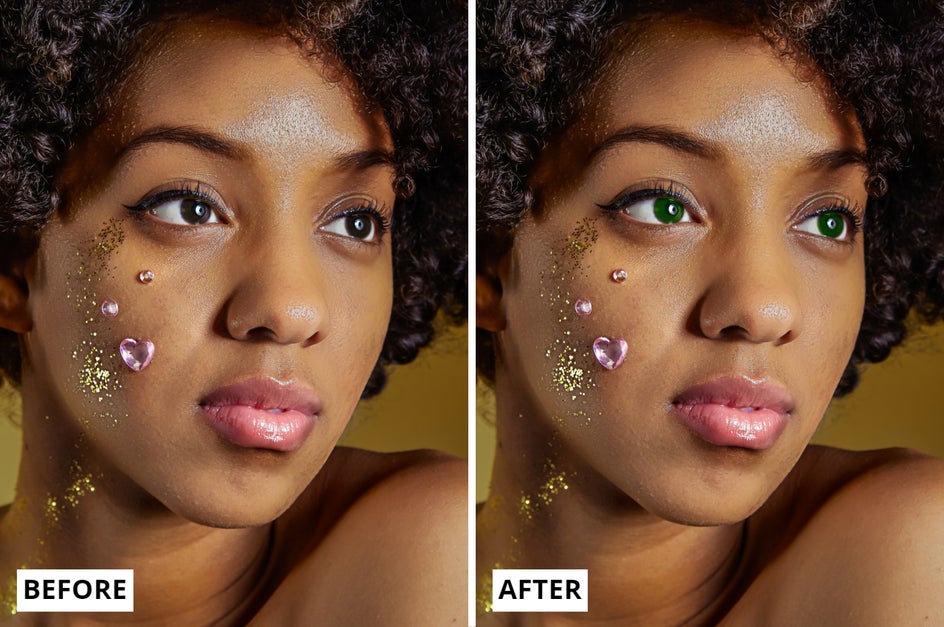
Step 2: Choose a Color and Apply
Selecting your desired color, then adjust your effect Strength, Brush Size, and Brush Hardness. Click and drag to paint the color over the eyes. If you painted the outside of the eye, just click Erase to clean the area. Or, you can use the Undo feature to go back to your last move.

How does it feel to have a new eye color without needing to buy colored contacts? If you love how it looks, confirm the changes by clicking the Apply button.
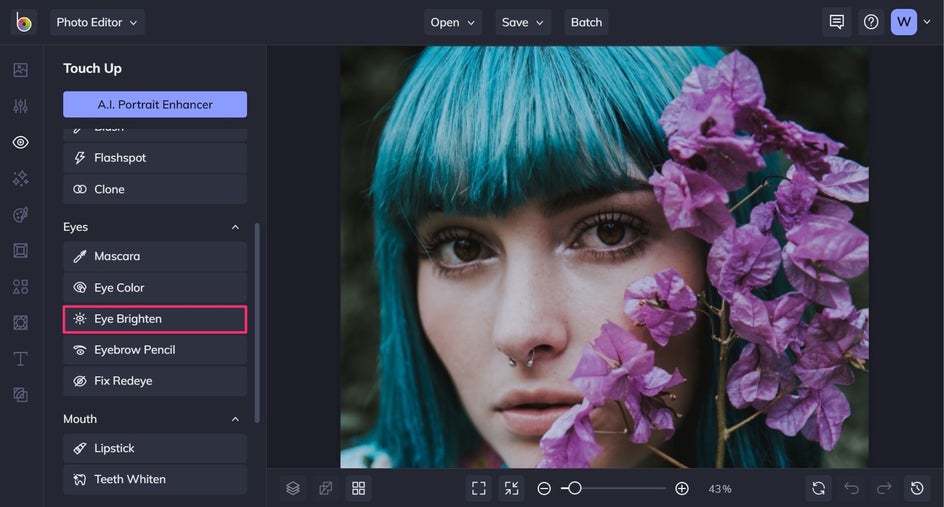
Brighten Eyes With Ease
Whether you’ve been out partying until sunrise, had a very late night binge-watching your latest Netflix obsession, or simply want to draw attention, use the Eye Brighten tool to perk up your look.
Step 1: Click Eye Brighten
Just like the previous tool, this is located in the Eyes section of the Touch Up menu.
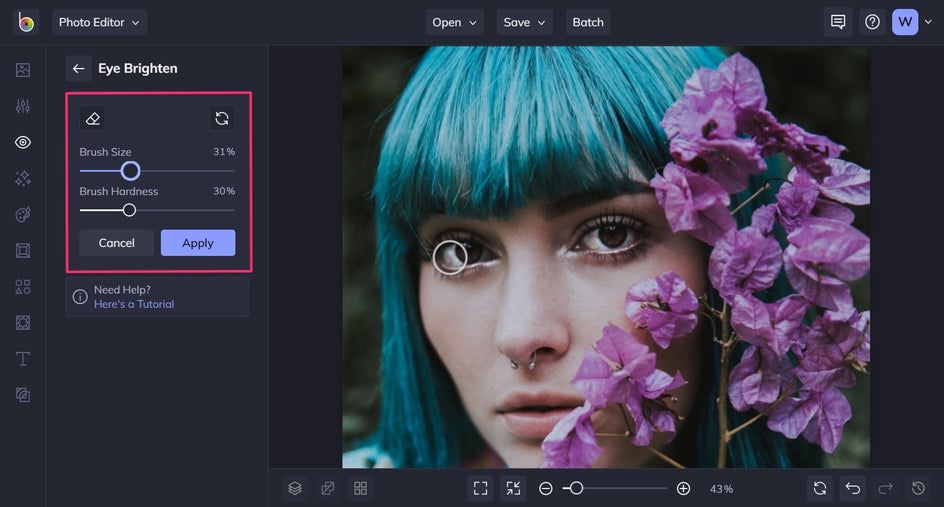
Step 2: Alter the Effect and Apply
Adjust your Brush Size and Brush Hardness, then hover and click the whites of your eyes. Finally, click the Apply button.
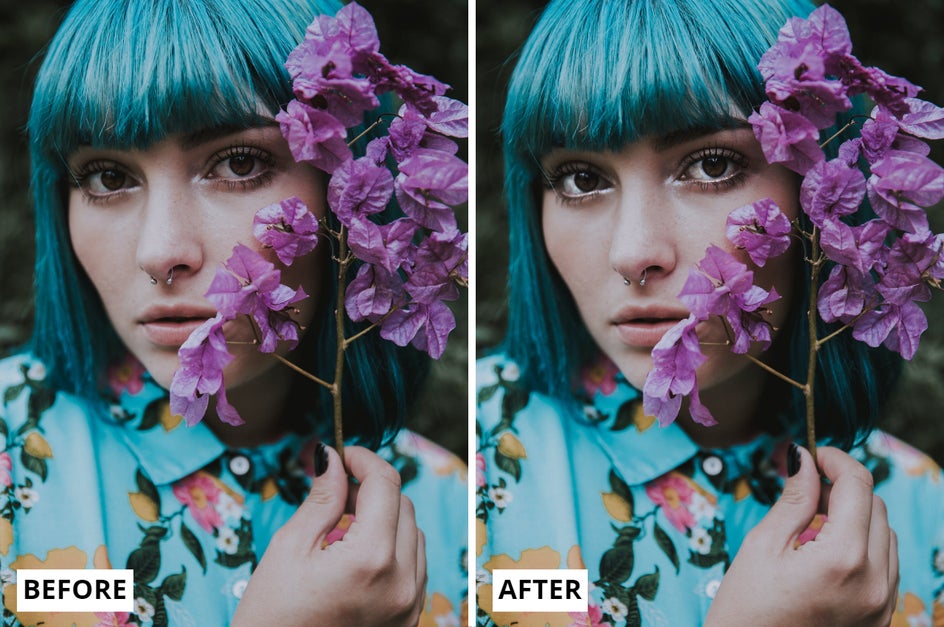
Now, look at how much of a difference brightening the eyes makes! It really draws the focus to the subject's face.
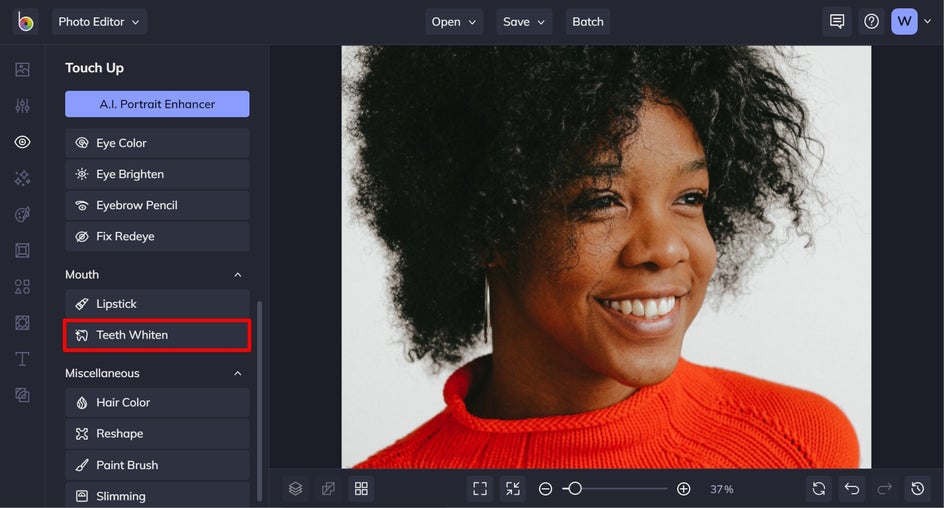
Easily Whiten Teeth
If you've ever been self-conscious about the shade of your smile, the Teeth Whiten tool can help you achieve pearly white greatness! It's one of the easiest Touch Up tools to use, but it yields incredible effects – drastically changing the shade of your teeth without ever having to take a trip to the dentist. (Though you really should go at least once a year.)
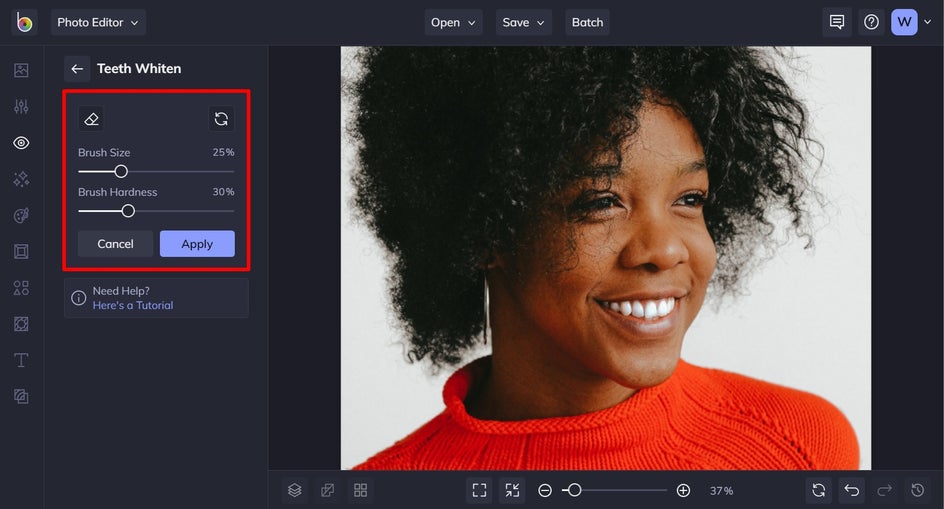
Step 1: Click on Teeth Whiten
You’ll find it located in the Mouth section of the Touch Up tools.
Step 2: Adjust and Apply
Simply adjust your Brush Size and Brush Hardness, then use your mouse to paint the effect over your teeth. Finally, click the Apply button when you’re happy with the changes.
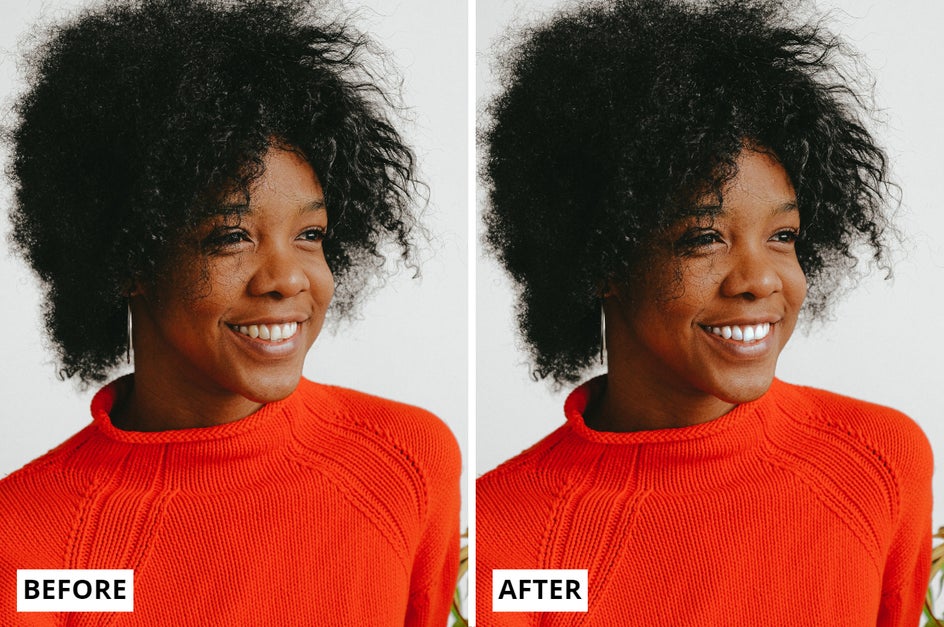
Look at how drastically different, yet realistic, these teeth look before and after one application of the Teeth Whiten tool!
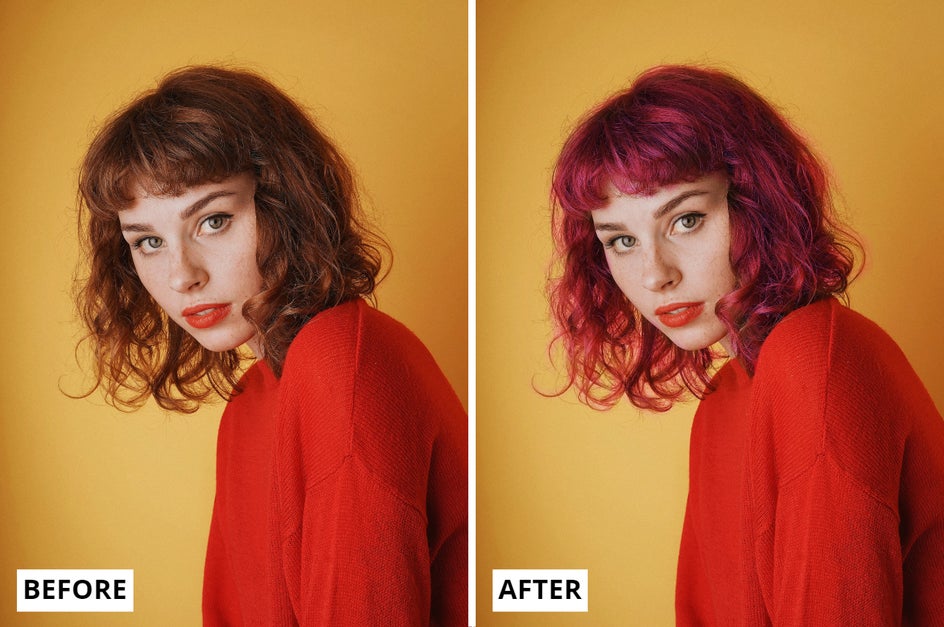
Change Your Hair Color
Been dying to test out a new hair color, but too scared to commit? Try out each and every hue with the Hair Color tool until you find the look that's just right.
Step 1: Locate Hair Color
This tool is located in the Miscellaneous section of Touch Up.
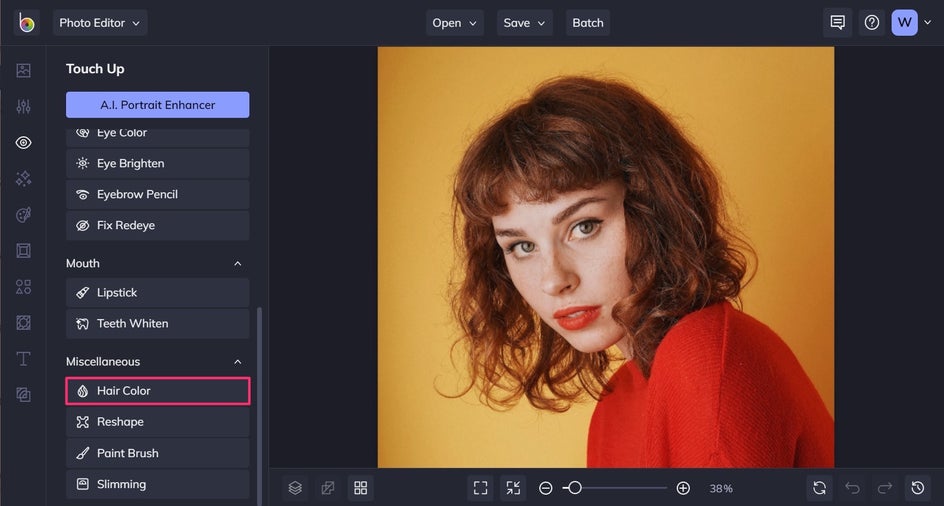
Step 2: Choose a Color, Adjust, and Apply
Pick an existing shade from the Color Palette up the top, or click on the first color swatch to choose a new color. Then, use the sliders below to adjust the effect’s Strength, Brush Size, and Brush Hardness.
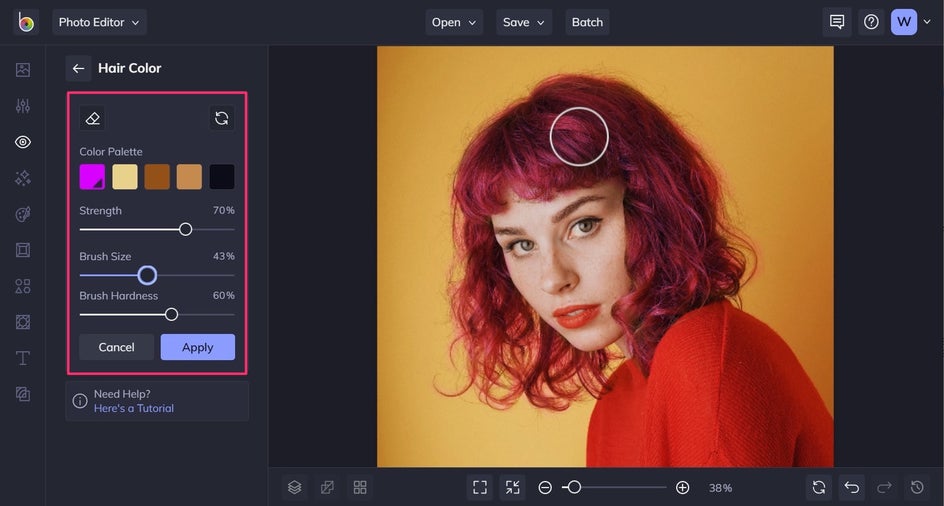
Love your new look? If so, click the Apply button. Aside from testing the waters before heading to the salon, this is also a great tool for setting the mood or maintaining an aesthetic in your photoshoots!
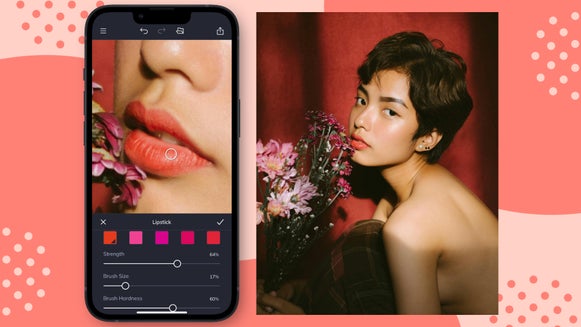
Add Digital Makeup
Whether you want to subtly enhance your natural beauty or have a little fun giving yourself a digital makeover, our Touch Up tools allow you to play with all sorts of makeup. So let your creativity shine!
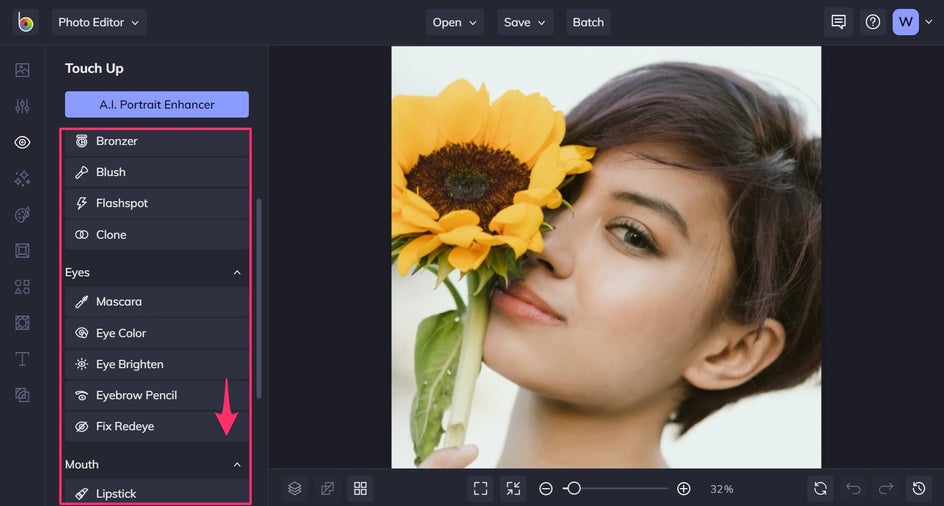
Step 1: Pick Your Makeup Tool
From blush and bronzer to mascara, lipstick, and beyond – you’ll find all of these within the Touch Up section.
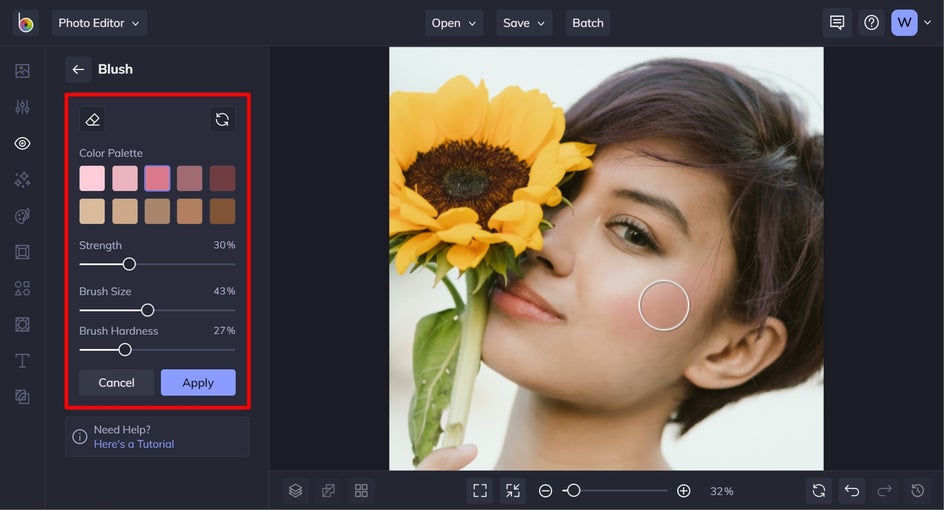
Step 2: Choose Your Color, Strength, and More
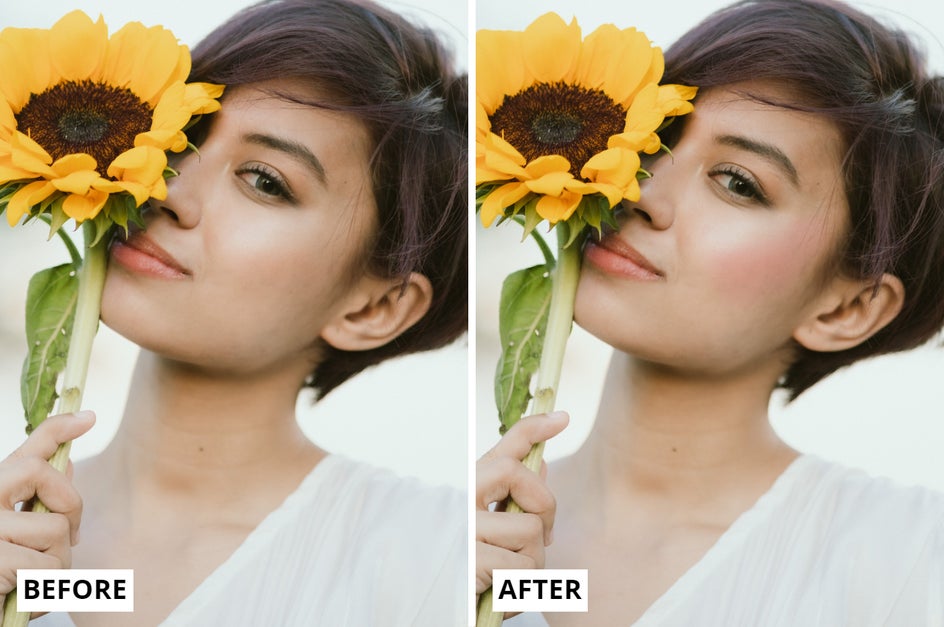
Select your desired makeup shade from the Color Palette at the top or choose a custom color by clicking on the first color swatch. Then, adjust sliders such as Strength, Brush Size, and Brush Hardness, before using your mouse to 'paint on' the effect. Then, all that’s left to do is to click the Apply button.
As you can see, our makeup tools provide effortless, realistic results that will 'make up' for a lack of makeup.
Make Your Portraits Even Better!
Now that you know how to perfect your photos using BeFunky’s Photo Editor, you'll never have to feel like you've taken a bad photo again. These are just a few of the many helpful tools you'll find in our Touch Up menu. Consider them to be like having a virtual hair and makeup assistant at your beck and call!