Reshape Photos With the Slimming Tool
There are times when the camera captures objects in your images wider than expected – distorting objects when you least expect it. So if you’ve ever wished you could make the proper adjustments to your subject, you're in luck. BeFunky’s Slimming tool, found in the Touch Up tab, can make it happen in just a few clicks!
You’ll find the Slimming tool tab amongst a full range of Touch Up tools for everything from reshaping photos to retouching portraits, and it’s perfect for those times when the camera captured things wider than usual. It works to narrow the pixels in your image, transforming the objects within into slightly taller, slimmer versions. We’ll show you how in the next section!
How to Use the Slimming Tool to Reshape Photos
When you’re ready to get started, head to BeFunky’s Touch Up tab and upload an image by clicking Open or by simply dragging and dropping your image file onto the canvas.
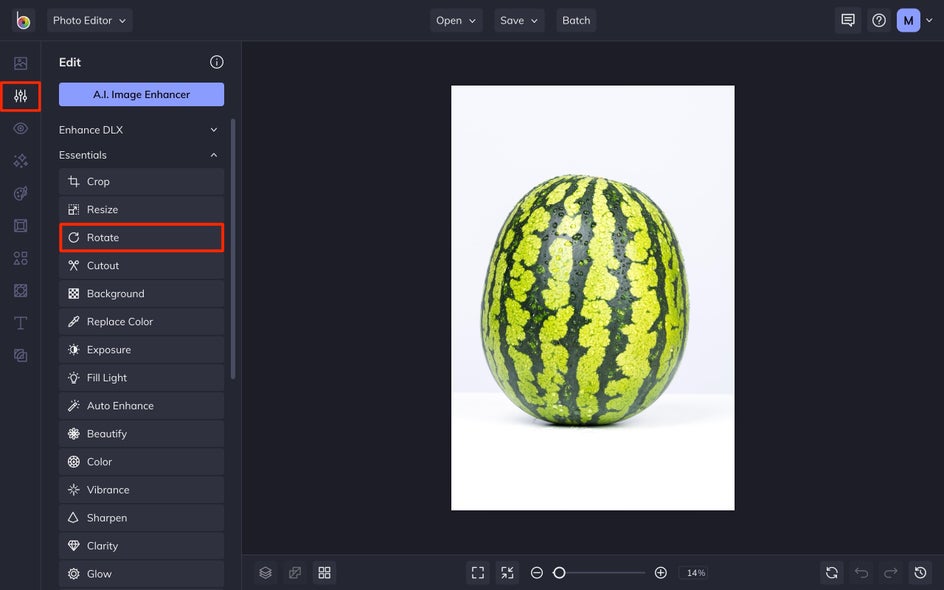
Step 1: Rotate Image (Optional)
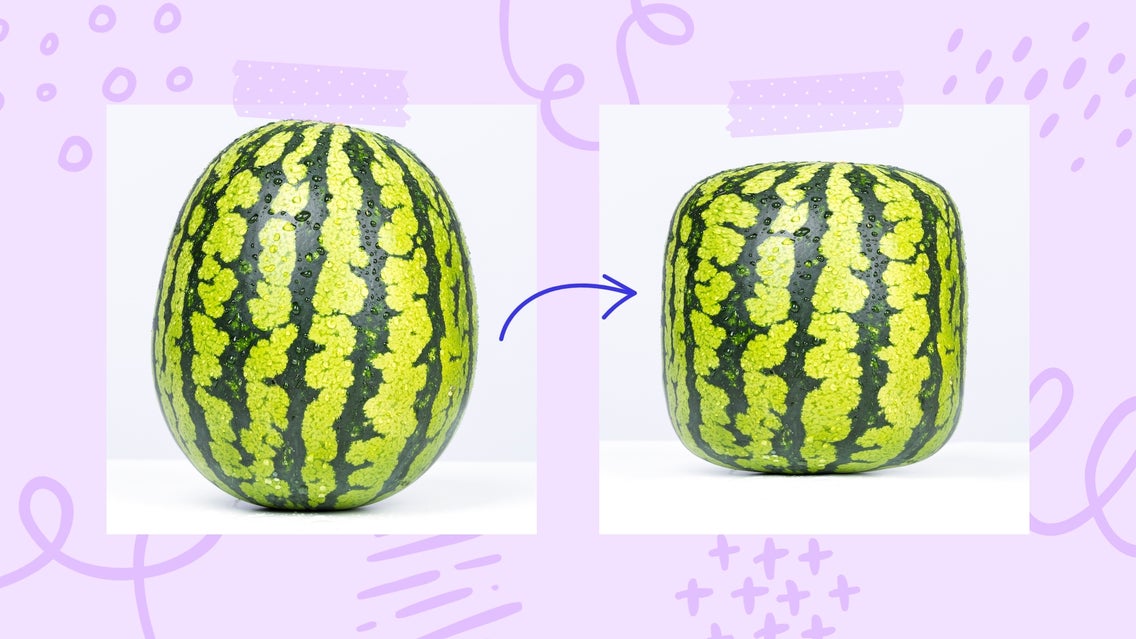
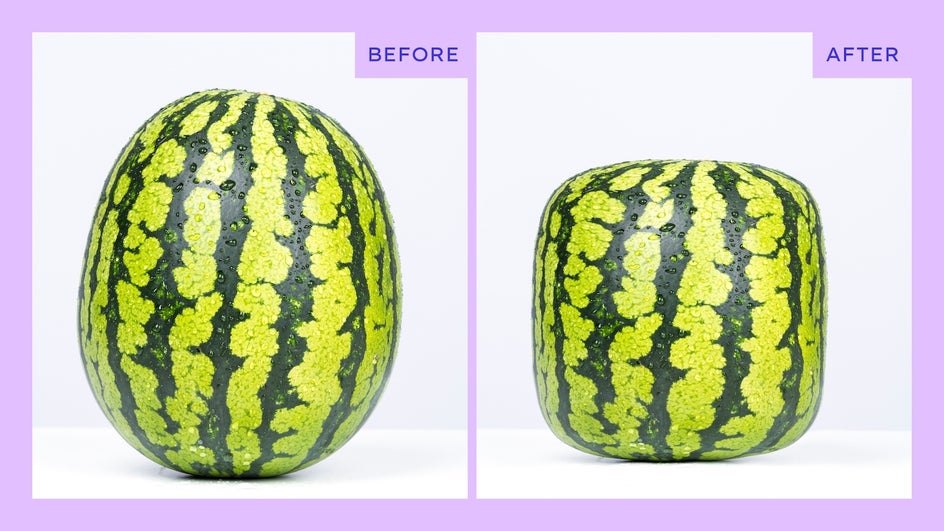
If you want to slim your image horizontally, head to the Edit tab and choose the Rotate tool. We're going to rotate this image of a watermelon to ultimately achieve a boxy look.
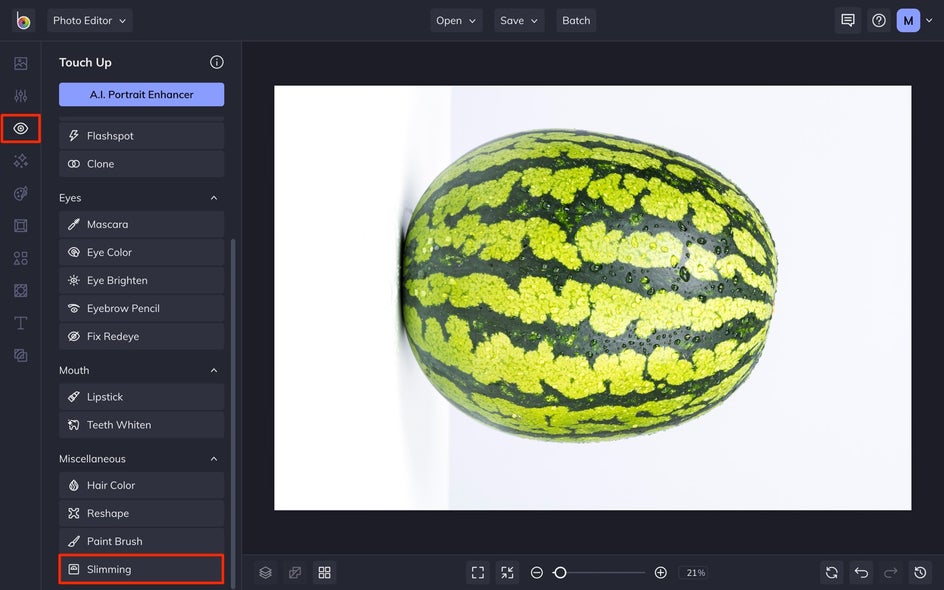
Step 2: Use the Slimming Tool
Now, let's start slimming. Click on the Touch Up tab on the left and select the Slimming tool from the Miscellaneous category.
Once you’ve got the proper menu open, adjust the Amount slider until your image looks perfect. Sliding it to the right will produce a taller, slimmer image, while sliding it to the left will move it back to the original size.
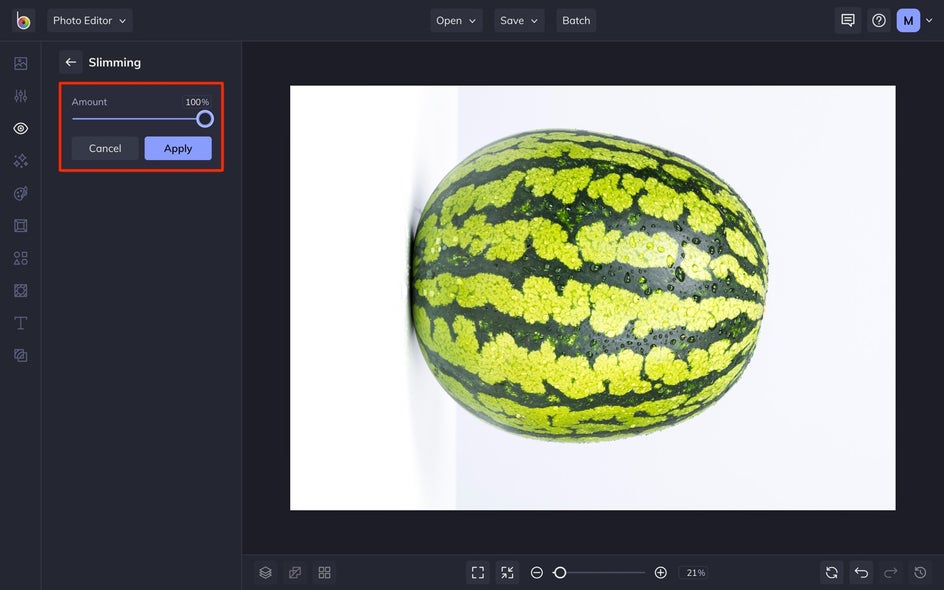
Notice that this tool works to narrow your image by pressing the pixels together, instead of simply cropping them out of the edges.
When you’re happy with the size of your subject, press the blue Apply button.
Step 3: Apply Any Additional Effects/Edits
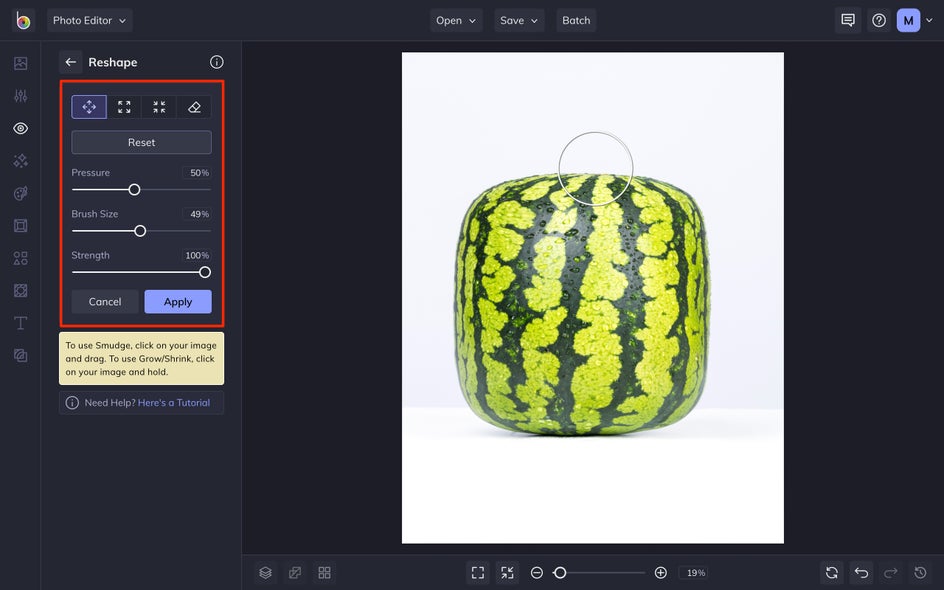
Next, we're going to make our watermelon look even more like a cube by using the Reshape tool, also found in the Touch Up tab. Depending on what you're working with, this tool can also be used to make a photo look less distorted!
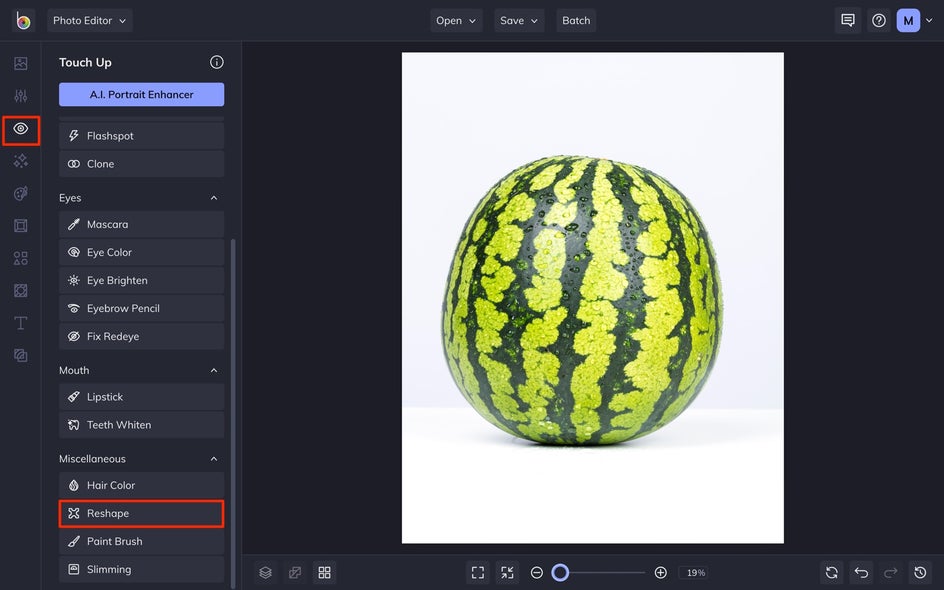
This tool works by growing, smudging, or shrinking the area you isolate with the brush. You can change the pressure, brush size, and strength to go for something subtle or something with some impact. Here, we shaped our watermelon to look even more square-like.
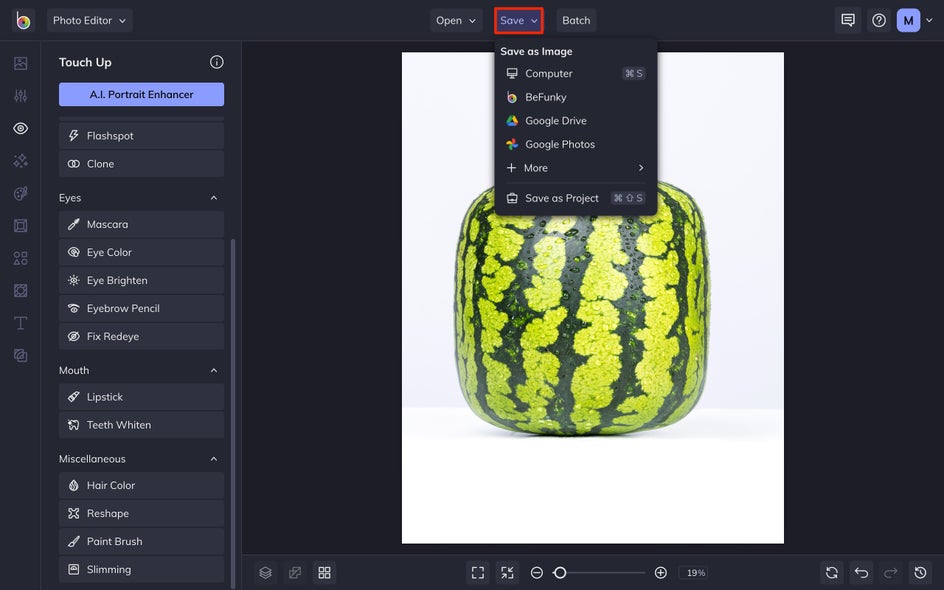
Step 3: Save Your Image
From here, you can continue editing your photo with any of the other tools in our Photo Editor, or click the Save button at the top to save your image to a variety of destinations.
Transform Your Photos With the Slimming Tools
We used the Slimming tool to purposefully make something look distorted – but it can also be used to do the opposite and so much more. It's a diverse tool that you'll surely find a use for!
Other Ways You Can Use the Slimming Tool
Aside from changing the shape of a watermelon, there are tons of other ways you can use the Slimming tool for your photo editing purposes. Here are a few examples:
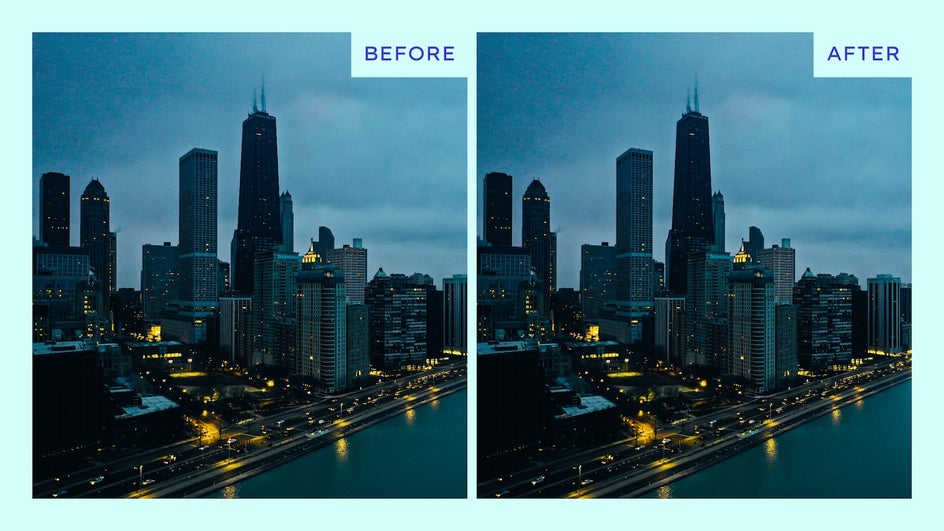
Fit More In
If you want to fit more into a frame or specified aspect ratios, the Slimming tool can help with that. Here, we used it on a city skyline to fit some more buildings into the 1x1 ratio.
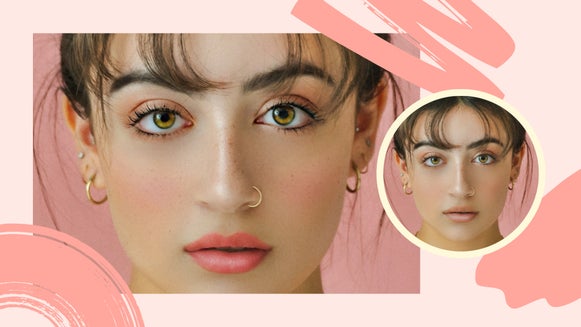
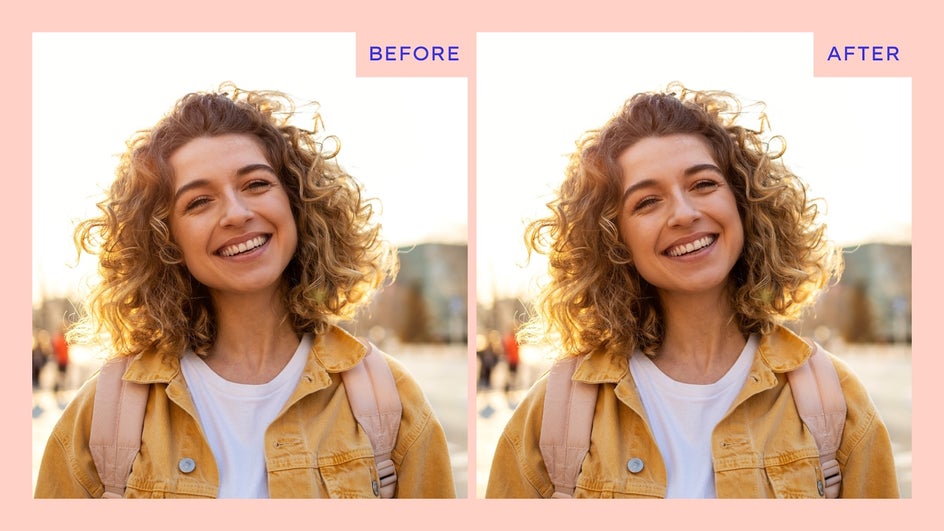
Correct Distortion
You can also use the Slimming tool to correct distortion in photography. Here, we used the tool to reshape our subject's shape, as distortion made her features look uneven and flat.
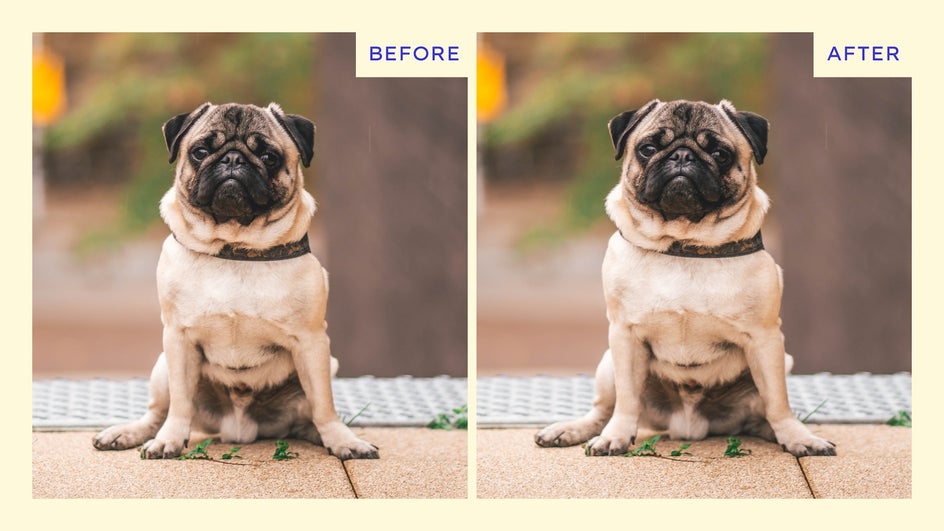
Exaggerate Features
Slimming images horizontally will make your subject shorter and more compact. By rotating our pup and using the Slimming tool, we've exaggerated his smoosh.