Graphic Design Made Easier With Alignment Tools
Precision lies at the very heart of graphic design. That’s why designers rely on alignment tools to ensure they get their work millimeter-perfect – whether they’re centering a book title, aligning vector graphics, or creating balance between a multitude of layers.

If you’ve been creating graphic designs without any alignment assistance, then don’t fret. Thanks to BeFunky’s easy-to-use alignment tools – like snap lines, pixel distances, and guides – you no longer have to invest in expensive design software for these helpful features!
Keep reading to find out more about each of our alignment tools, including how you can start using them today.
Snap Lines
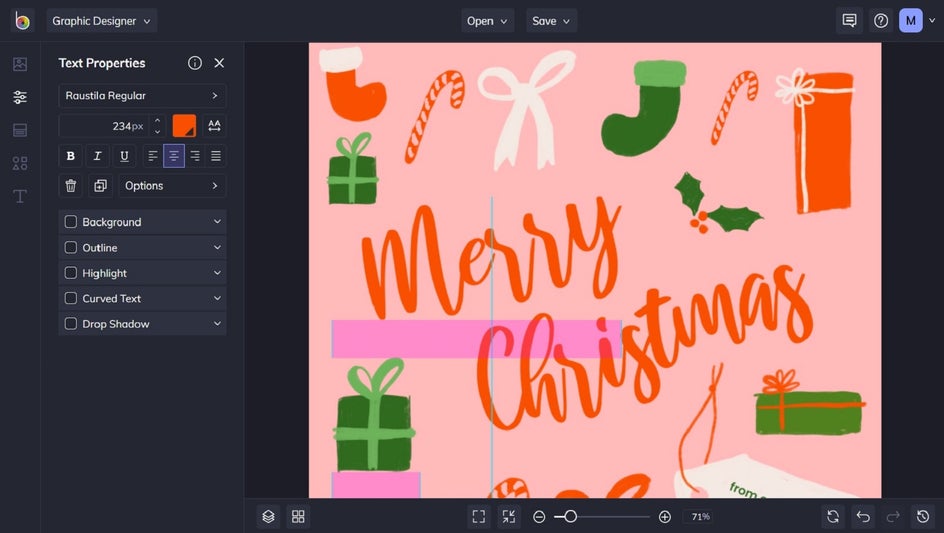
Snap lines are the lines that appear when you’re moving layers (such as photos, graphics, or text) around within your design. When you’re trying to perfectly center a layer in BeFunky, for example, a cross of snap lines appears to indicate when your layer is exactly within the center of your canvas (like the example below).
There are two scenarios when snap lines are particularly helpful: resizing and positioning design elements.
Resizing Design Elements
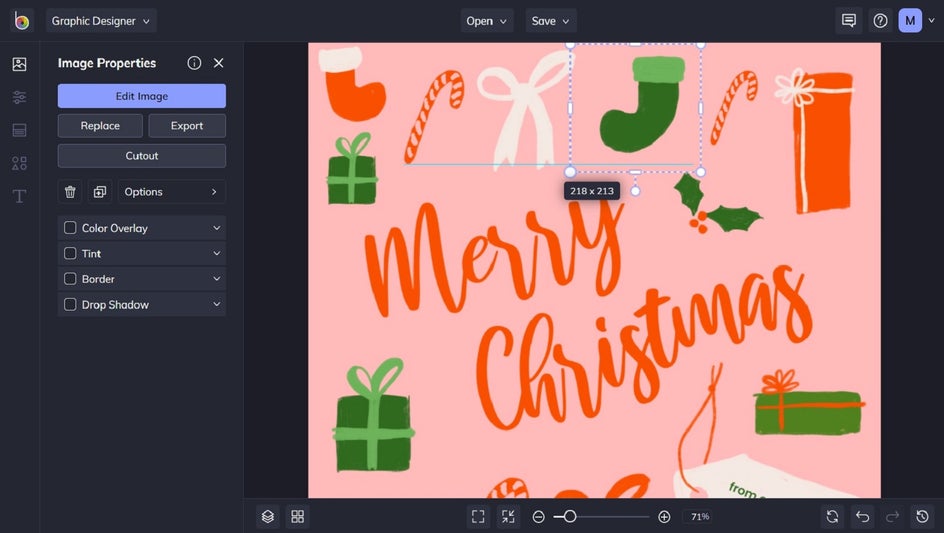
When you resize or scale a layer, you simply click and drag the corresponding blue circles inwards or outwards. Snap lines will then appear to help you resize the layer to perfectly match the size or position of other layers. Gone are the days of guesswork!
Positioning Design Elements
Often in graphic design, you’ll need to reposition elements so they’re evenly spaced within your design. When you’re moving an element in between other elements in the Photo Editor, Graphic Designer, or Collage Maker, a purple snap gap will appear to show you when these elements are equally distanced. This makes your design work a whole lot easier!
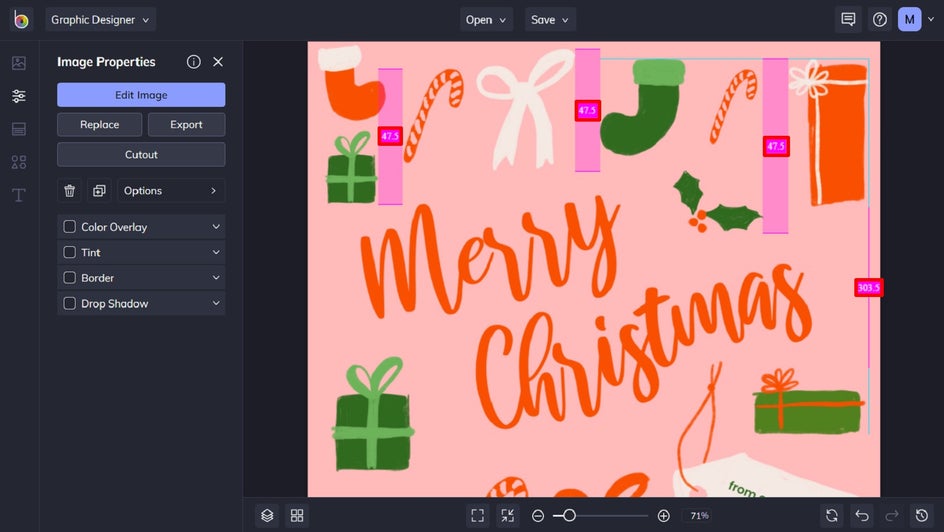
If you enable Display Distances (which we discuss in-depth below), the snap gap will also display the specific amount of pixels between those layers. This will be indicated by purple numbers in the middle of these snap gaps. This way, you achieve pixel-perfect alignment every time.
Display Distances
Display Distances show the exact pixel measurement between layers and their relation to the canvas edges. They work in partnership with snap lines, and therefore can only be enabled when you have Snapping enabled.
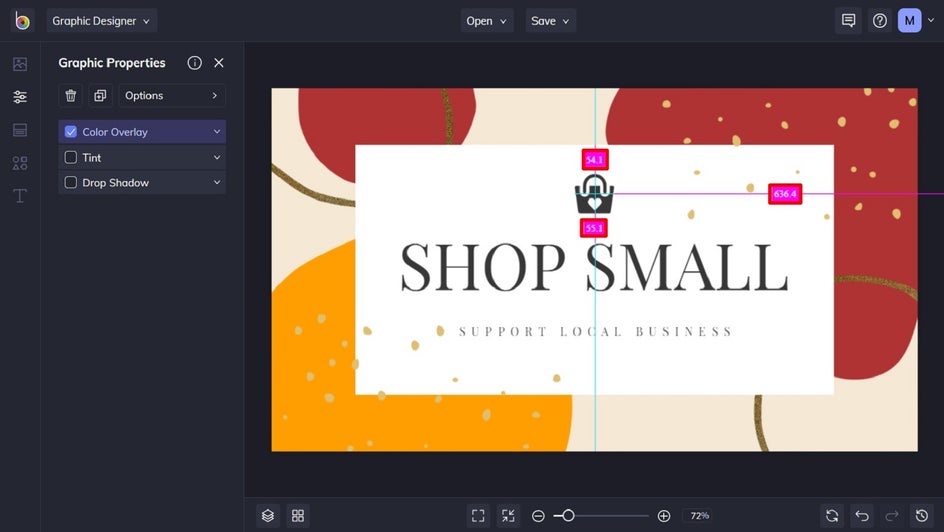
When the blue and purple snap lines appear, it indicates your layers have been aligned in some way – whether to the position of surrounding layers or the edges of the canvas itself. If you enable the Display Distances feature, you'll see numbers displayed beside the snap lines to represent the pixel distance between all of the coordinates.
Pro Tip: You can see all of the pixel distances that are directly related to any layer by clicking it and holding down the Option (or Alt) key on your keyboard. For the Option key shortcut to work, you'll need to make sure Display Distances is turned on. Don't worry, we've included the instructions below.
Additionally, if you have a layer selected and want to move it in even the tiniest of pixels, just use your keyboard's arrow keys to move it up, down, left, or right.
Guides
Guides let you set horizontal and vertical lines at specific pixel marks to help you align layers. This is not only helpful for setting margins but also for creating composition grids. Guides let you create a design blueprint to ensure you get your projects perfectly aligned, without the hassle.
Setting Margins
The Guides feature lets you set and lock specific dimensions before you start working on a design that requires a margin or safe area. This ensures you don't waste time designing outside of your project's parameters. To establish a new Guide, click anywhere along the ruler's lines and drag with your mouse until the Guide is exactly where you want it. It's worth noting that you can see the pixel distance between the Guide line and the canvas's edges too for added precision!
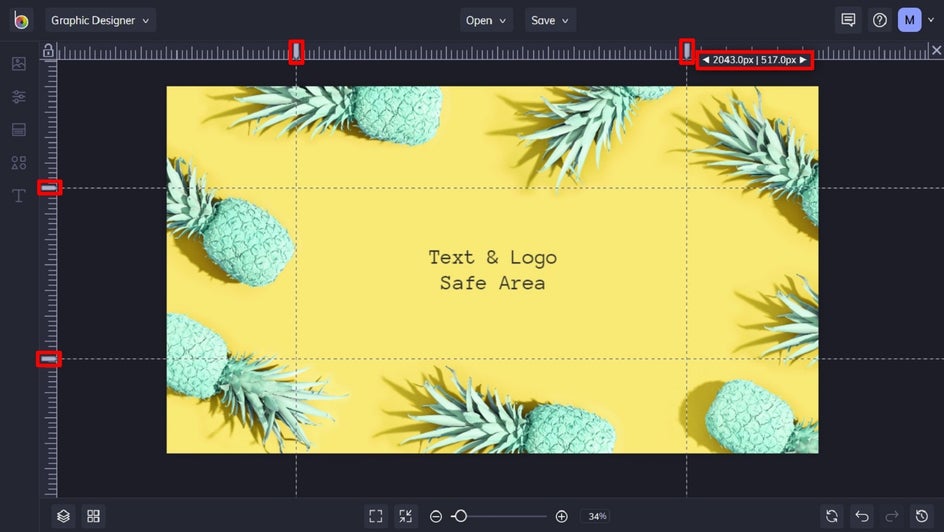
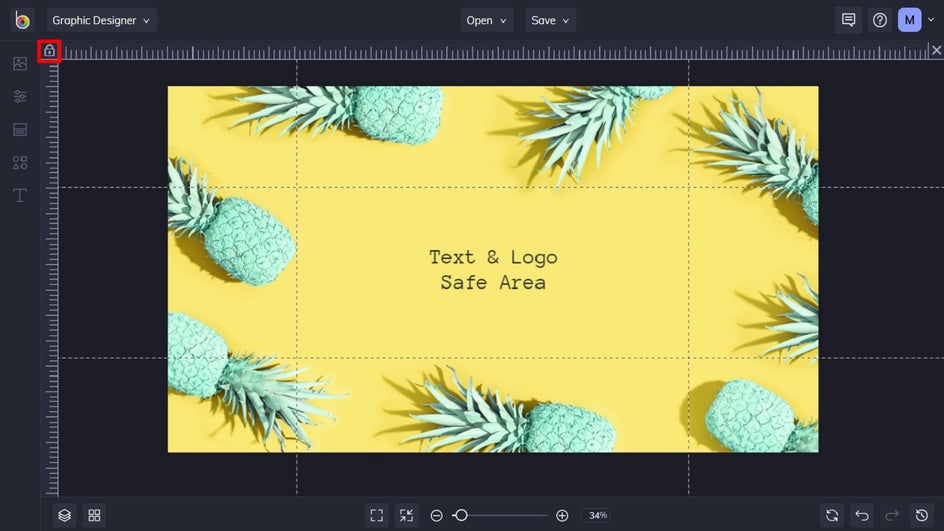
When you click on a new part of the ruler, a new Guide will appear. You can simply right-click to Remove Guides, or click the Lock button where the ruler intersects to lock or unlock the set Guides. By locking a Guide, you don’t have to worry about accidentally altering it during your design process.
Creating Composition Grids
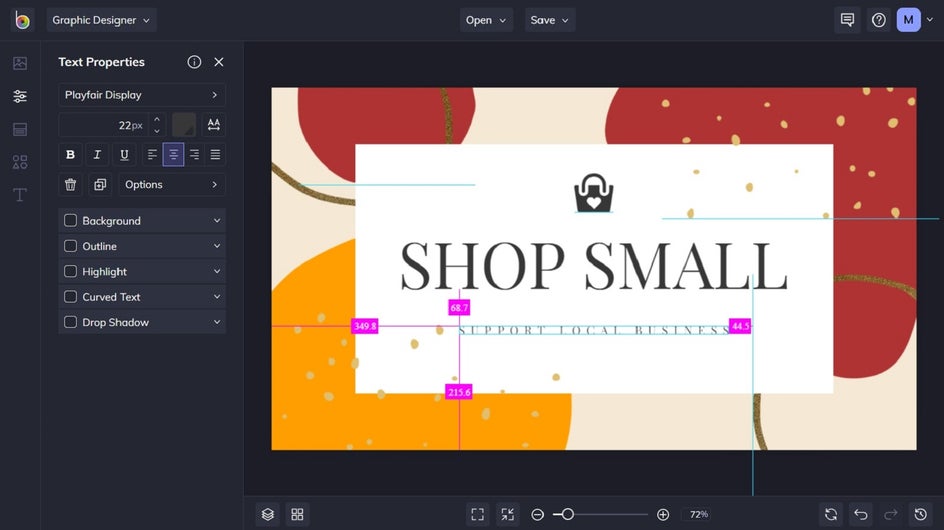
The Rule of Thirds is a simple and common composition grid in which the template is divided into three rows and three columns to create nine equal sections. With the Rule of Thirds, the most significant design components are positioned at a guide intersection, while the supporting design elements are put inside the sections.
Pro Tip: Whenever you’re finished with a design, or simply need to clear the Guides, press the X button in the top right corner of the canvas to make them disappear.
By calculating the pixel markers to define your Guide lines, locking them in place, and designing with the 9-piece grid in mind, you can easily create your own Rule of Thirds grid!
How to Create Guides for Saved Projects
Did you know Guides can also be saved in your project files? This means you don’t have to set them from scratch every time you upload your project file.
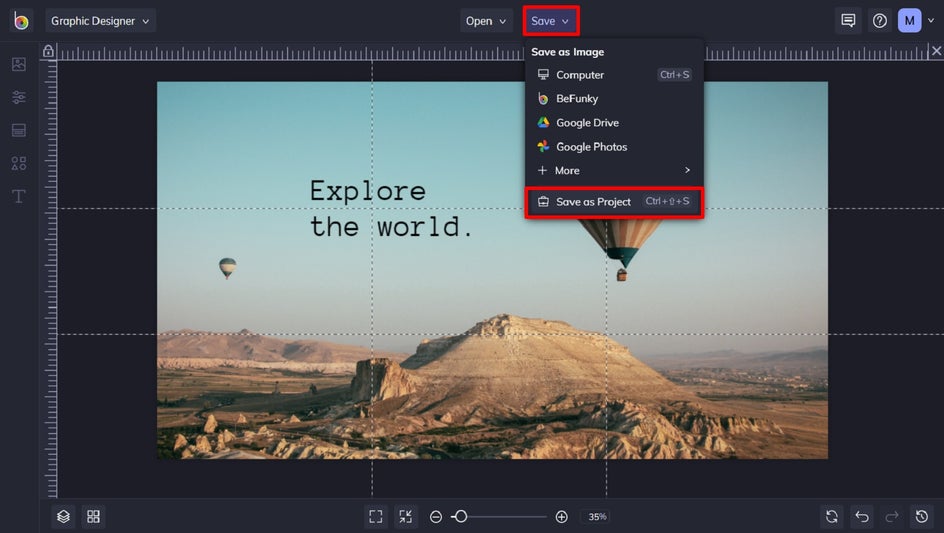
To do this, simply set your Guides, lock them in place, and then use the Save as Project option from the Save tab at the top of the screen. Choose whether you wish to save your design to your BeFunky account or as an editable BFD file on your computer.
Whenever you reopen your saved project, your preset Guides will be there to help you get straight back into it!
How to Manage the Alignment Tools in BeFunky
In BeFunky's Creative Suite, you have complete control over whether or not snap lines, pixel distances, and/or guidelines are displayed while you work. If you ever wish to turn these features off, simply click the Alignment symbol on the left side of the bottom toolbar. This will open the Alignment menu, where you enable or disable Snapping and Display Distances.
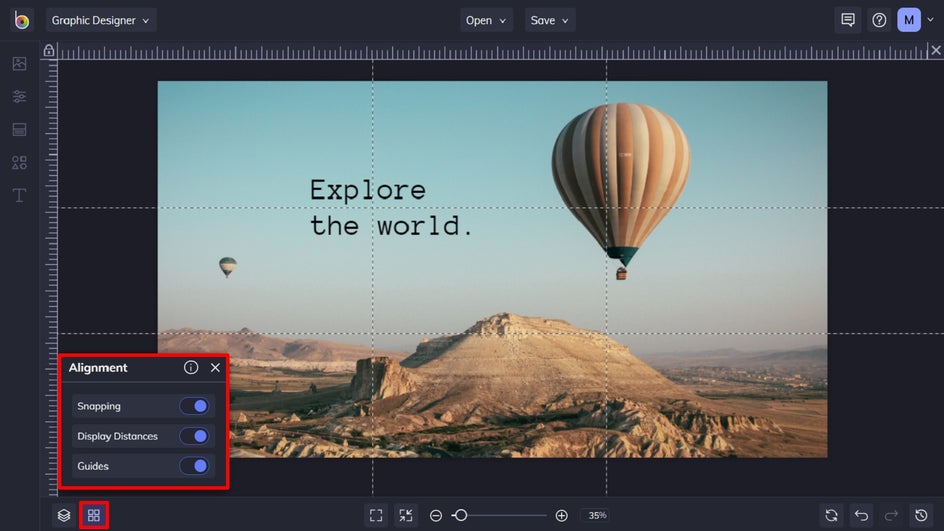
When you enable Snapping, you'll be able to see the snap lines while you work with layers. When you enable Display Distances, you'll be able to view the pixel distance values besides the snap lines. Enabling Guides also displays a ruler border and allows you to set guide lines within your design. At any stage during your creative process, you may change these options to your preferences.
Create Perfectly Presented Designs Just Got Easier
Whether you’re editing a photo, creating a collage, or designing anything with layers, you can rest assured knowing you’ve got the guidance of BeFunky’s powerful alignment tools. When it comes to graphic designs, millimeter-precision is a must-have. With snap lines, pixel distances, and guides, your projects will scream perfection. Go ahead – try out our alignment tools for yourself!