A Guide To Capturing And Editing Sports Photography
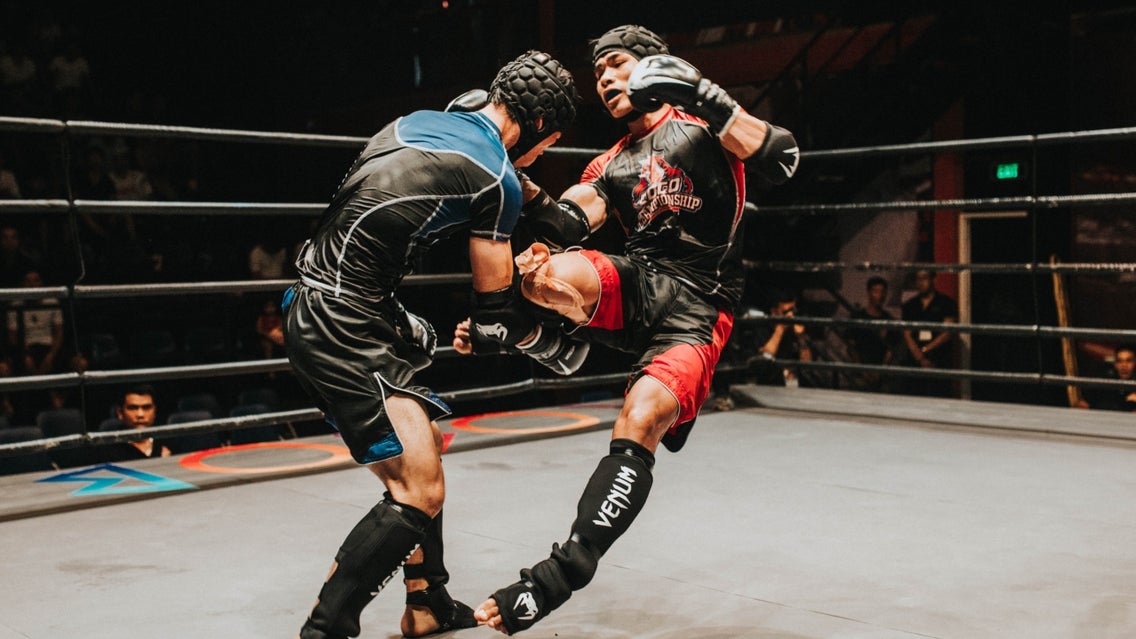
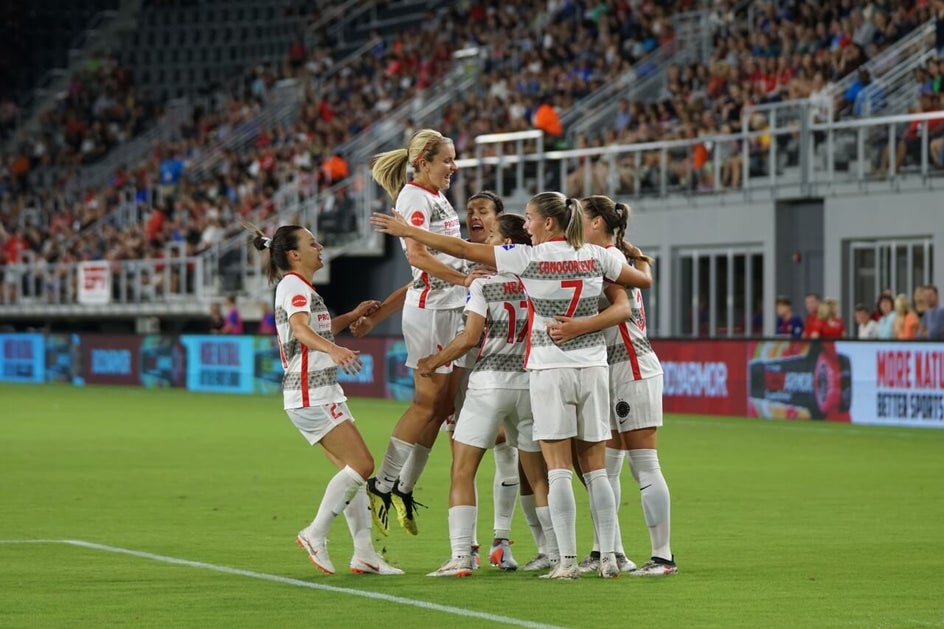
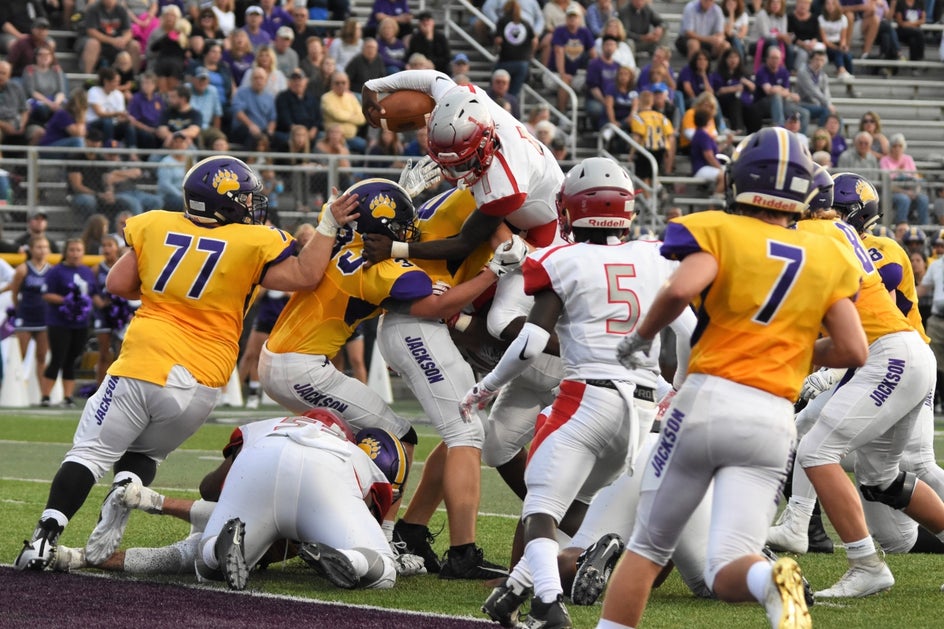
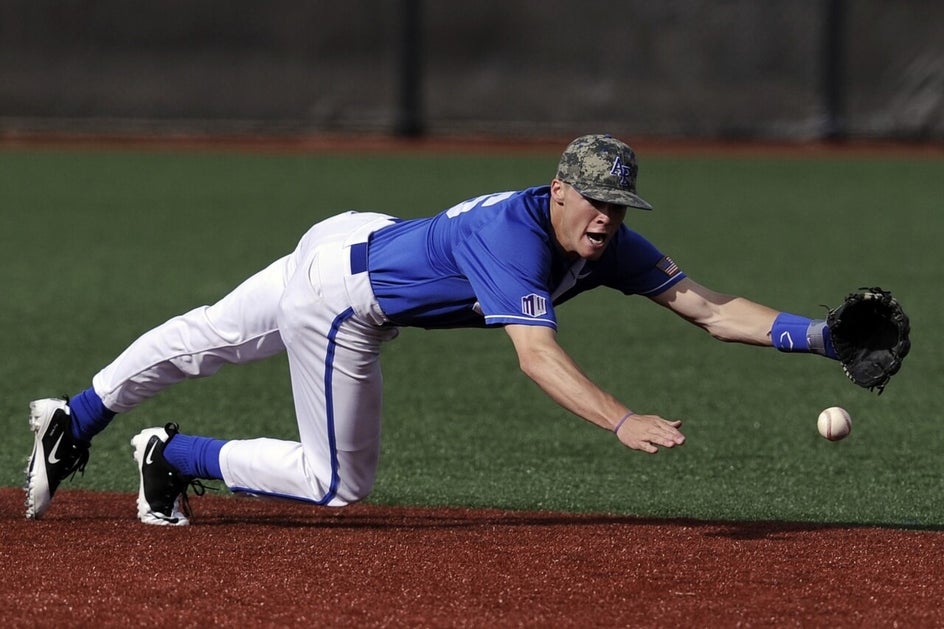
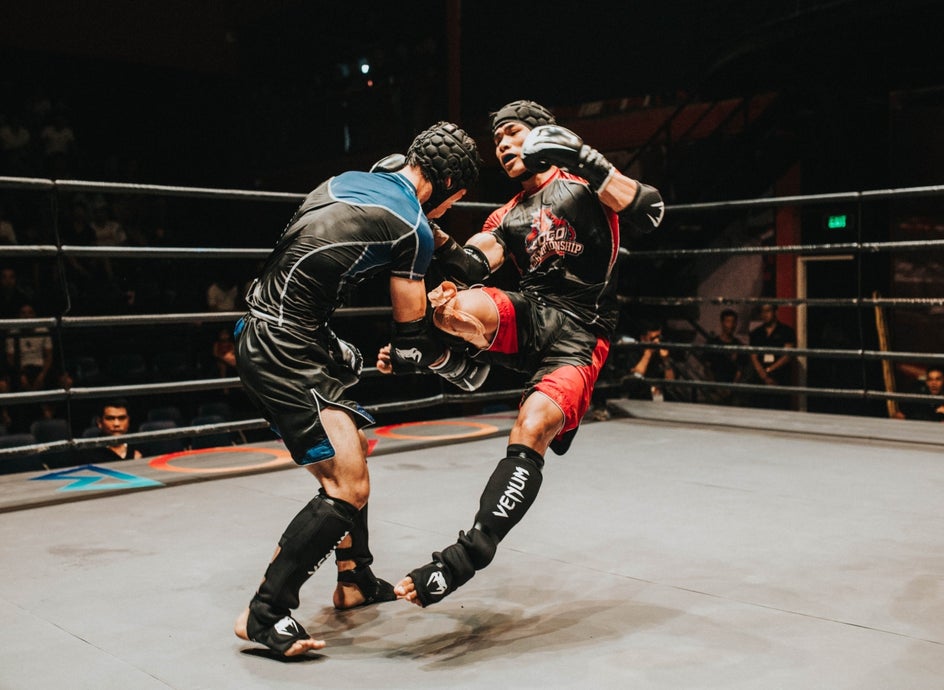
No matter where in the world you live, sports are a huge part of culture. From playing sports to cheering on your favorite teams for March Madness, the Superbowl, and the World Cup, sports are something that can connect us all. And behind the scenes of it all, photographers are clicking at lightning speeds to bring all the action directly to you.
Sports photography is not always what it’s cracked up to be, though. In the media, we see vibrant, perfectly paused moments in time. What we don’t see is the 30,000 plus images left on the photographer’s memory card all leading up to that one still shot. The truth is, more times than not, action photos turn out quite blurry.
After a long game of cheering on your favorite team or trying to capture your child’s first goal, it can be very disappointing to scroll back through your camera roll to find lagged shots of blurred colors and movements. Whether you are a seasoned sports photographer or a newbie hoping to capture some memories, action photography is a continuously learned skill. With the help of some quick tips and tricks and BeFunky’s Photo Editor, you can be assured that on your next shoot you’ll be ready to capture that one crisp shot that will tell the story of the entire event!
Tips For Capturing Sports Photography
Ironic as it may sound, successfully capturing actions shots takes a lot of action from the photographer. Sports photography is a lot less about the right place at the right time, a lot more about learning how to be proactive and reactive and preparing yourself for success.
Acclimate To Your Space
Whether you are showing up to the baseball diamond you grew up on or to a stadium you’ve never seen in real life before, show up early and acclimate yourself to the space. In sports photography, your environment sets the stage for the quality of your images.
You’ll want to scope out the perfect location for the highest volume of action, and don’t forget about switching teams/fields/directions, etc. after half time! Running up and down sidelines only means that you’ll be wasting seconds that you could be shuttering. Action happens so quickly, and as you’ll read below, you’ll want to be in a good position to be able to hold yourself steady for those extreme settings you’ll be operating on.
Shutter Speed Wins The Race
One of the key ingredients to capturing great action shots is having a shutter speed faster than the momentum of the action. Many professional sports photographers shoot at a shutter speed of around 1/1000 of a second, but keep in mind that this means other functions of your camera are going to have to compensate for those high shutter speeds. With a rapidly closing shutter, you’ll need to adjust your aperture (F-Stop on your DSLR) accordingly to let in enough light to make up for the very short amount of time that light will actually be let in.
Most newer DSLR cameras have a Sports Mode that you can use if you’re not as comfortable adjusting the settings in Manual Mode. You can fully shoot in this setting, or use it as your starting point for manual settings and then adjust accordingly.
Depend On Your ISO
Since your shutter speed and aperture are working so collaboratively, you’ll want to give a solid amount of attention to your ISO setting for lighting adjustments. This will act as the backbone for your constantly changing shutter speed and aperture.
For bright environments, like outdoor daytime shooting, use a lower ISO and for darker silhouetted environments like an indoor court, user a broader ISO to let in more light.
Keep Your Eye On The Prize
Never, ever put your camera down. Some of the greatest action shots come from reactive moments. Just because the big play is over does not mean the excitement stops. Sports and games are unpredictable so always be ready to be reactive!
You can check your images during timeouts or break periods if you need to, but be action-minded. When there is movement, you should be moving (or clicking) too.
Proactively Prepare Your Shot
One of the most difficult, but most beneficial parts of sports photography is teaching your eye how to be proactive. You always want to be one to two steps ahead. You want to anticipate what is going to happen next and have your view directed and focused when a subject enters your frame.
Do not overestimate your eye because by the time your mind signals your finger to push the shutter, the moment may already be over, and do not underestimate your camera. Your shutter can open and close much faster than you may think so it’s okay to start clicking early. You’re guaranteed to land some good shots of the entire play that way.
Lenses Matter
Sports and games often take up a great deal of space. Whether on a field or court or track or pool, you are going to run into instances where your subjects are going to be near and far. Equipping yourself with a zoom lens, or with a couple interchangeable lenses is a good idea. You can determine the best choice for you based upon what type of action you are trying to capture, but limiting yourself to one reach can potentially cut your content in half.
Back to an earlier tip, you won’t have ample time to run back and forth to shoot, so having the adequate lenses for different lengths and perceptions is key. You can always crop and rotate your photos in the editing stage.
Auto-Focus Is Your Friend
Manually focusing just isn’t the most feasible option for capturing action, so chances are, you’ll have your camera set to auto-focus. But, did you know there is more than one way to auto-focus? Most newer DSLRs will have an additional auto-focus function and many have the “AF-ON” button located directly on the back of the camera (if yours does not, check your settings menu to turn your function on.) This additional auto-focus allows you to choose your focal point and essentially lock it in. Combining this function with your Proactive step will set you up for success.
For instance, say you’re focused on a soccer field, about two steps ahead of the play. If you hold your “AF-ON” button, when the player or ball enters the frame and you begin shuttering, the focus will stay sharp throughout the entire frame. You can add your own blurred effects to different parts of the image with BeFunky’s Photo Editor later in the editing process to add depth to the image.
The More The Merrier
This one can’t be said enough -- you cannot take too many photos. You can always go back and delete the ones that you don’t want but you won’t be able to go back and recreate an image, so capture everything.

You never know what images you may come across that don’t look great raw but could be edited to perfection!
How To Edit Sports Photography
When one game fills an entire memory card you’ll want to make sure those few clean shots are as pristine as possible. With these tools and effects available in BeFunky’s Photo Editor, you’re guaranteed to take your sports photography from good to jaw dropping:
Crop Photos to Remove Distractions
An action packed game or event can fill a frame with many background distractions, so starting with the Crop tool in BeFunky’s Photo editor will allow you to cut out the background noise and focus in on the main subject.

You’ll find the Crop tool in the Edit tab of left panel menu. After clicking on it, you’ll notice that you can choose a specific Aspect Ratio from the dropdown menu or drag the corners of the crop target to use it in Freeform mode. When you have the dimensions set the way you want, click the blue checkmark and watch those background distractions disappear.
Enhance Highlights with the Glow Tool
In the Edit tab of BeFunky’s Photo Editor, you’ll find a magical tool called Glow. You can use the Glow tool to add a soft additional glow to the highlights in your photos. This works especially well with direct lights in darker environments like fluorescent gym lights or stadium lights at a nighttime game.

After selecting the Glow tool, choose your Intensity level and then play with additional slider adjustments like Amount, Glow Size, Glint Size, and Tolerance. When your highlights are looking extra radiant, click the blue checkmark to apply the edit.
Add a Vignette Effect
Adding a subtle vignette effect to your photograph can help direct the focal point of the image where it needs to be. In the Edit tab of BeFunky’s Photo Editor, click on Vignette and choose the shape using the buttons at the top of the menu, then drag the circles and squares of the vignette target to position it on your photo.
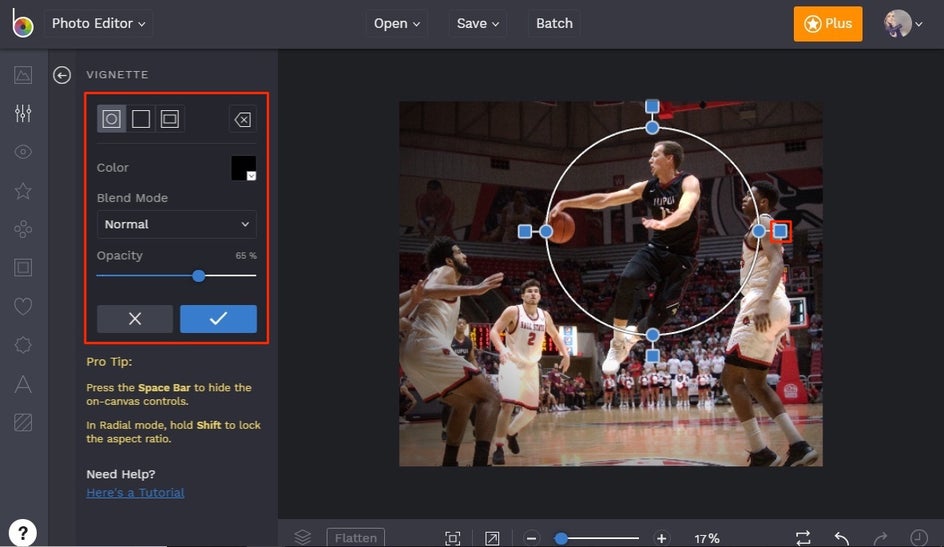
To make sure your vignette is subtle and doesn’t detract from the action, keep the Opacity slider on the lower side by dragging it slightly to the left. You can also change the Color of the vignette to match the shade of your background to make it look more seamless and natural. When you’ve got it looking perfect, use the blue checkmark to apply it to your image.
Add Depth of Field with Funky Focus
Manipulating focal points in the editing phase can drastically enhance your sports photography. After cropping your image and adding a vignette to the background, choosing to apply a focus lens will really make your main subject pop. Even if you don’t have a fancy camera that will add depth of field to your original image, the Funky Focus tool in BeFunky’s Photo Editor will help you get the look by slightly blurring the background around your subject.
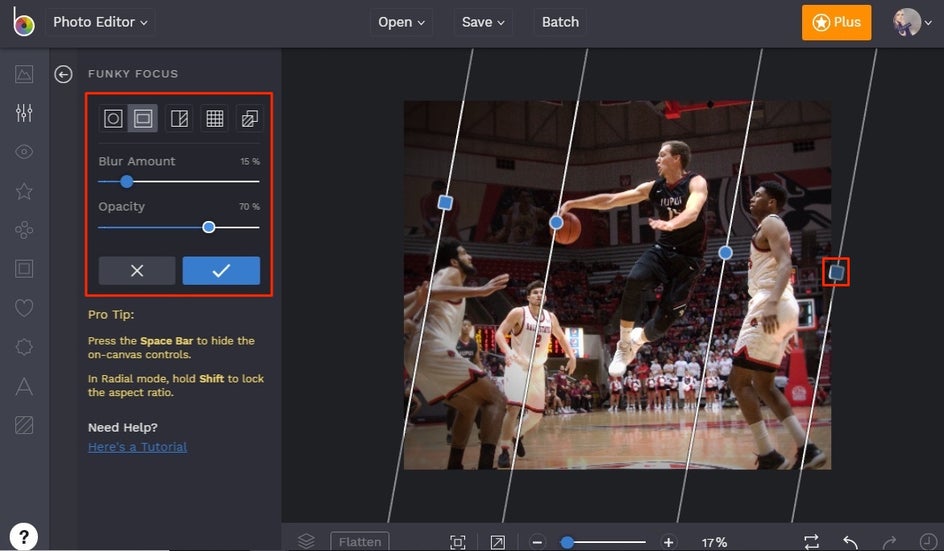
After selecting Funky Focus from the Edit tab on the left, choose your focal lens shape and then manually drag each corner to customize it. From there, you can choose your level of Opacity and Blur Amount using the sliders for controlling the outer edges of your focal point. When you’ve got the focal point and settings exactly where you want them, click the blue checkmark to apply the effect.
Bring out Detail with HDR Effects
Finally, adding the HDR DLX effect will help bring out all of the small details that give character to your image, like the texture of a ball or the crease of a jersey. To use it, click on the Enhance DLX button at the top of the Edit tab. You’ll find four different photo enhancer effects in this category that are so powerful, they can even rescue the most problematic of photos. For bringing out the fine details, click on HDR DLX.
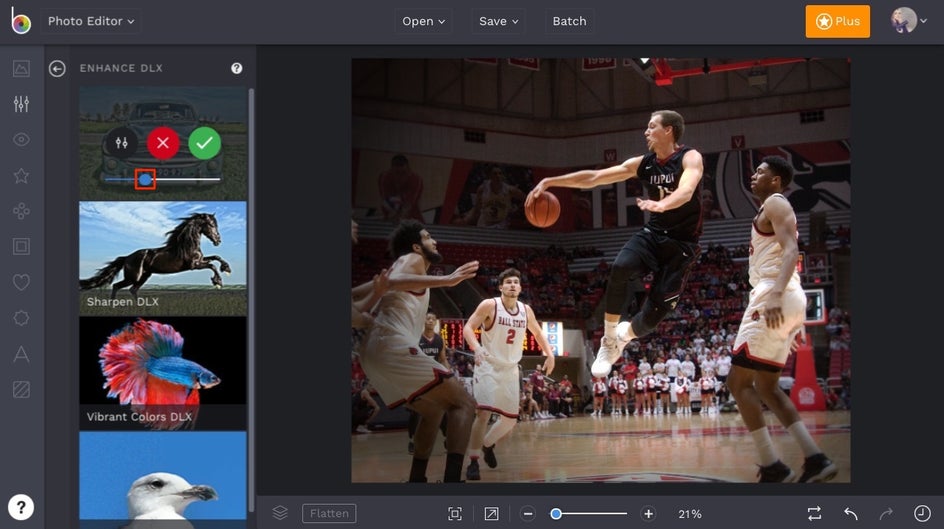
Use the slider on the HDR DLX thumbnail to control the amount of detail you want to add to your photo. If you want to get really detailed, click the Settings menu icon (looks like a mixing board) for even more control! When you’re finished, click the checkmark to apply your effect.
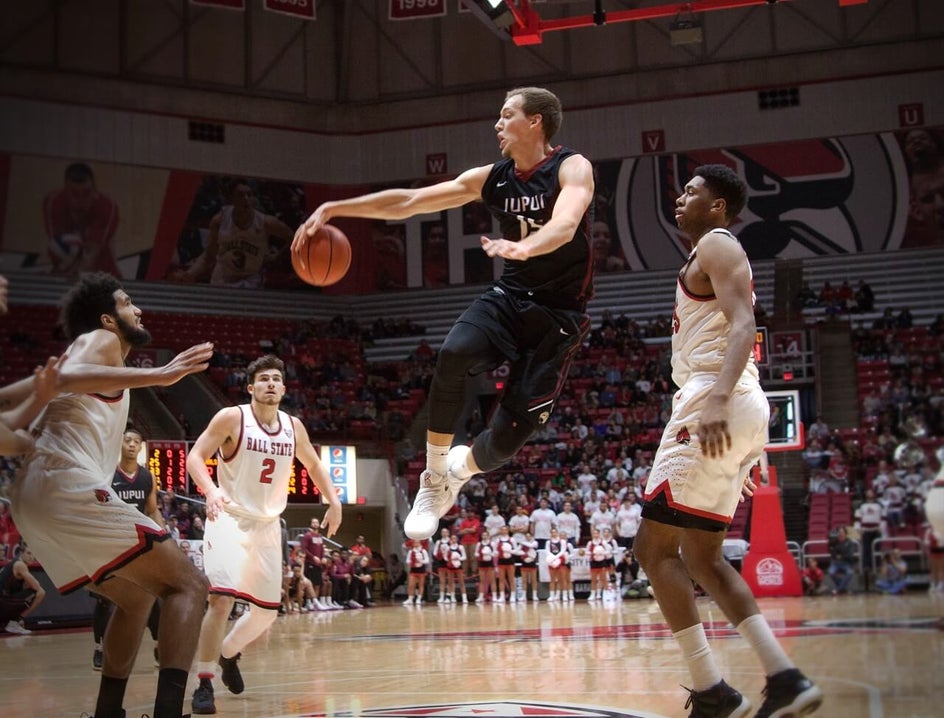
Final Results
Whether you are sitting in the stadium stands with an iPhone or are standing courtside with a rapid shutter speed, you’ve learned the steps to never miss a beat. Your friends will be asking you to bring your camera to all the games and you're bound to become the designated family photographer, but regardless of the environment you’re swayed into, you know you’ll be prepared with shooting strategies and surefire editing techniques to deliver that one epic image every time!
Ready to get started editing your action photography? Click the link below and find all the photo editing tools and effects you need.