How To Add Texture Backgrounds To Your Photos
As once said by the famous photographer Ansel Adams, “you don’t take a photograph, you make it.” There’s an art form to capturing great images using photography, and the starting point begins before you even hit capture on your camera - but it doesn’t end with the capture button. To make a unique photograph, there’s a whole world of photo editing magic that can unlock your photo’s true potential and give it character. One of the simplest ways is to add texture backgrounds in the editing process.
If you’ve got a creative inclination to stray from the basic editing techniques and do something a little different with your photography, then texture backgrounds are for you! By adding texture to your photos, you can make a present day photo look historic, a digital photo look like it’s been scanned onto canvas, give it a vintage postcard feel, and add loads of depth that can’t be captured with your camera. With BeFunky’s huge collections of texture backgrounds, it’s really easy to let your creative side soar.
What Is A Texture Background?
A texture background in the photo editing process refers to the perceived feel, appearance, or consistency of the surface or subject. It’s essentially an image overlay of a textured surface, and when applied to your own image, adds a visual element that gives your photos depth and perceived feel. You can use them selectively to enhance certain parts of your photo and make flat surfaces look more 3D, or you can apply texture backgrounds to the entire photo, giving the appearance that it’s printed on canvas, paper, metal, and more!
One of the most common uses of texture backgrounds is to create a vintage aesthetic. With texture backgrounds, you can replicate the look of a historic photo by adding scratches and distress marks, manipulate the colors with a paint texture, and even make your photo look like it’s been scanned on antique paper. You can transform a solid-colored background into something more interesting by applying a more patterned texture. Whatever look you’re going for, BeFunky’s Textures library has a little something for everything!
When To Use Texture Backgrounds
Textures can enhance any type of photography, but they’re mostly used to create the look of a vintage or well-worn photograph. That means it’s best to start with photos that are a bit desaturated or chromatic in nature. With that in mind, here are the best types of photos to use with Textures:
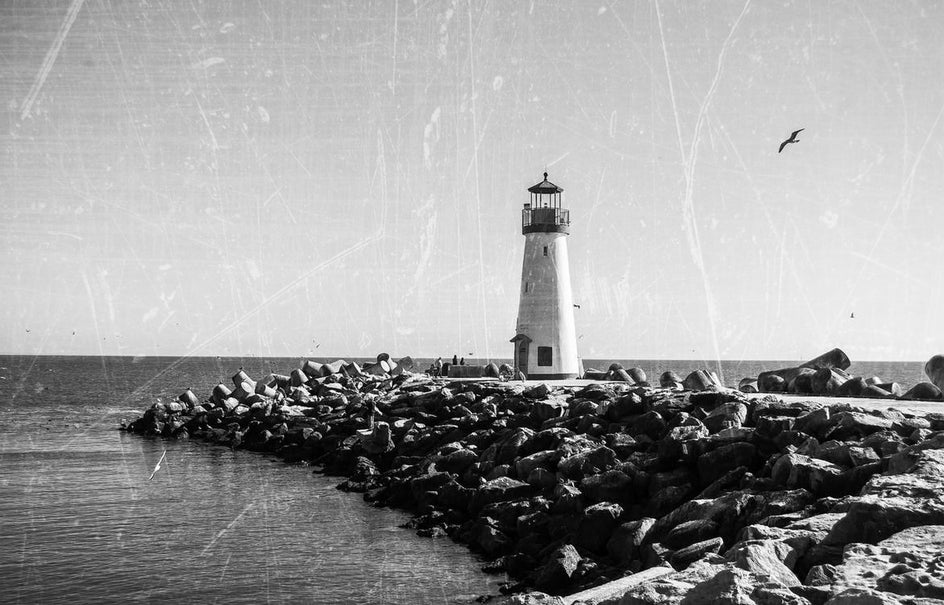
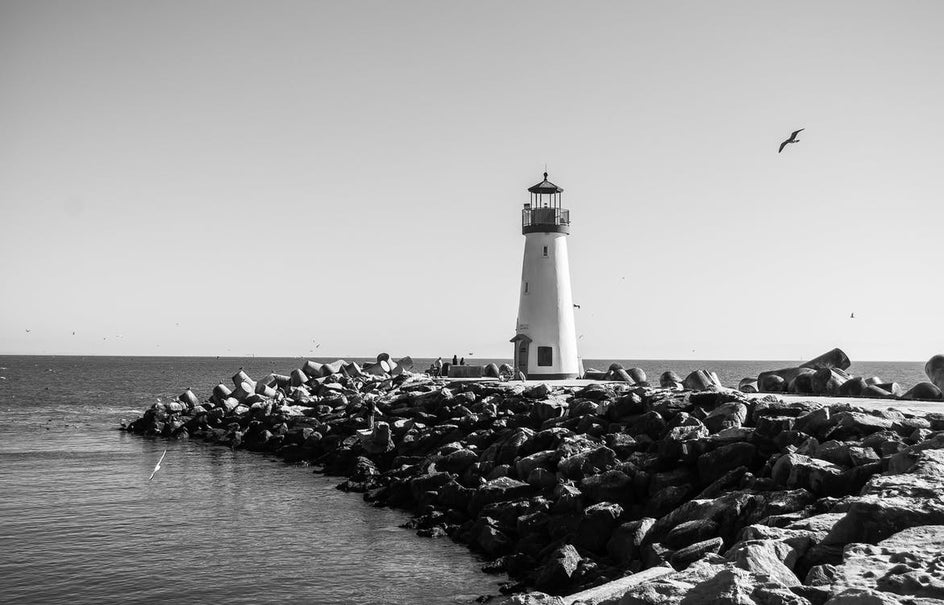
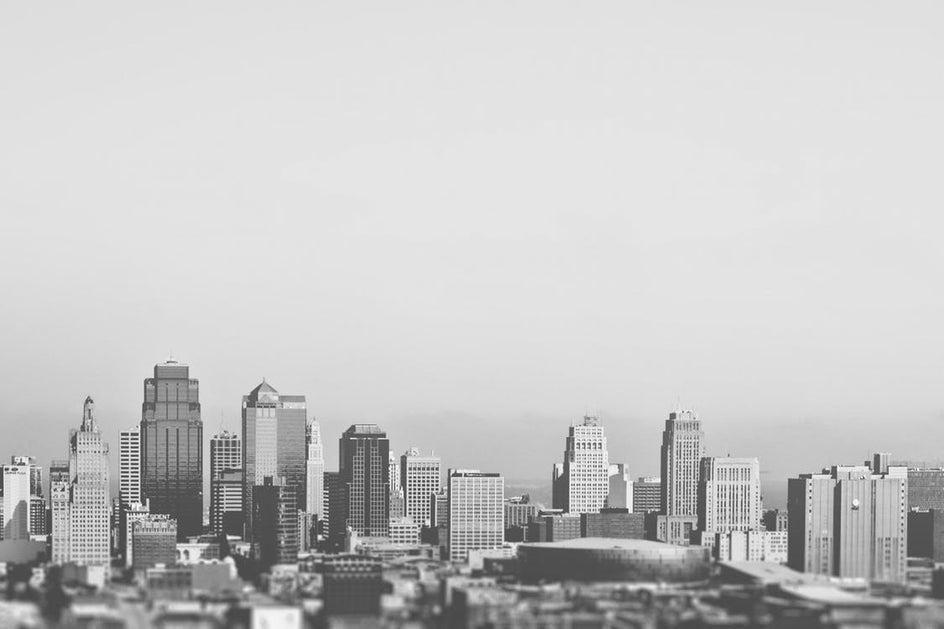
Black and White Photography. Using Black and White effects on your photos can make them look moody and dated (in the best way!), but you can take it a step further with Textures like scratches to make them next-level vintage:
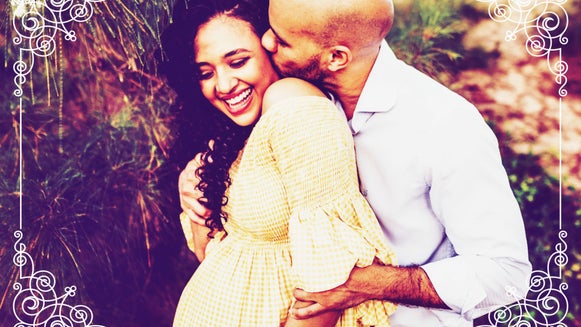
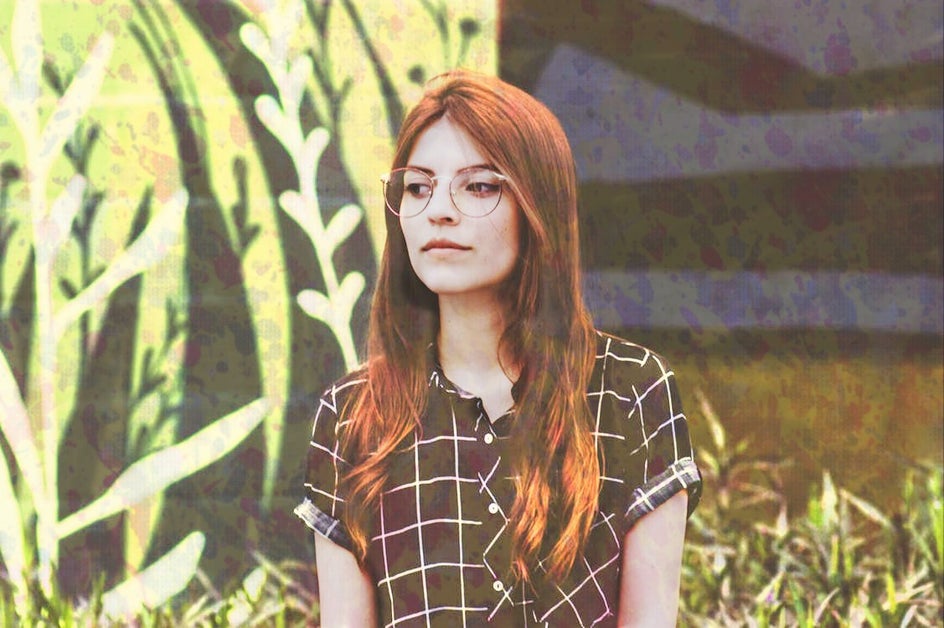
Portraits. If you want to make your next portrait look like a nostalgic work of art, a Paint texture background will take your photo to a whole new aesthetic level. No need to let the colors age for decades.
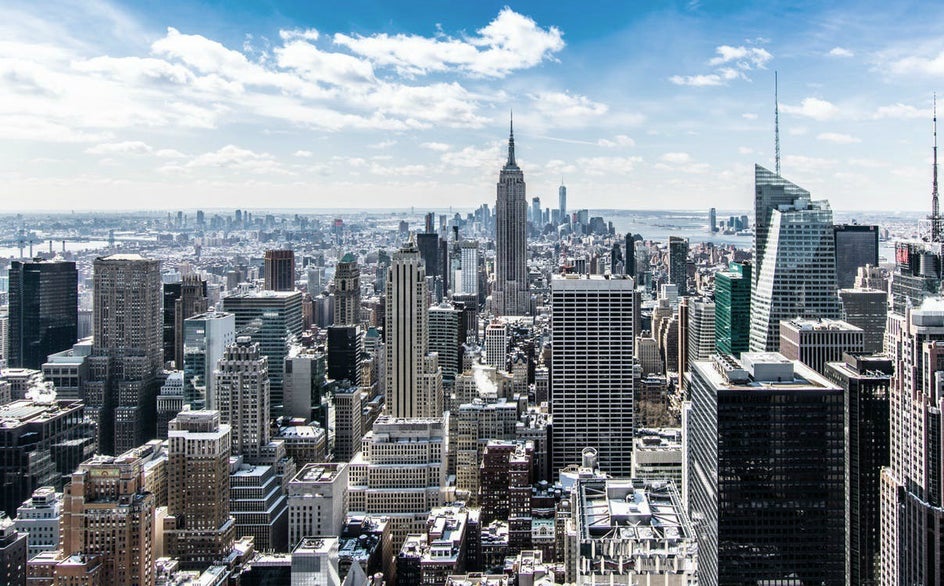
Buildings. Even a current photo of your cityscape can look like it was taken with a vintage camera when you add a distressing texture background like Grunge.

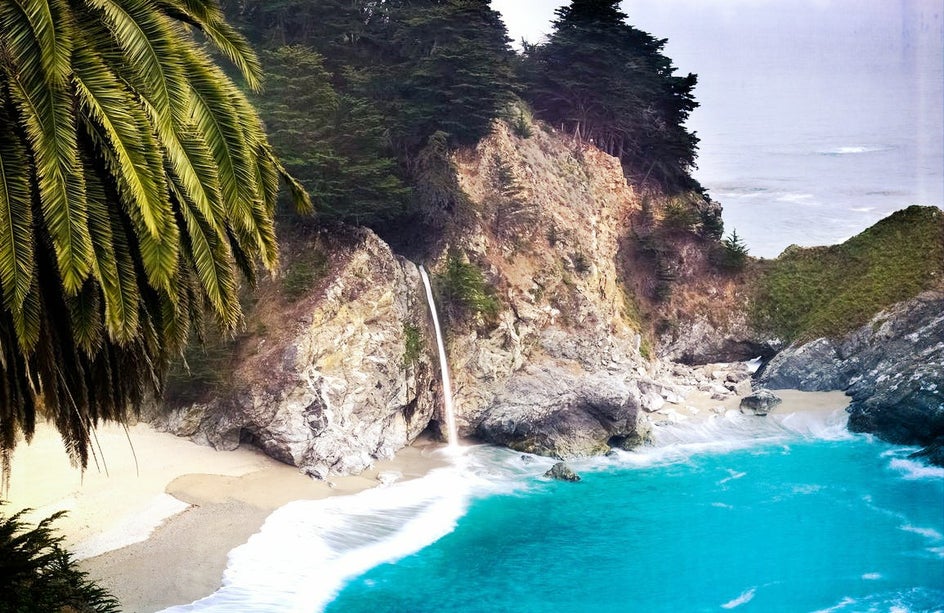
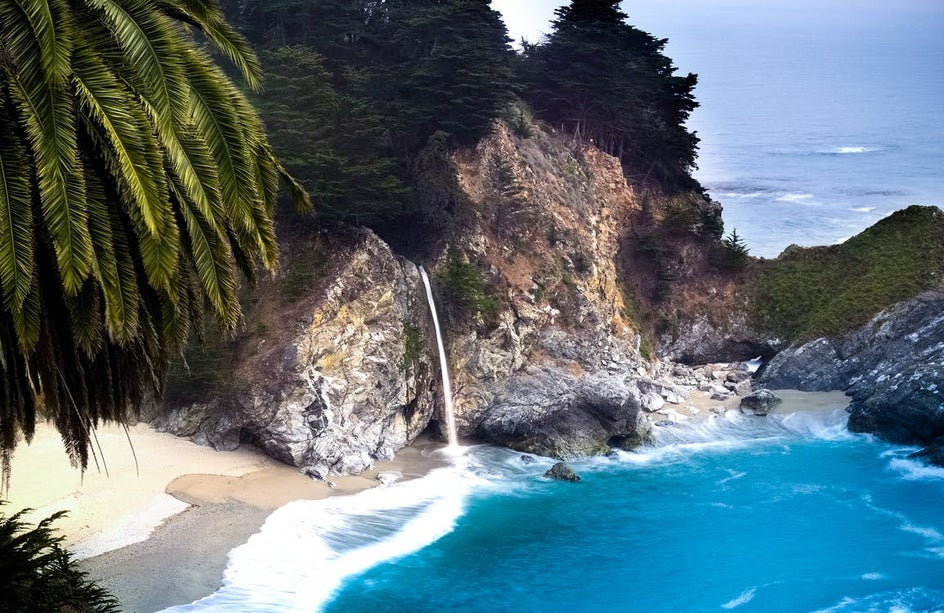
Landscapes. Transform a landscape photo into a retro postcard by adding a Paper texture. Bonus points if you add a frame from the Frames tab.
How To Enhance A Photo With Textures
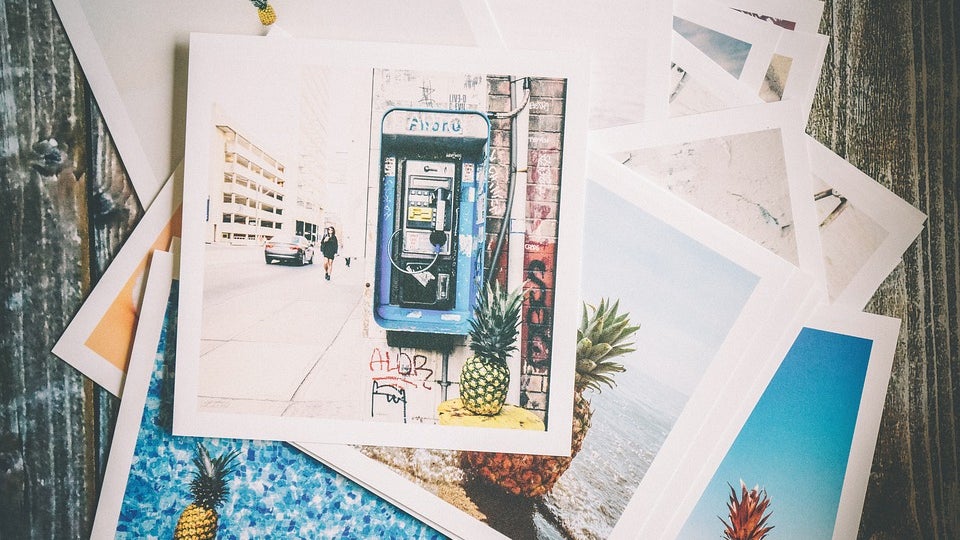
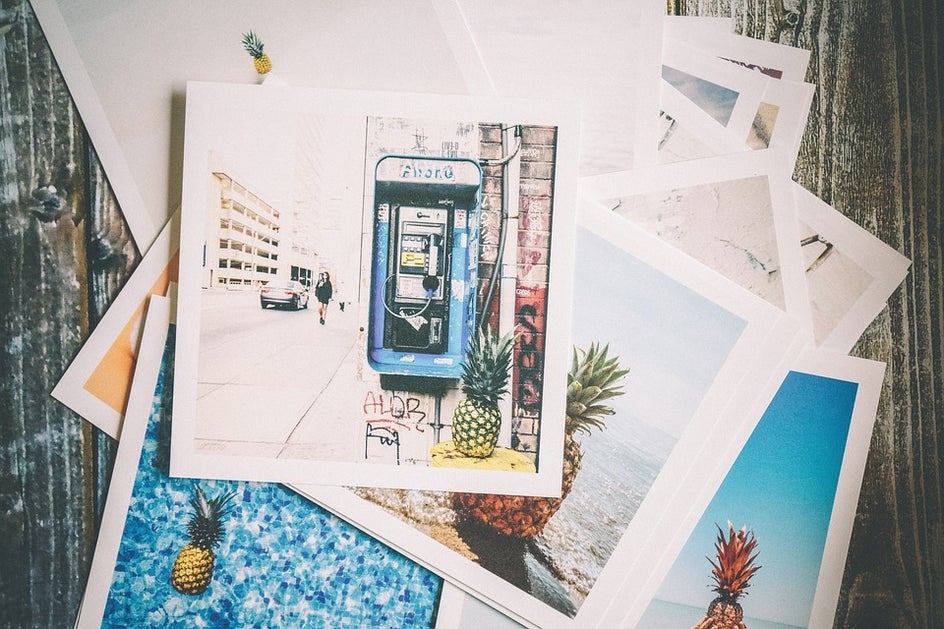
Once you have the perfect photo in mind, upload it to the Photo Editor. From here, find the Textures section from your toolbar. This is where the real magic happens. In the Textures tab, you’ll notice several categories of textures you can use to manipulate your photo. From classic Canvas and Paper texture backgrounds, to more distressing textures like Scratches, Metal, and Grunge, you’ll find everything you need to create the look you’re going for. For this example, we’re going to add a few Scratches to this photo to make it look like it’s seen a few decades.

Click on the Scratches category, and as you click on the options presented there, you’ll be able to preview each Texture on your entire photo. Notice that when you click on each Texture, you can access it’s Settings Menu (looks like a mixing board icon). When you click on the Settings Menu, you’re able to adjust the Opacity of the Texture, rotate it, and even adjust the Blend Mode for some really unique looks. Once you’ve got things looking perfectly distressed, click the blue checkmark to apply it.
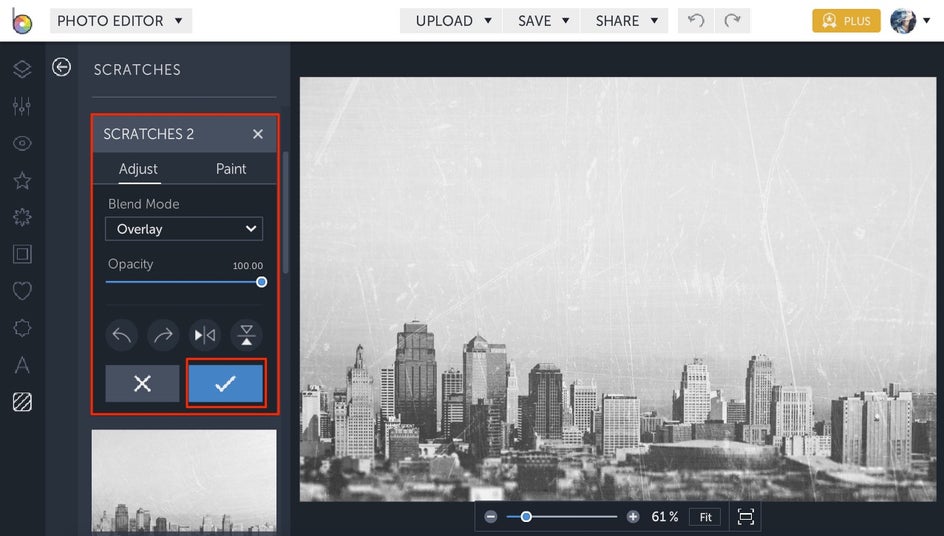
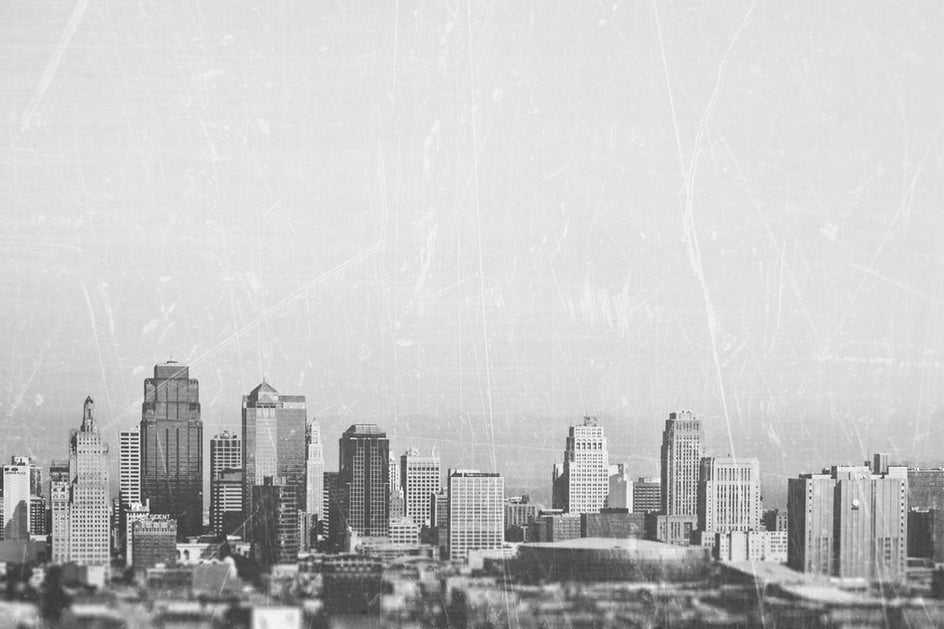
For this particular photo, we went with Scratches 2. See the incredible distressed look we’ve created over the entire photo?
Using Texture Selectively
Let’s say you just want to create a texture background in only part of your photo instead of applying a Texture to the entire thing. We’ve uploaded a new photo just for this example.
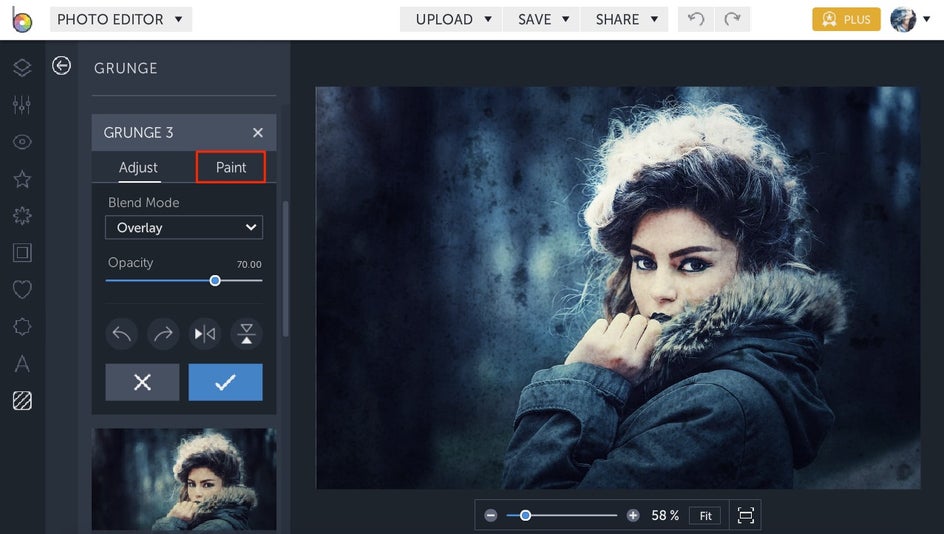
When you click on a Texture, it’s previewed as an overlay on top of the entire photo - but with BeFunky, you have total control over which parts of the photo you actually want to add texture. Preview the Textures until you find one you like for your background. Click on the Settings Menu and then click on Paint in the right corner to access Paint Mode.
With a simple click and drag of your mouse, you can easily erase the Texture from any area of the photo. This way, you can create a captivating textured background in just a few swipes of the paintbrush.
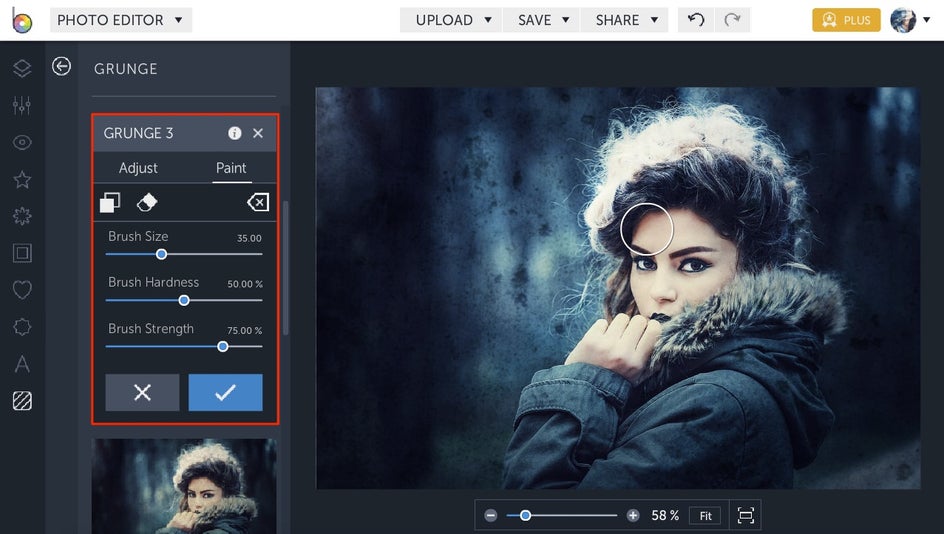
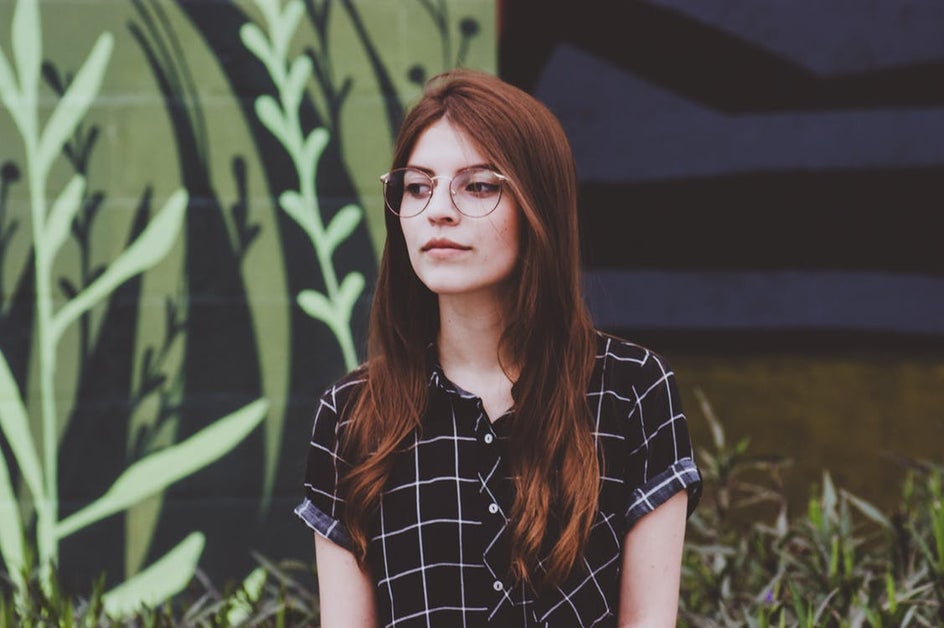
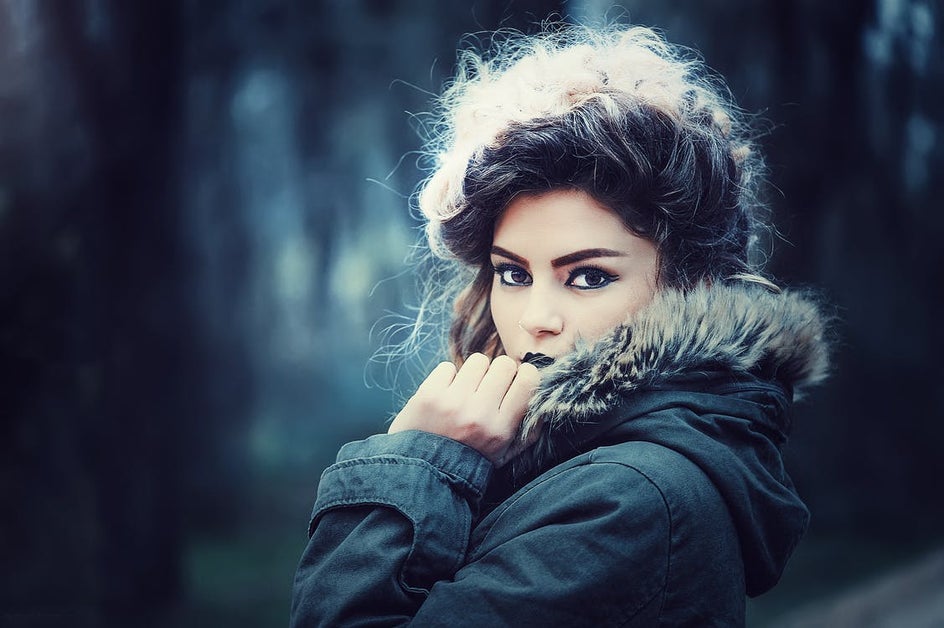
For this photo, we went with Grunge 3 and erased all texture from the subject in the foreground. See how it makes the portrait pop?

Ready to start adding unique Textures to your photos? With BeFunky, you can add a texture background to any photo in just a few clicks. Use them in combination with other effects in our Photo Editor or layer as many Textures as you want - the possibilities are literally endless.