How to Design a Thanksgiving Dinner Menu for Your Feast
With the holiday season now in full swing (and the spooky decorations packed away), we’re setting our sights on the next big celebration – Thanksgiving of course! Once you’ve narrowed down your guest list and sent out the invitations, it’s time to start thinking about the best part: the delicious food.
Planning your Thanksgiving menu is no easy feat, but with the right advice on board, you’ll soon be serving up a delicious spread that’ll keep everyone happy.
Keep reading for our top tips for planning everything from the appetizers right through to desserts. Plus, we'll even show you how you can customize a Thanksgiving menu template online for free using BeFunky’s Graphic Designer!
5 Thanksgiving Menu Planning Tips
The key to a successful Thanksgiving celebration is planning, particularly when it comes to what you and your guests will eat on this special day. Thankfully, you can take the stress out of the occasion by following our top tips below!
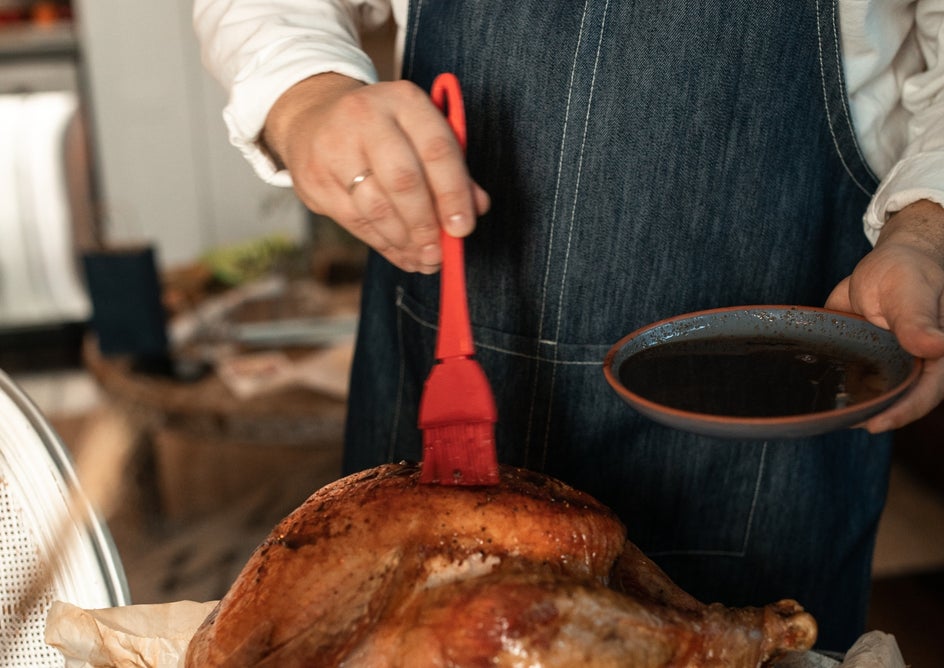
1. Buy Your Turkey Early
With the majority of Americans serving turkey for the special day, it comes as no surprise that supermarkets across your city will begin to sell out of it. Trust us, you don’t want to be that person scrambling around from store to store looking for the last one! Preparation is key, so it’s advised that you preorder your delicious turkey at least up to two weeks before the event.
2. Brainstorm Your Menu in Advance
While turkey might be a given, you’ll still have to plan the rest of your Thanksgiving dinner menu. For some, it can be tempting to over-cater without taking the size of their kitchen (and oven) into account. On the other hand, you don’t want to risk simplifying your menu so much that you’re left with an almost-empty table (and hungry guests).
Finding the balance between these two extremes doesn’t have to be difficult. Here’s a handy guide below:
- Appetizers: 2 – 3
- Sides: 3 – 4
- Mains: 1 – 2 (including the turkey)
- Desserts: 2 – 3
You want to strive for variety, so keeping these numbers in mind for any sized gathering will ensure you get it just right.
3. Plan Your Table Setting
Here’s another important element of hosting Thanksgiving that you shouldn’t leave until the last minute: your table setting. You’ll want to ensure that guests have everything they need within reach to enjoy the delicious food and beverages you serve up.
There are a few necessary components you’ll need to think about, including:
- Placeholders
- Napkins
- Plates
- Cutlery
- Table decorations
- Glassware
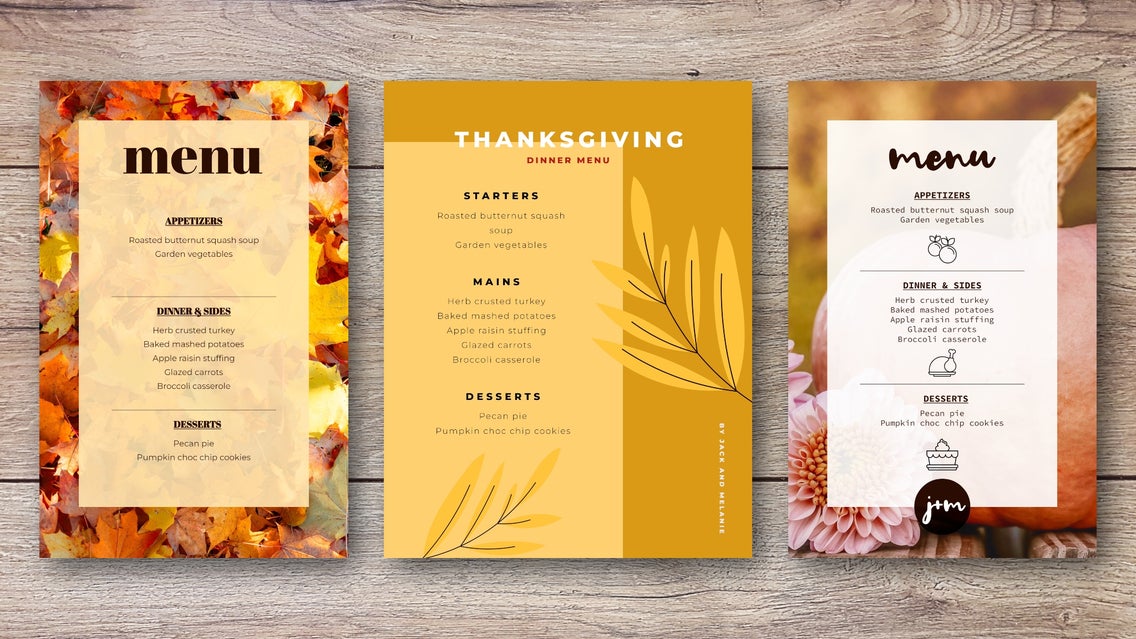
- Menus (which we’ll talk about more in the next section)

4. Plan Two Shopping Trips
Let’s face it, grabbing everything you need within just one shop can be overwhelming, especially when your grocery list is very long. That’s why it’s best to break your Thanksgiving shopping down into two trips.
We recommend purchasing non-perishable goods (or those with a long expiration date) about a week beforehand, before buying groceries such as vegetables or dairy goods 2-3 days before the event. Just don’t forget to write everything down so you don’t forget anything!
5. Don’t Leave Everything to the Last Day
In order to prevent a stressful day, it’s important that you get as much done as possible in the lead-up. In the week before your Thanksgiving event, write a checklist of all of the kitchen utensils or cookware you’ll need to prepare each dish. If there’s anything you currently don’t own, make sure you go to the store that same day to stock up.
Additionally, you can begin cooking some dishes the day before your Thanksgiving event, particularly desserts and appetizers that are just as delicious warmed up the next day (such as any pies or casseroles).
Another great prep tip is to pre-cut all of your vegetables the day before. You can then store these in an airtight container, ready to use in your recipes the next day.
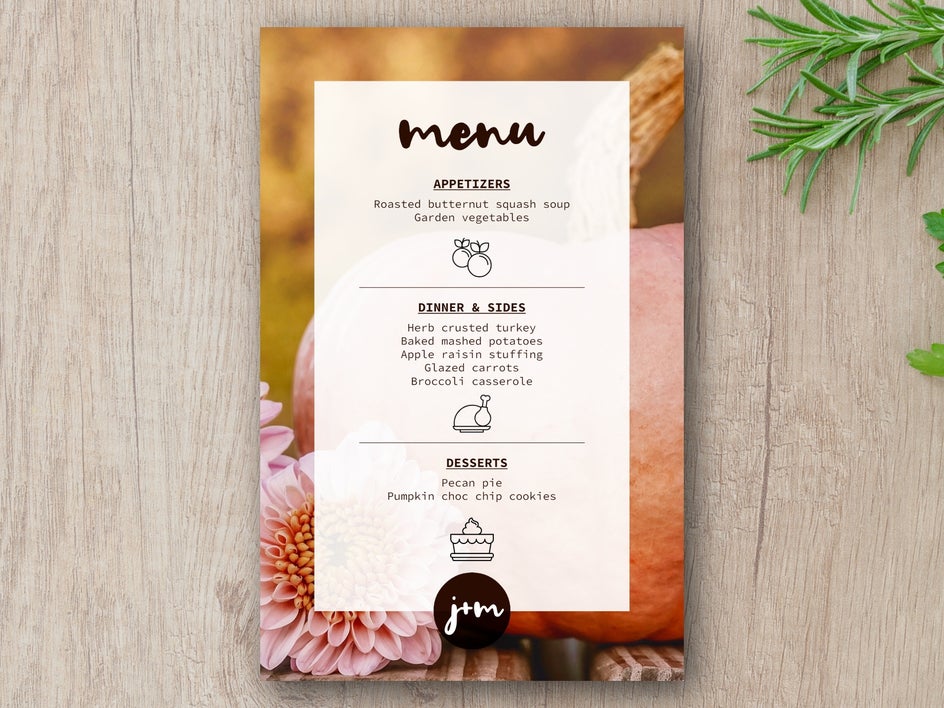
How to Design a Thanksgiving Menu Using BeFunky
Now that you know what dishes you’ll be serving on Thanksgiving, it’s time to discover the wide range of Thanksgiving menu ideas available in BeFunky’s Graphic Designer.
The Designer even has free menu templates that you can easily customize within just minutes. To get started, head to the Graphic Designer, then follow the simple steps below!
Step 1: Select Your Menu Template
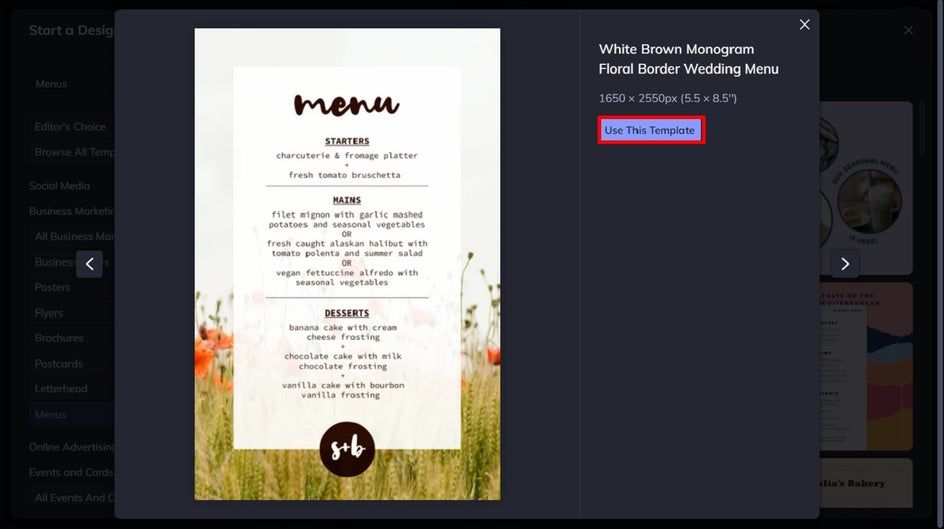
In the Templates library of the Graphic Designer, navigate to Business Marketing, followed by Menus. As you can see, there are plenty of menu templates to choose from, including some free menu templates in the first row. For this tutorial, we’ll be using the free ‘White Brown Monogram Floral Border’ template.
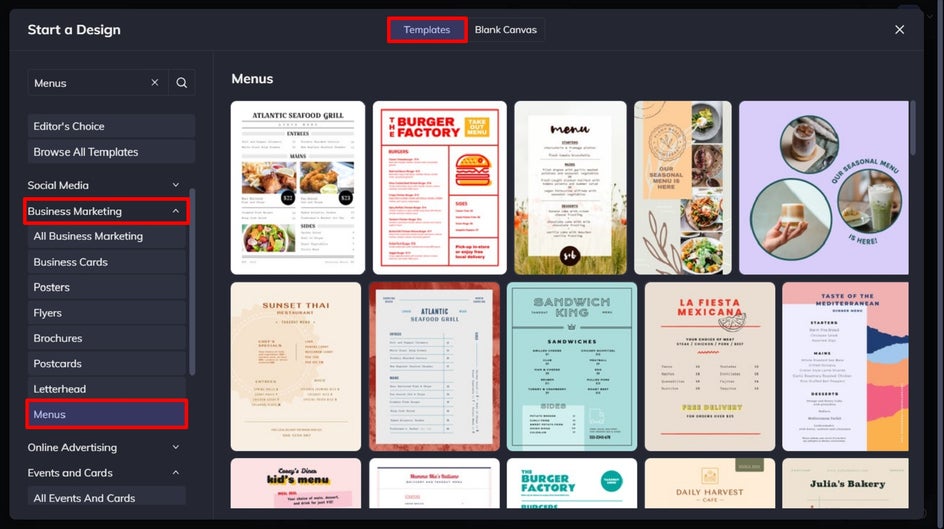
Select the menu template that takes your fancy, then click Use This Template to begin editing.
Step 2: Change the Existing Background
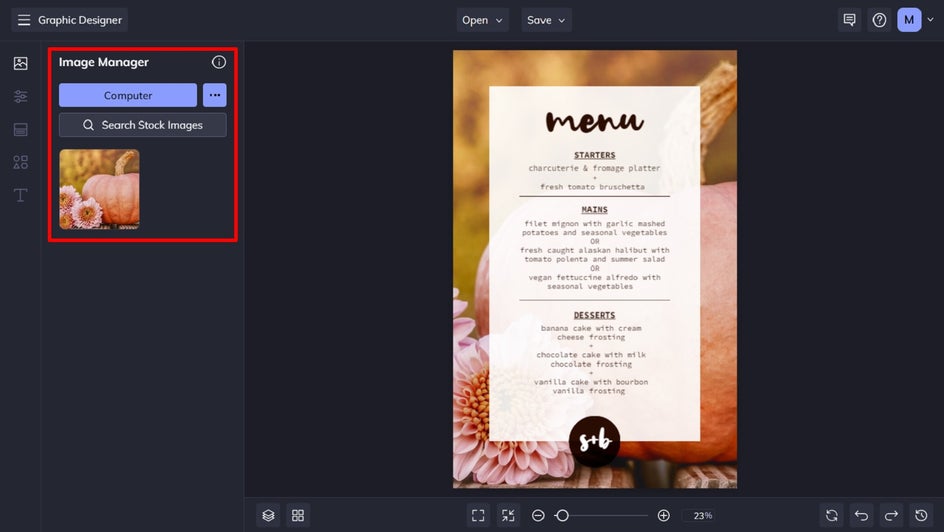
For templates containing a photo background, you can easily swap this out for your own image by navigating to the Image Manager in the main menu on the left. From here, you can upload your own image from your computer’s files, as well as your BeFunky account, Facebook, or Google Photos.
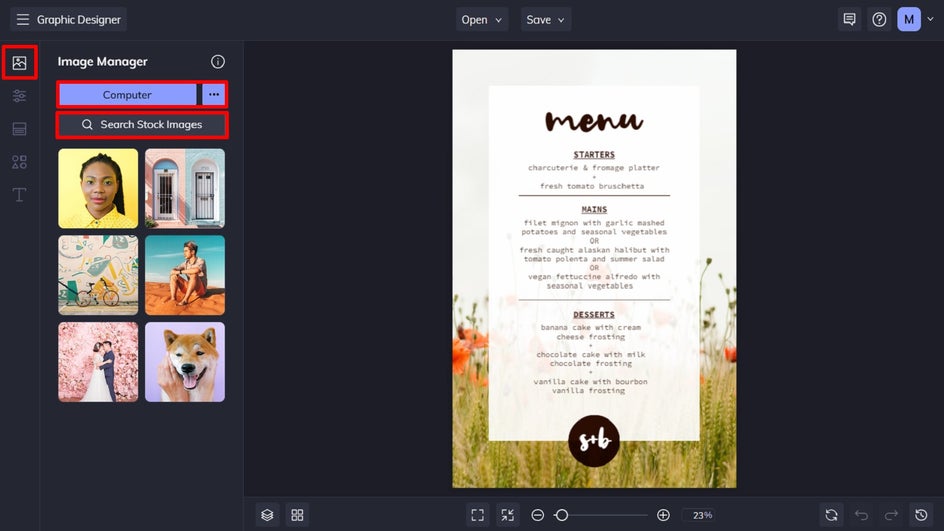
Alternatively, you can use a photo from BeFunky’s huge library of free stock images. Just click Search Stock Images to access this. In this example, we’ve searched for stock images relating specifically to Thanksgiving to serve as our menu background.

When you select a photo from your own files or the Stock Library, it will be added to your Image Manager. Then, you can simply drag and drop it onto your template to add it to your design.
Step 3: Edit the Existing Menu Text
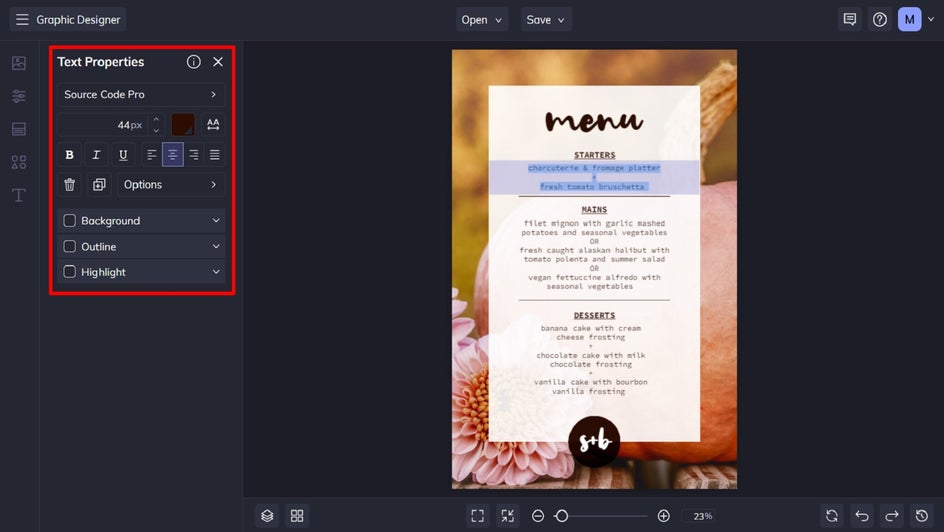
The next step is to edit your template’s existing text, so it reflects your very own Thanksgiving dinner menu. You can change what the text says by double-clicking on the text box and typing.
When you click on any text box, a Text Properties panel also appears, where you can change elements such as font family, font size, spacing, paragraph, color, and more.
Step 4: Add Graphics
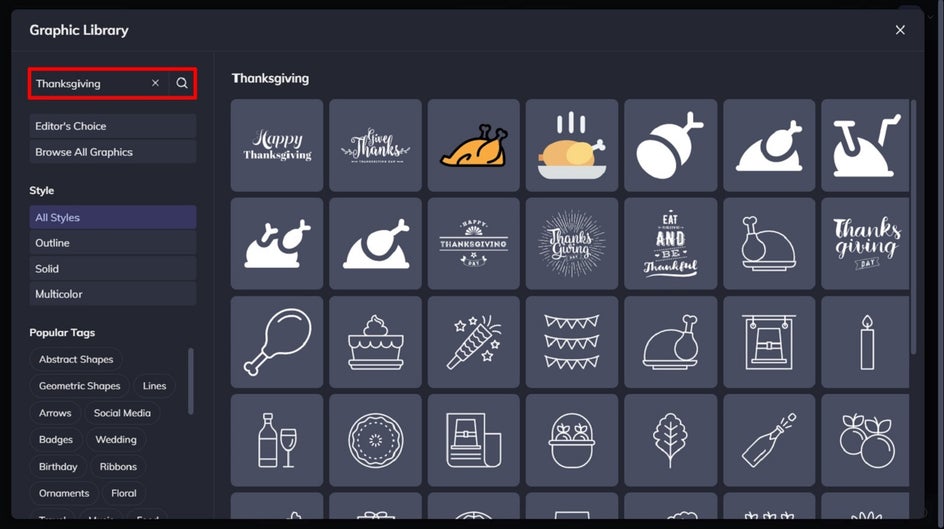
If you think your menu design is lacking some extra wow factor, you can add a wide range of graphics by navigating to Graphics in the main menu. Upload your own from your computer, or click Search Graphics to access BeFunky’s own extensive library.
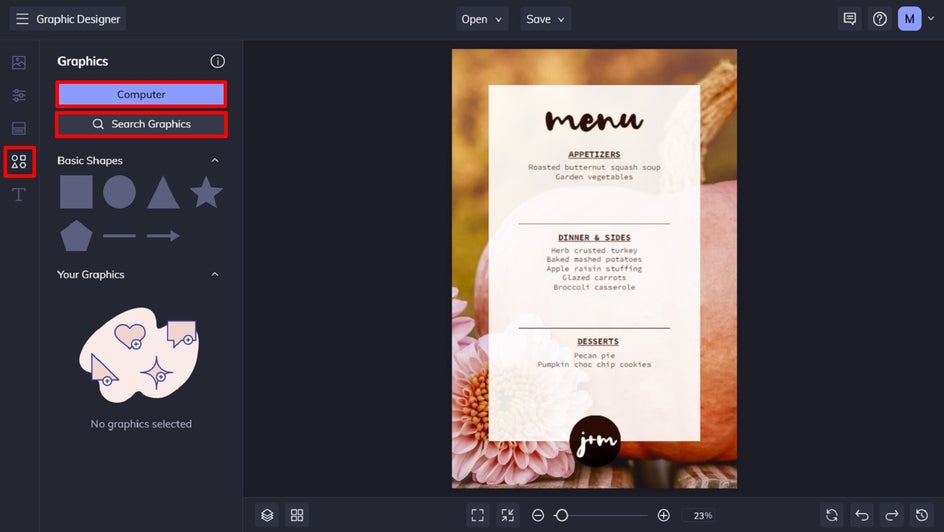
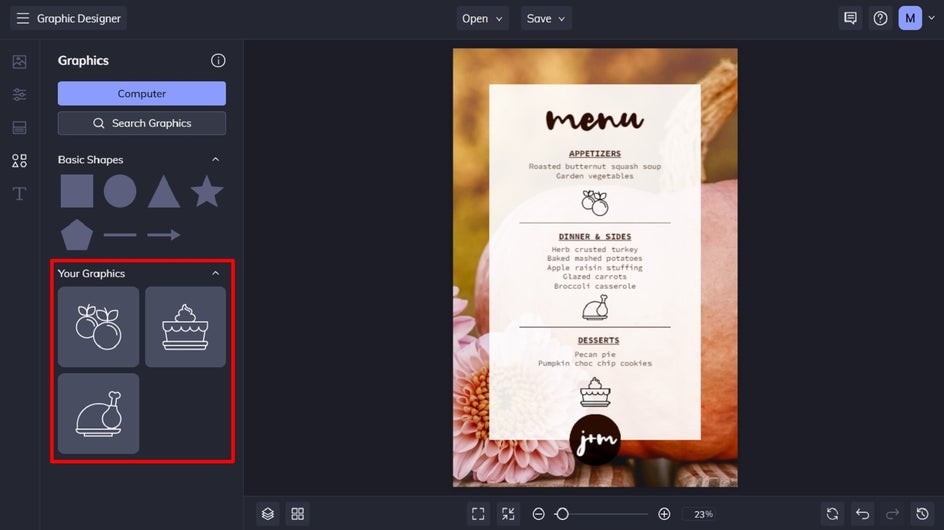
You can even search for Thanksgiving-specific graphics using the search bar in the top-left of the screen. Click on the graphics you wish to use, and they’ll be available in the Your Graphics section once you exit the Graphic Library. Simply drag and drop them onto your design, then resize or reposition them using your mouse.
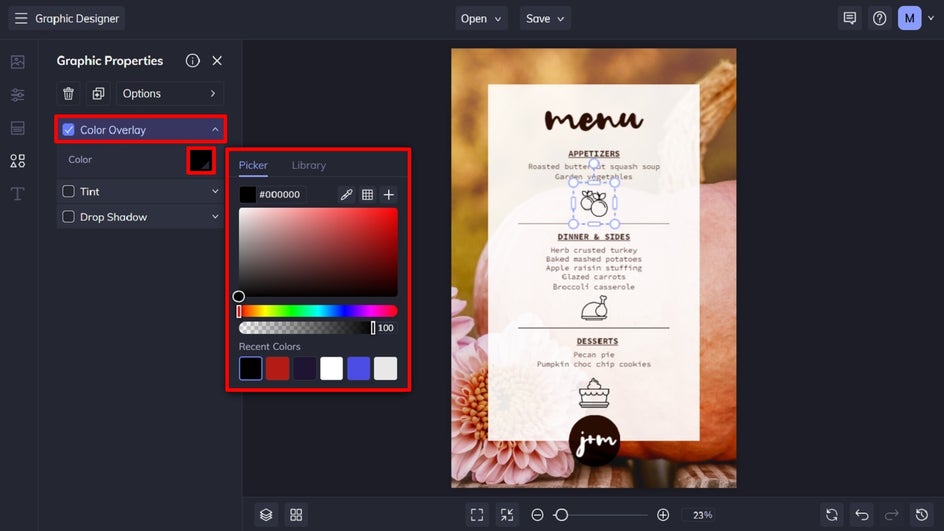
To change the color of any graphic, click on it once and a Graphic Properties panel appears. Then, click the Color Overlay or Graphic Colors swatches (depending on your graphic) to select a new color from the Color Picker.
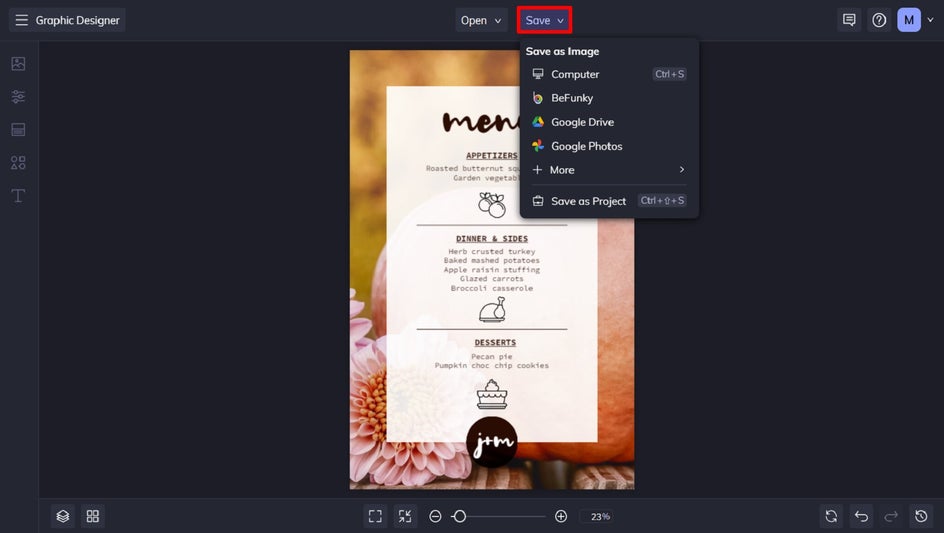
Step 5: Save Your Thanksgiving Menu
Once you’ve finished designing your Thanksgiving menu, it’s time to save it. Click Save at the top of the screen, then select your desired save destination.
We recommend saving your menu as a PDF in Print Quality so it’s the optimal quality for printing out and placing on your table for your guests!
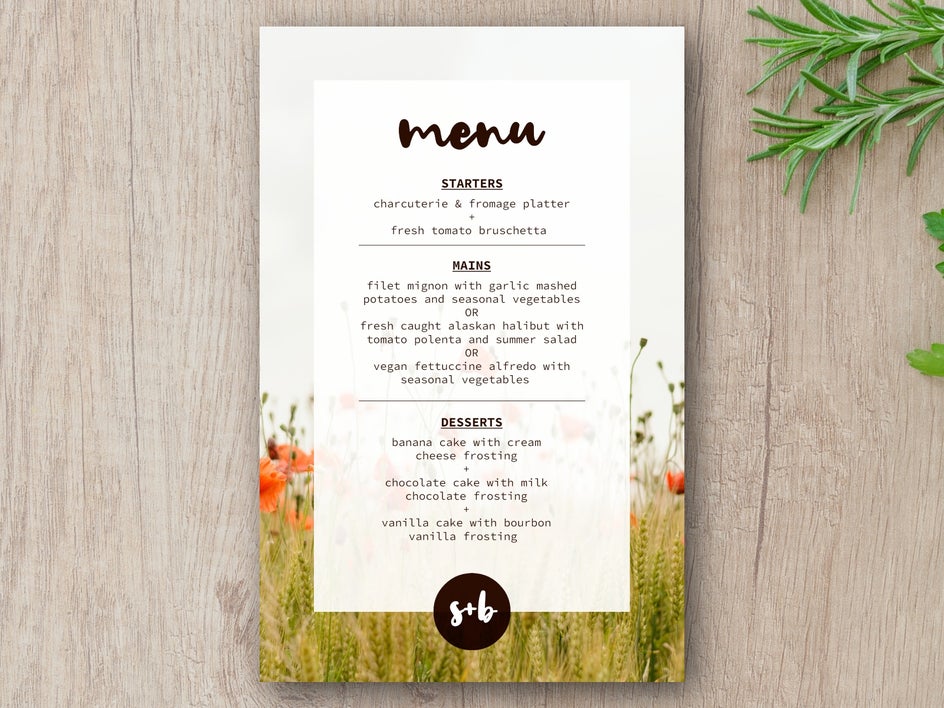
Final Thanksgiving Menu Design
With BeFunky’s wide range of predesigned menu templates (including free ones), you can easily create your own Thanksgiving menu within minutes.
Thanksgiving Menu Planning Made Easy
Who said hosting Thanksgiving dinner had to be stressful? Thanks to the helpful tips in this article, as well as our huge range of customizable Thanksgiving menu templates, you’re ready for your best Thanksgiving yet. Ready to create a menu of your own? Check out the Graphic Designer to find your perfect template!