Step Back in Time With the Tintype Effect
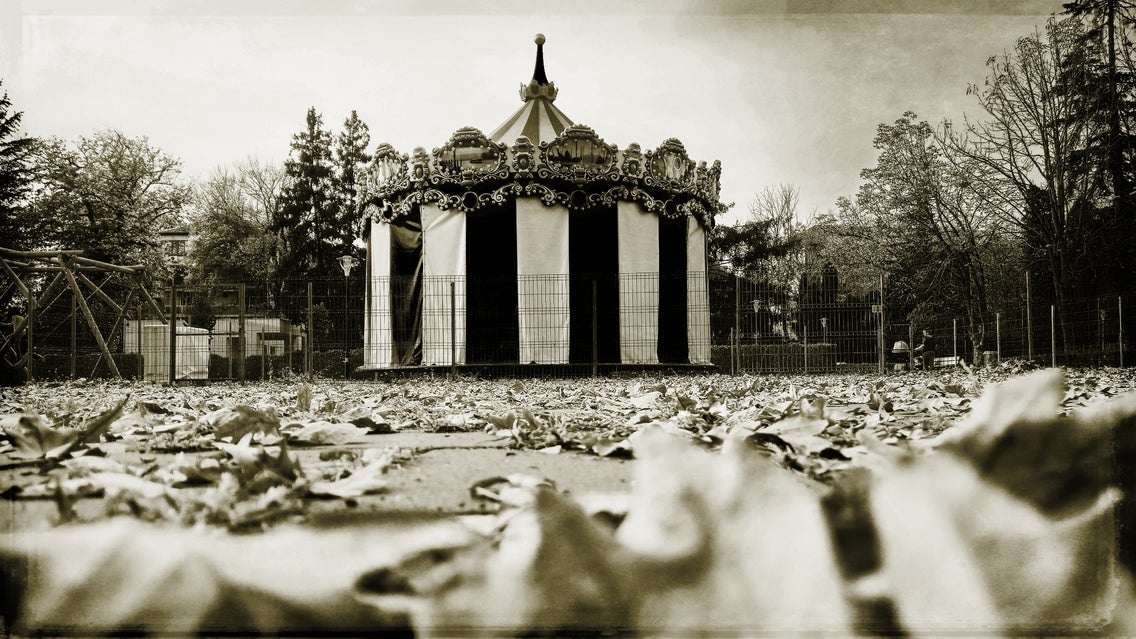
Commonly found in booths at fairs and carnivals, tintype photography was introduced in 1853. This style of photography was achieved by creating a direct positive on a thin sheet of metal coated with a dark lacquer or enamel. Instead of having a negative of the photograph, followed by developing it on a secondary canvas, tintypes were an immediate image with no need for drying or developing! Their popularity decreased over the years, but the image style and the quirkiness of the image have always made them a favorite.
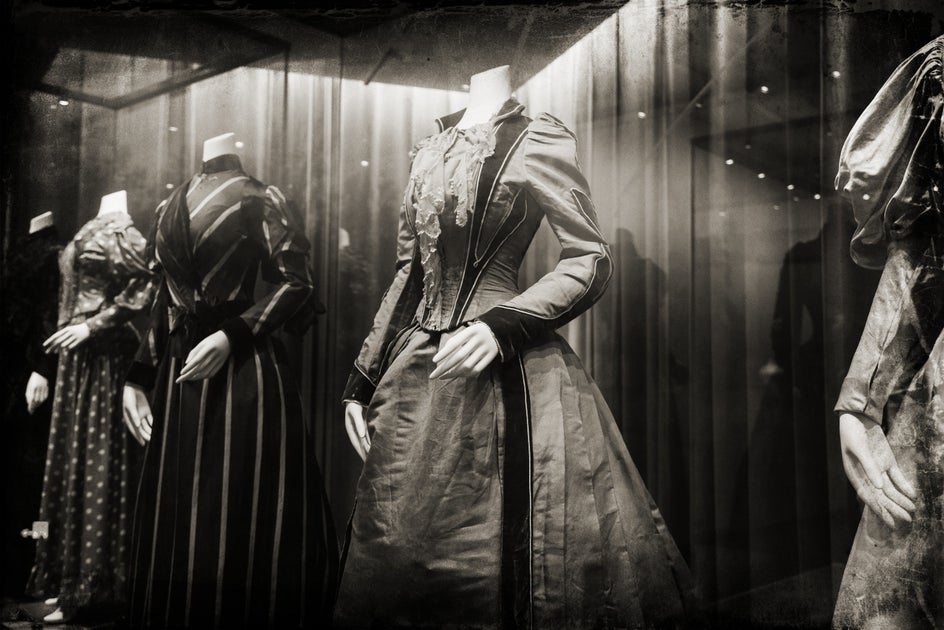
In the current day, tintypes are often novelty items that take expert precision to create, but the aesthetic is still sought after! BeFunky has made it possible to transform your photo into a tintype with just one click using BeFunky's Photo Editor and effects!
How to Create Your Own Tintype
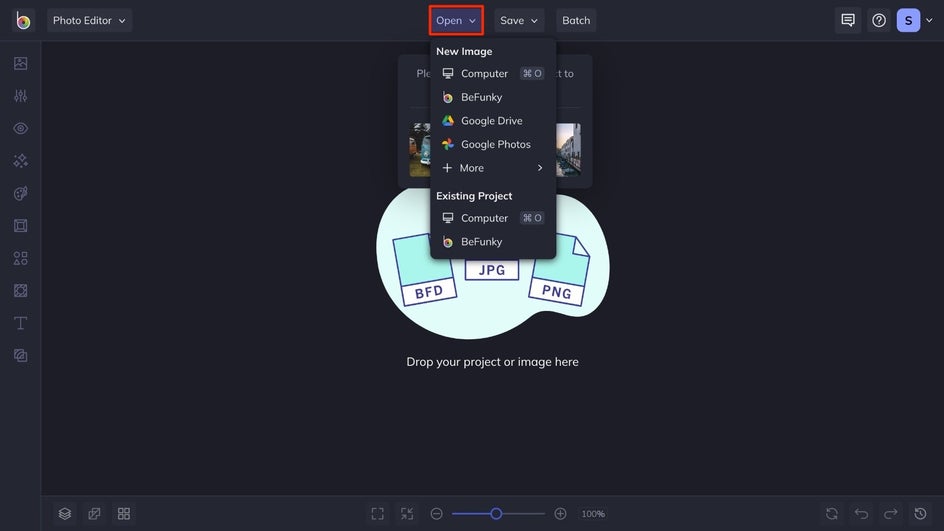
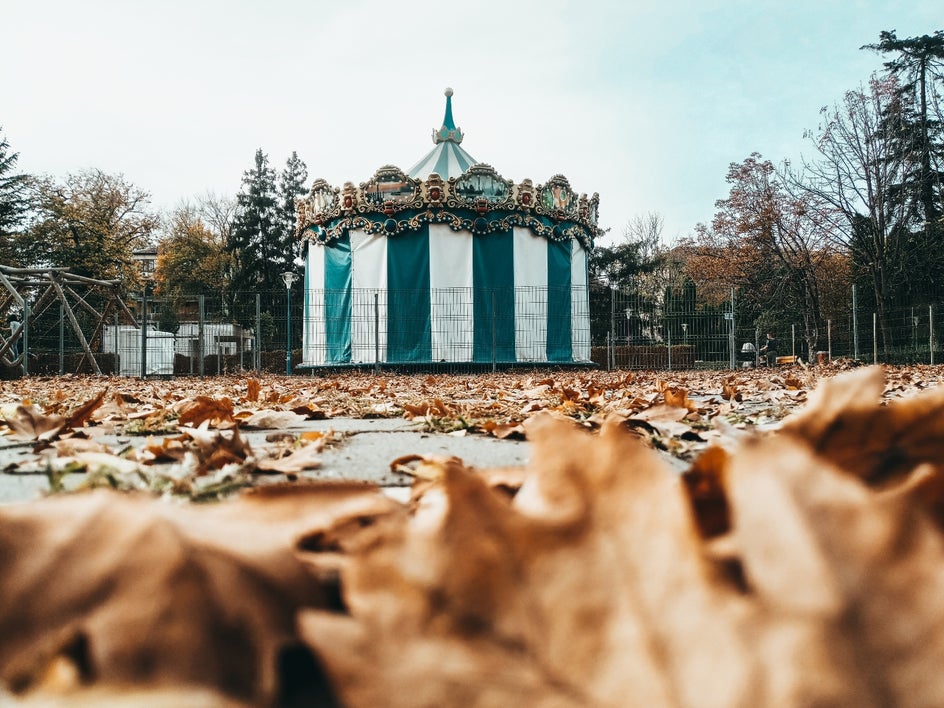
Get started on your own tintype by clicking here and opening your image! You can use one of BeFunky’s endless stock photos if you want to play around with the effect, or open your own image by dragging and dropping or by clicking the Open button, found at the top of your canvas.
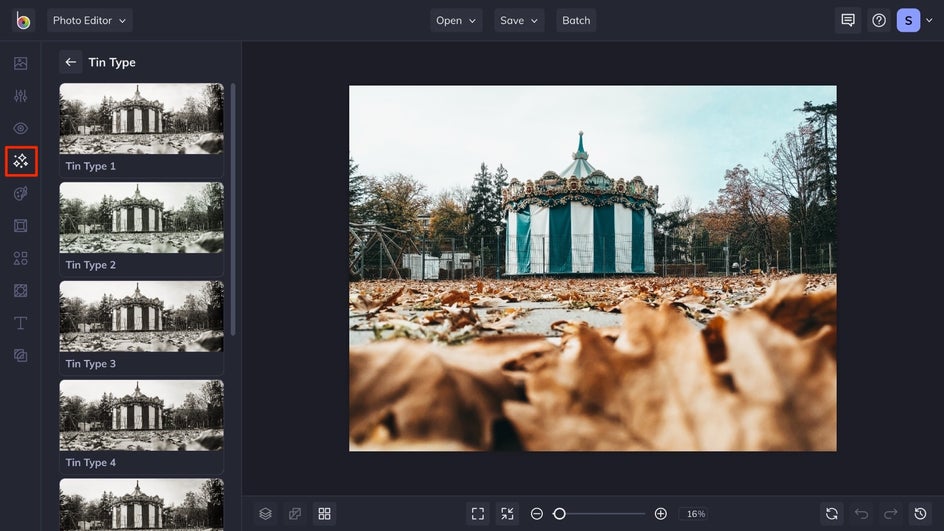
Step 1: Select a Tintype Effect
Once you have uploaded your photo, select the Tintype effect and take a look at the examples of what they would look like. After you find one that fits the aesthetic you’re going for, select it to see it on your image.
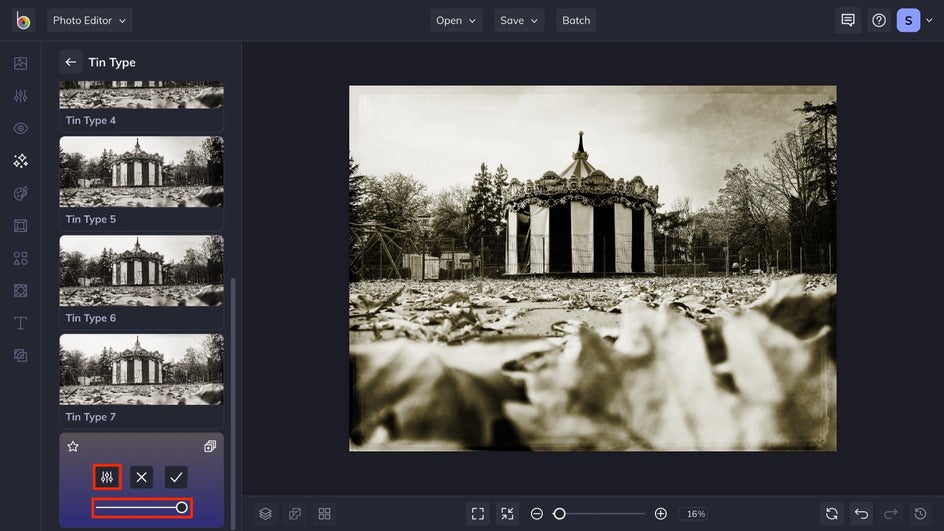
Step 2: Adjust the Effect
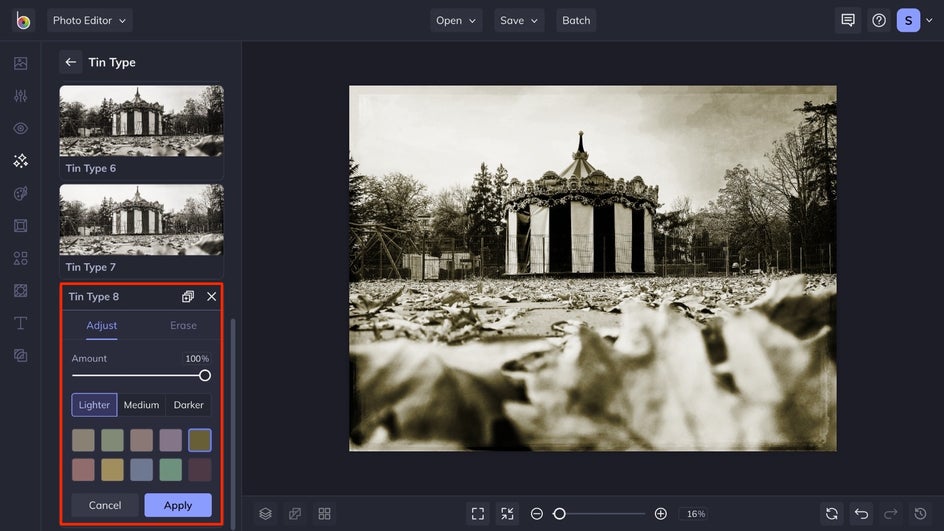
Next, you can make any adjustments you want to the effect! Using the slider, you can adjust the amount of the effect. If you want to customize it further, click the Settings icon to see the available options.
With the sliders, you can adjust the lightness of the effect and the undertones of your tintype. This customization option is great for curating an image to fit the exact tintype aesthetic you're looking for! After you have adjusted it to your liking, click the Apply button to apply the effect to your image.
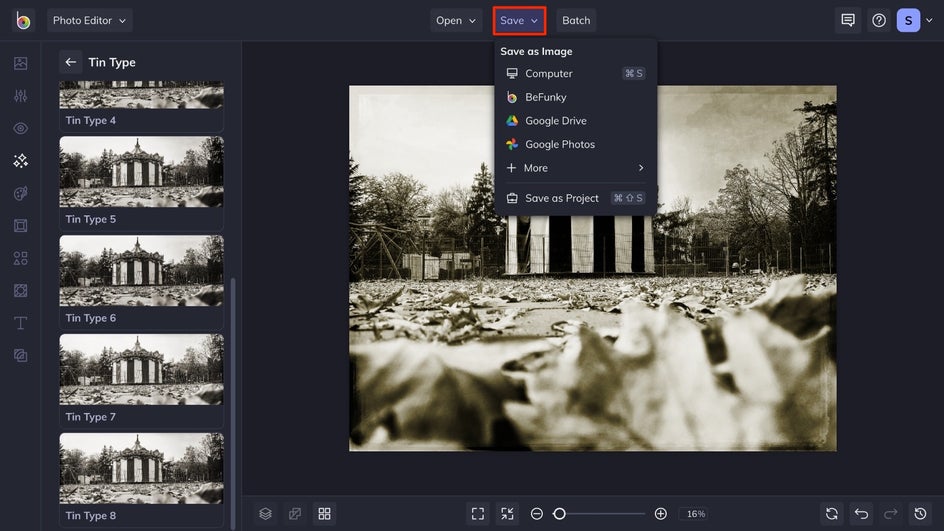
Step 3: Save Your Tintype Image
Once you’re happy with how your image looks, click the Save button at the top of your interface and save your tintype to your desired location.
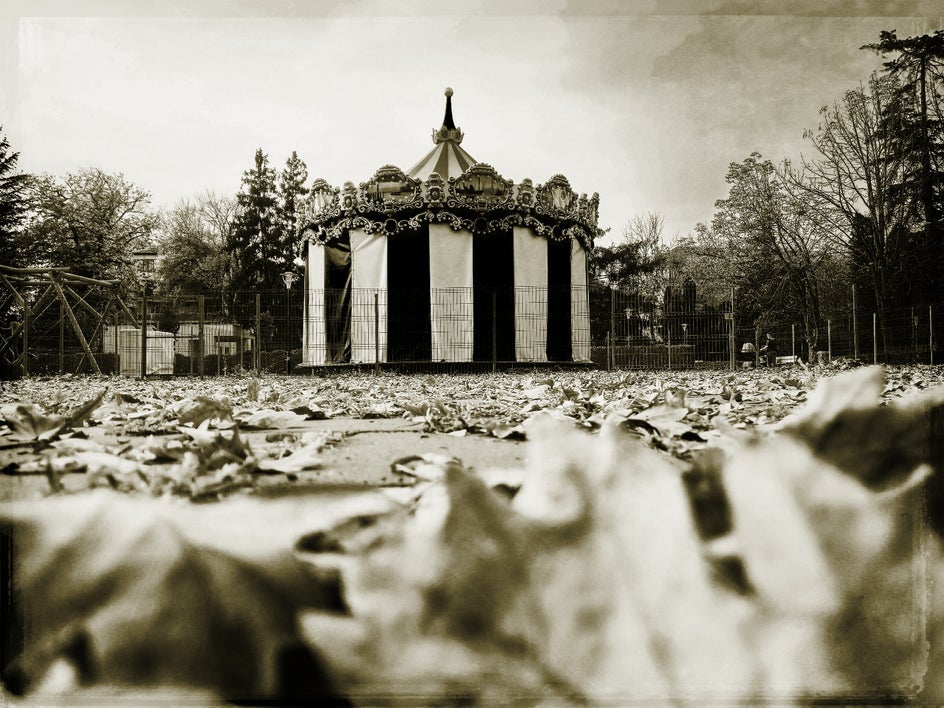
Final Results
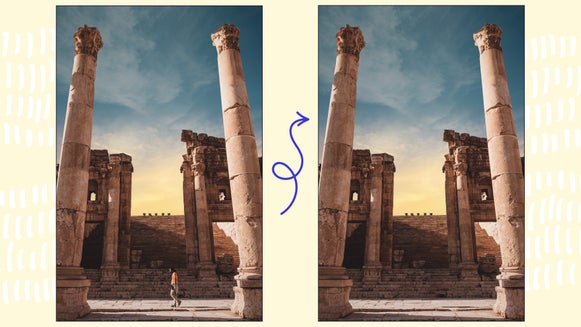
In just three simple steps, we were able to take a step back in time and see how this image would look as a tintype!
Create Tintype Images With a Single Click
Although it may be hard to find a photographer that is an expert in tintype to capture you on sheets of metal, you are now able to create your own tintype-inspired images in a matter of minutes! In a few easy clicks, you can get started on making your tintype photos today!