Creating Transparent Backgrounds For Product Photography
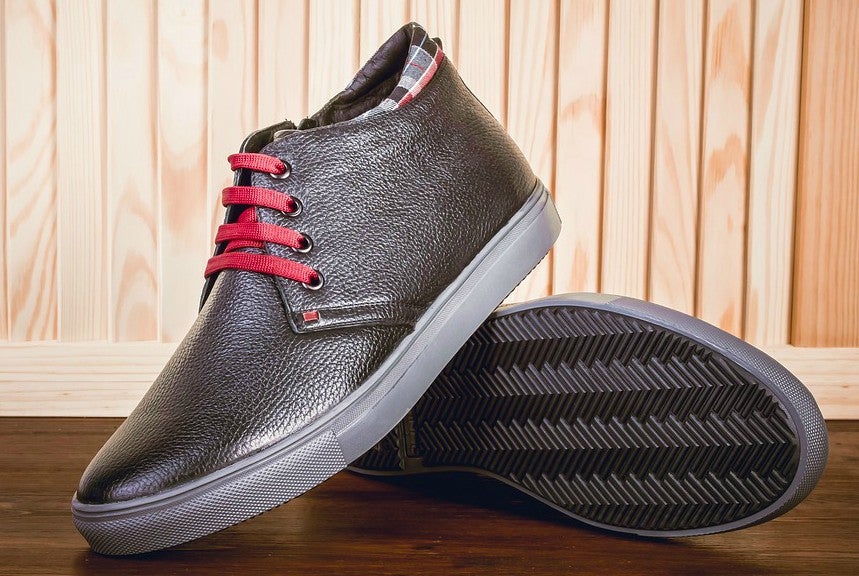
It’s no secret that photography influences whether or not people buy your products. When consumers are shopping online, a product’s image is the very first impression they have of your business, and the closest they can come to feeling the product without actually holding it in their hands. That means if you’re an online seller, the quality of your product photos is crucial to actually selling them.
Whether you’re selling on third party sites like Amazon, Ebay, and Etsy, or you’ve got your very own website to showcase your goods, one of the best ways you can make your products more appealing is simple - use a background remover to present them on a pure white background. In fact, experts agree that this formula for product photography increases click-through rates, boosts conversions, and improves your brand’s image.

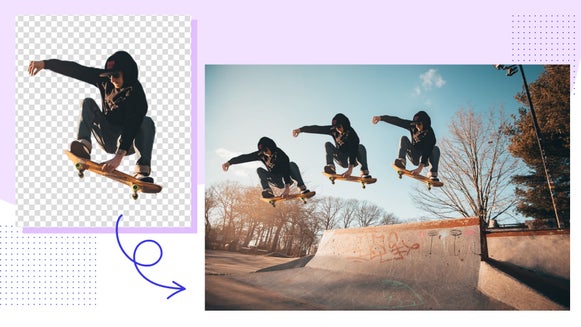
You might be thinking that in order to achieve this look, you’ll have to spend your hard earned dollars on expensive photography equipment, but I’ve got good news for you: BeFunky’s Background Editor allows you to remove distracting backgrounds in your product photography, all in a matter of minutes! In other words, it’s much simpler than you think to achieve pure white or transparent backgrounds, making you look like an eCommerce superstar.
Why Backgrounds Matter In Product Photography
There are many reasons why consumers are drawn to products that are presented on a clean background. Without clutter in the background of your shot, distractions are minimized, putting the focus on the most important thing - your product. White is the most common background color for products because it makes the colors in your item look more true and creates a sense of spaciousness. It’s also trustworthy, being a look that consumers are familiar with.
Think about every single product you’ve seen on Amazon. What do they all have in common?
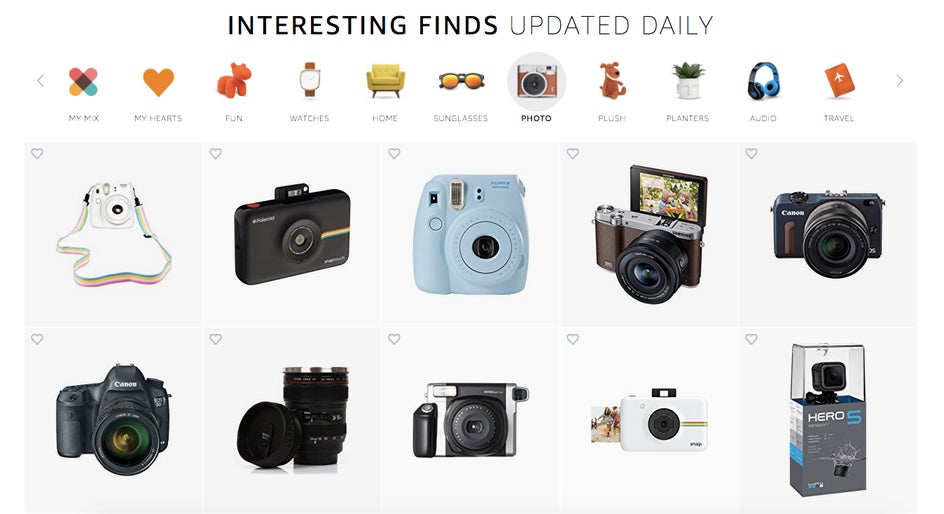
Amazon actually requires their sellers to upload only products with pure white or transparent backgrounds to keep their site looking professional and consistent. The eCommerce giant knows that this type of product photography sells.
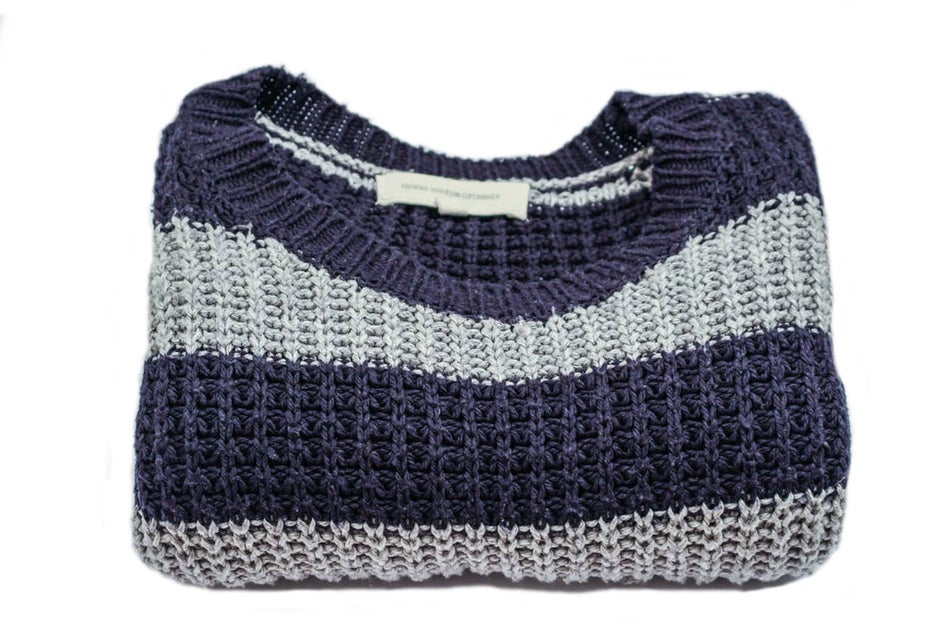
It’s always a good idea to start with a pure white background when you’re capturing your products on camera. A solid white background will make the editing process easier and will ensure your white balance is spot on. But even if you’ve got a batch of product photos with busy backgrounds, BeFunky’s Background Remover will help you achieve a more professional look.
How To Create A White Background In BeFunky
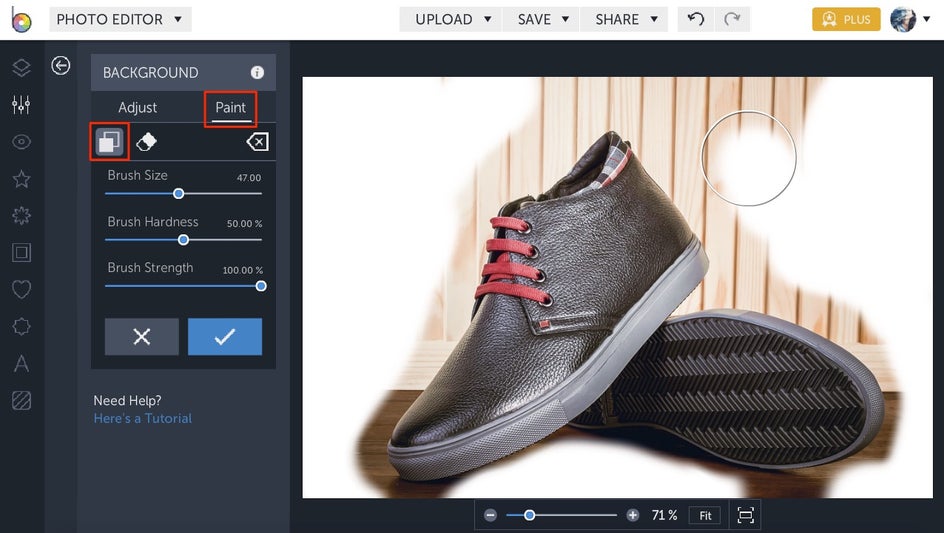
Now that you know the science behind why white and transparent backgrounds can help increase profits, it’s time to step up your product photography game. To start, upload your photo into BeFunky’s Photo Editor and select the Background tool from the Edit menu.

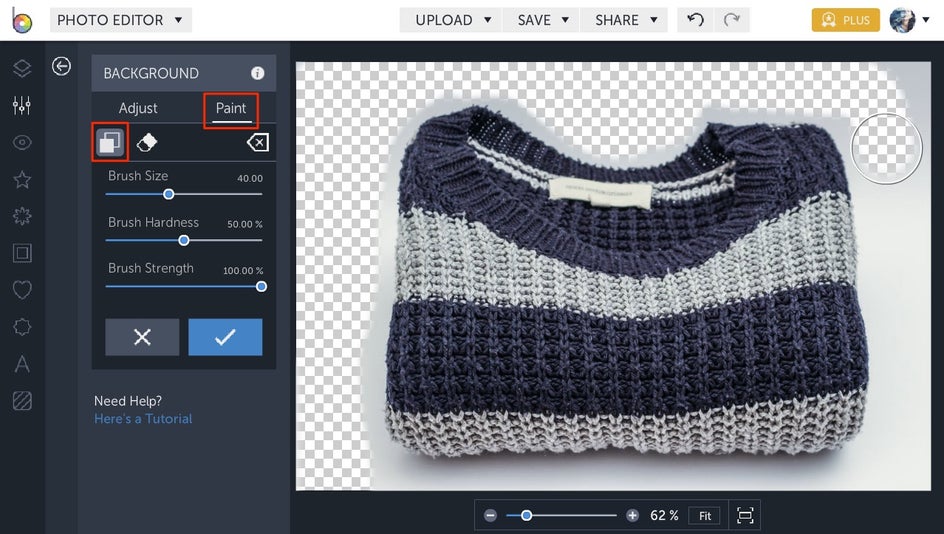
You’ll notice that upon selecting the Background tool, your entire canvas looks like a checkerboard. Uncheck the box for transparent and you get a pure white canvas. But still, where’s your product? Simply select Paint Mode* and check the box for reverse (looks like two overlapping squares). Now we’re going to paint over the distracting background to make your product stand out.
*Paint Mode is now Erase Mode. To get the same effect described above, go to Erase Mode, click the Invert Selection button, and select Remove.
First, start with a large brush size to paint around the edges of the image, getting close to the edges of the product but leaving space to come back for detail work.
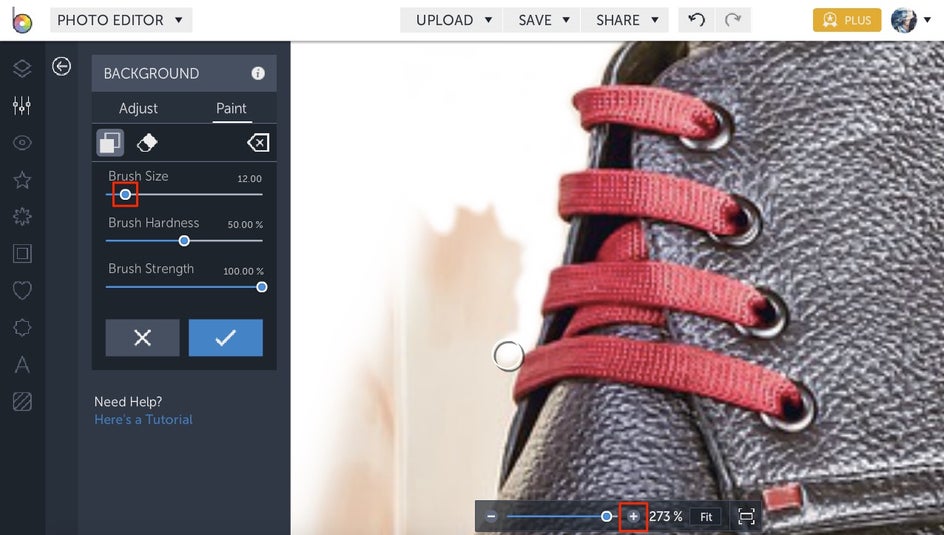
Next, minimize the brush size and zoom in to your photo. Here’s where we’ll get really detailed. Carefully paint around the edges of your product. If you accidentally start to paint over your product, simply select the eraser tool and remove the paint.
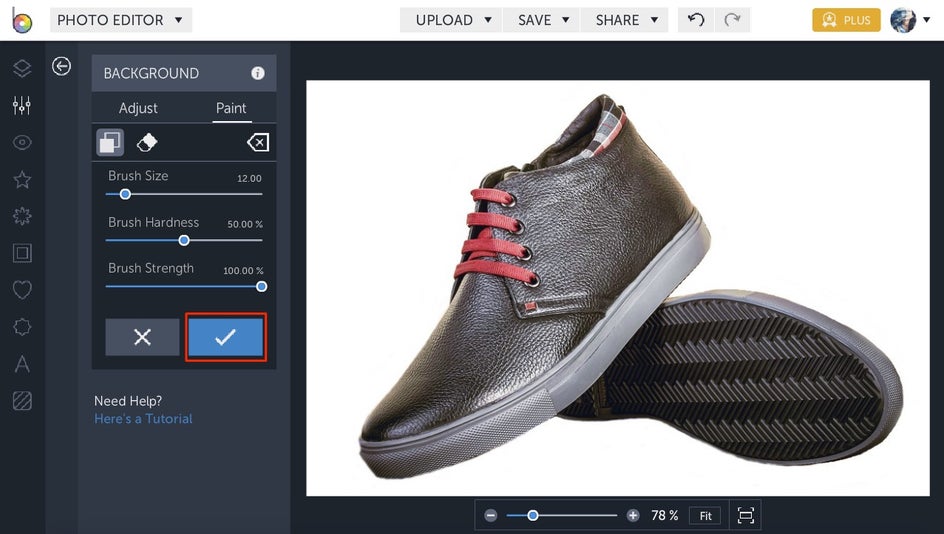
When you’ve painted over the entire background, click the blue checkmark to confirm. Too easy!
Pro Tip: When you’re zoomed in and want to navigate around the image more quickly, hold down the Spacebar and drag the image until you’re where you want to be. Release the Spacebar and you’ll be able to continue using the Background tool where you need it.
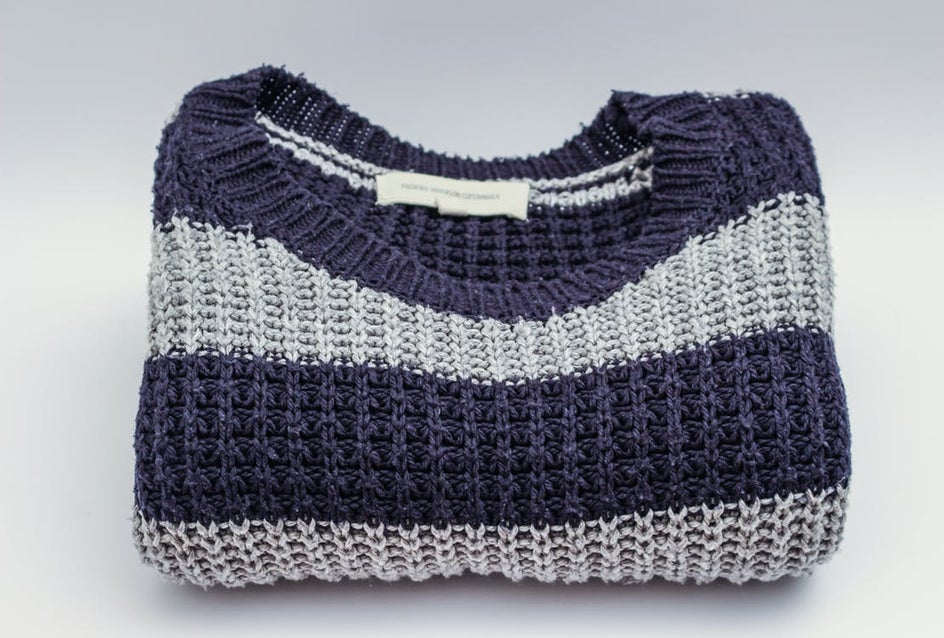
Notice how changing the background to pure white puts way more focus on the product?
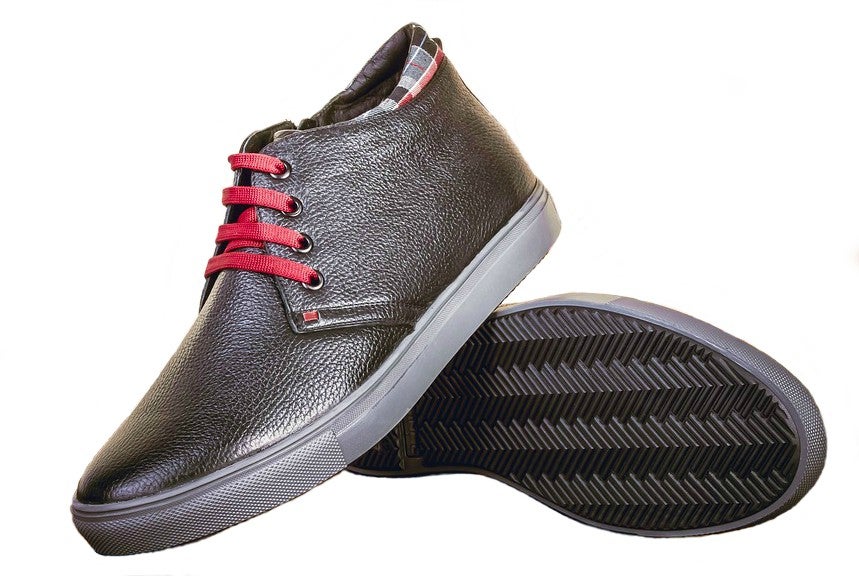
Now you can save your image as a .jpeg, upload it to the site of your choosing, and start watching those sales roll in!
Creating A Transparent Background in BeFunky
There’s a big reason why transparent backgrounds are often used in place of white. Since there are a zillion different shades of white that vary from site to site, using a transparent background will ensure that wherever you upload your photo, the background will automatically match the background color of the site. This makes for totally seamless product photography, because nothing is more distracting than a product page with twenty different shades of white backgrounds.
And there’s a bonus: using a transparent background also decreases the file size of your image, making for faster loading speeds, which is essential in the buying process.
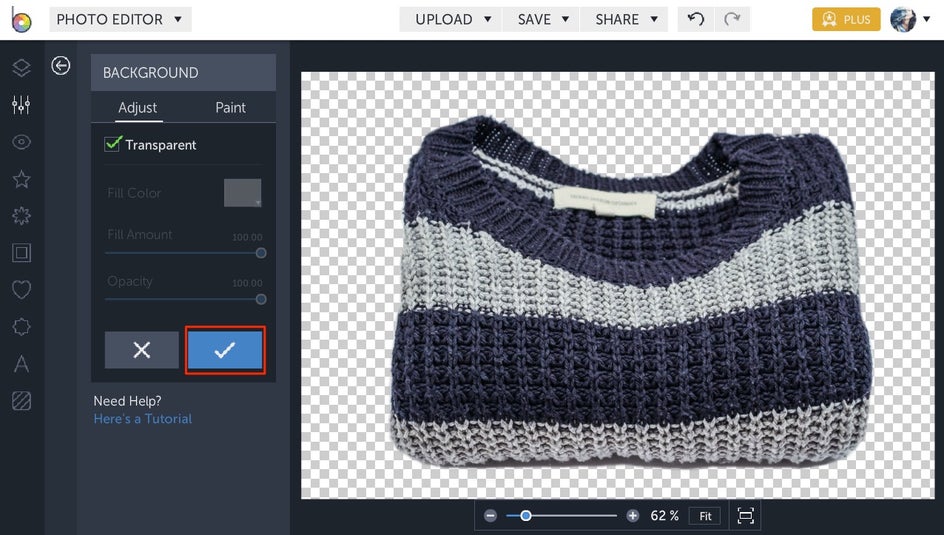
To create a transparent background, simply follow the steps in the previous section, only this time make sure the box for transparent has a checkmark. This way, you’ll be painting a checkerboard instead of a color.
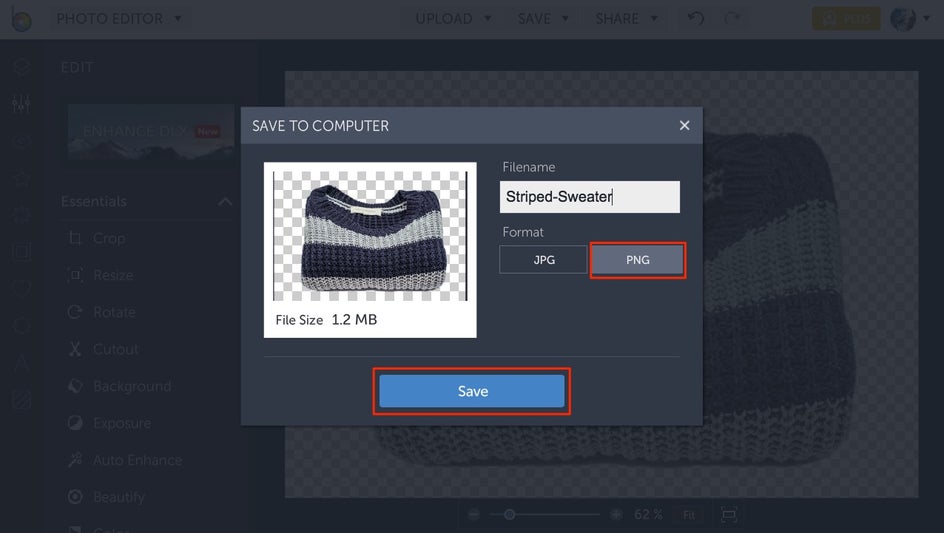
When you’re finished with all the fine details, click the blue checkmark to confirm, then navigate to the top of the screen to save as a .png.
Saving in this file format is necessary to keep the background transparent, while saving as a .jpeg will save your product photo with a checkerboard background. Not the best look.
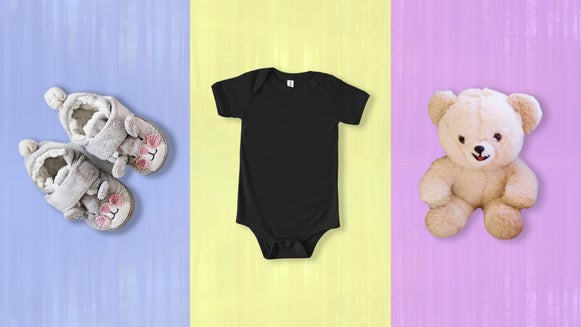
See how seamless the background looks now?
More Tips For eCommerce Success
Achieving product photography that sells expands beyond the background editing process. If you’re serious about increasing your sales, here are our best tips for a seamless workflow:
Create time and space for photo shoots. It sounds simple, but doing a photoshoot when you’re low on time is a recipe for disaster. Write it down on your calendar and give yourself ample time to nail the shots.
Invest in some professional photography accessories. Photos are really easy to edit if you’re already starting with a white or neutral backdrop. Investing in a lightbox or white sweep setup will give you the look of a white infinity background, plus shooting on white will ensure that the camera’s white balance will always be on point. That way, your product colors are more true.

Don’t use flash. Ever. Nothing is more distracting than a glaring flash spot on your product.
Shoot in natural lighting. If you can, shoot in diffused daylight near a window, using the sun as an indirect light source. If not, definitely look into some lighting that will work for your photography setup.
Stabilize your camera. Shooting with a tripod will guarantee you never have blurry product photos.

Shoot from multiple angles. Instead of just having one shot, include every angle of your product so consumers know what to expect. Include some zoomed in shots of fine details and if you’re selling a used item, be sure to include any blemishes.
Fill the frame with the item. Nobody wants to see too much background and not enough product. Filling the frame will put even more focus on your product.
Meet the requirements. Read up on the image requirements of the site you’re selling on. That way you’ll be more prepared during your photoshoot and in the editing process. Both Amazon and Etsy require an image that’s at least 1000 px in width and height, while Ebay requires photos that are 500px. Each site has it’s own tips for success when it comes to product photography, so it’s best if you know what they’re looking for.
Now you're ready to start improving your product photography with ease! Try opting for a white or transparent background with your item photos and see how it affects your sales. We hope they skyrocket! Follow the link below to start editing your photos to perfection.