Transparent Backgrounds for Your Brand Identity

Defining your visual brand identity is an essential step for any creative looking to expand their reach. Your brand’s logo is the first chance you have to catch the eye of potential clients and define yourself as a creator. Developing a consistent brand identity means having assets like logos, watermarks, and website graphics ready to go as layers with transparent backgrounds, so you can easily add them to any kind of digital environment.
Just a few years ago, you would’ve needed to use a high-end, expensive design or photo-editing software program to create graphics this versatile. But with BeFunky Graphic Designer, you have the ability to build a professional-looking set of digital assets with just a few clicks.
When to Use a Transparent Background for Your Design
Transparent backgrounds give your designs the ability to adapt to different environments – and in turn, express yourself and your creative vision to the world. Here are just a few of the many ways you can utilize them:
Logos
Think of your logo as the foundation of your brand. Your logo defines your aesthetic and can reflect the personality you want to show to your intended audience.
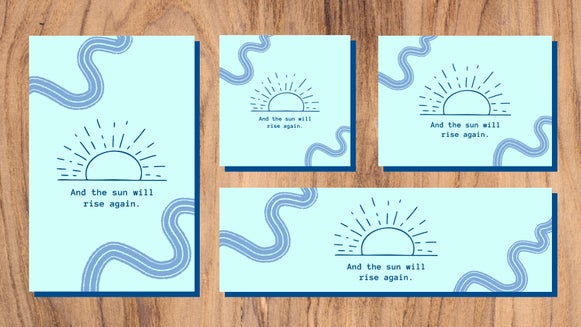
Use logos in social media posts, online advertisements, website graphics, watermarks, or wherever you want to make your mark in the digital sphere. Logos can also be a valuable print asset, used in marketing, business cards, brochures, and even bulletin boards. Having a strong logo shows an equally strong core foundation of your business or creative endeavors.
Watermarks
If you have an active web presence for your business, especially in any creative profession, having a well-designed watermark is a must! Watermarks serve to help protect your work from being distributed without your permission, or to promote your brand or website. Watermarks almost always have transparent backgrounds and can be used for anything – like logos, signatures, custom designs, or a combination of different design elements.

With BeFunky, you can use a watermark you created in the Graphic Designer and batch apply it to images you want to be branded. The transparent background will allow your watermark to blend in with a variety of textures and colors used in your images.
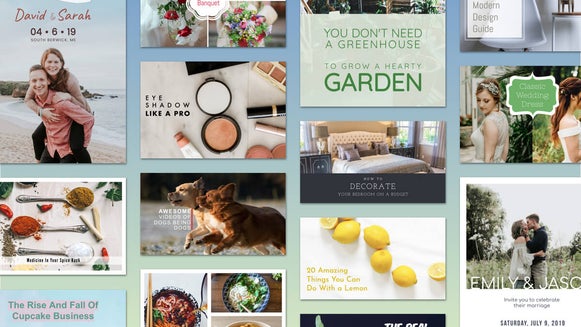
Blog and Website Graphics
Have you ever visited a website that looked great, except for the unsightly white box surrounding their main menu’s logo? With BeFunky, you don’t have to worry about making this web design faux pas. All of your graphics can have a perfectly transparent background to be utilized wherever you need a touch of personality.

Now that we've touched on a few ways you can use a transparent background, why not try creating your own design? Follow along with our tutorial to see how simple it is to make your own logos and graphics to be used on business cards, websites, social media, and more!
How to Create a Design With a Transparent Background
When you’re ready to start creating, click here to open BeFunky’s Graphic Designer. In this tutorial, we’ll be creating a logo for a photographer’s web portfolio that can double as a watermark. Use these same techniques for any type of design elements you need to feature a transparent background.
Step 1: Customize the Perfectly-Sized Canvas
Once you’re in the Graphic Designer, choose the option to Blank Canvas. You’ll see options for different presets you can use, or the option to create a custom canvas size. Since we’re creating a design to be used on other projects, we’ll use the custom size of 2500px by 1000px for a landscape canvas, then click Create.

You may want to get familiar with some of the controls on the bottom menu, including Zoom, Full Size, and Rotate.
Step 2: Make the Background Transparent
Once you select the perfect canvas size, select the Customize tab from the menu on the left and then select the first tile in the Background Color menu. You’ll see an icon that looks like a drop with a line through it called 'No Color.' Click that to turn the background transparent.
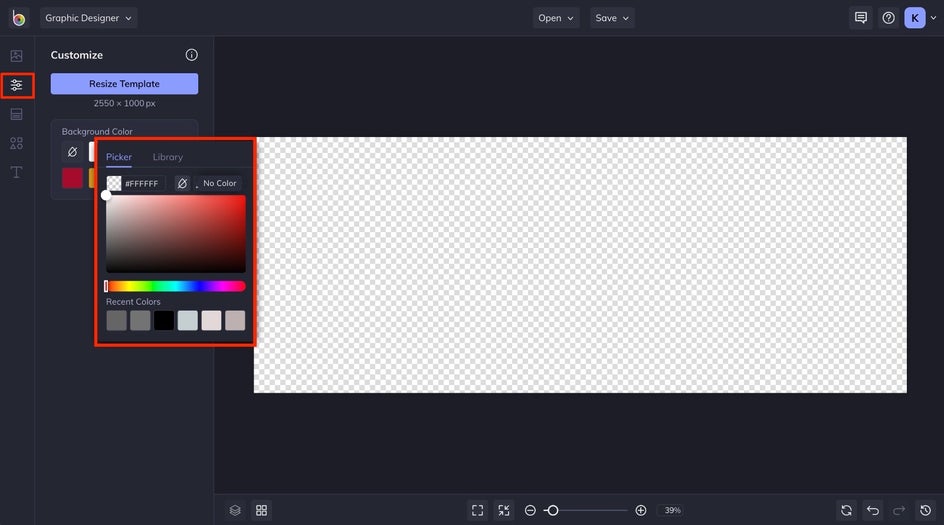
Pro Tip: If you’d rather work on a canvas with a full color while you create your design, you can do this step last to create a transparent background when you save.
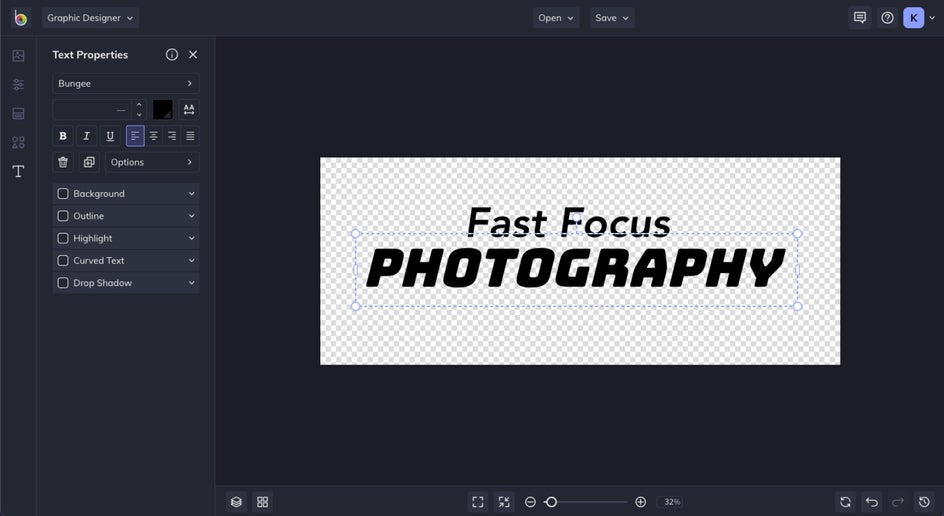
Step 3: Add Text
For word-driven designs, click on the Text tab in the menu on the left, followed by the Add Text button. You’ll be presented with a textbox that you can click on and start typing.
To adjust the font, click on the font name in the Text Properties menu that appears whenever you’re working within a textbox. You can search the vast library of free fonts to use, or if you’ve got fonts downloaded to your computer, you can add them to your BeFunky font library. You’ll also see a variety of other styling options in the Text Properties menu, like adding a background, outline, highlight, curved text, or drop shadows.

To add multiple text layers with different fonts, click out of the Text Properties menu and click Add Text again to make a new text box. Drag and drop your text layers to align them and create your new logo.
Step 4: Personalize With Graphics
BeFunky offers tens of thousands of graphics ready for you to use in your design project. Select Graphics from the left-hand menu and search the Graphic Library. You’ll see a huge variety of graphics available, from shapes, arrows, social media, and everything in between.
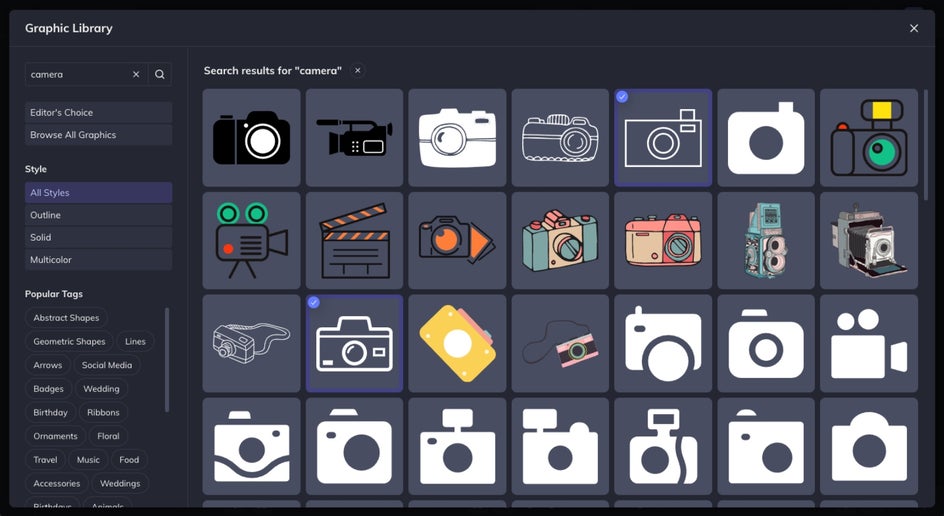
Click on any graphics you’d like to work with and they’ll appear in the Your Graphics section of the editor when you X out of the Graphic Library. From there, double-click or drag-and-drop a graphic onto the canvas to work with it. Use the adjustment circles surrounding the graphic to resize or rotate.
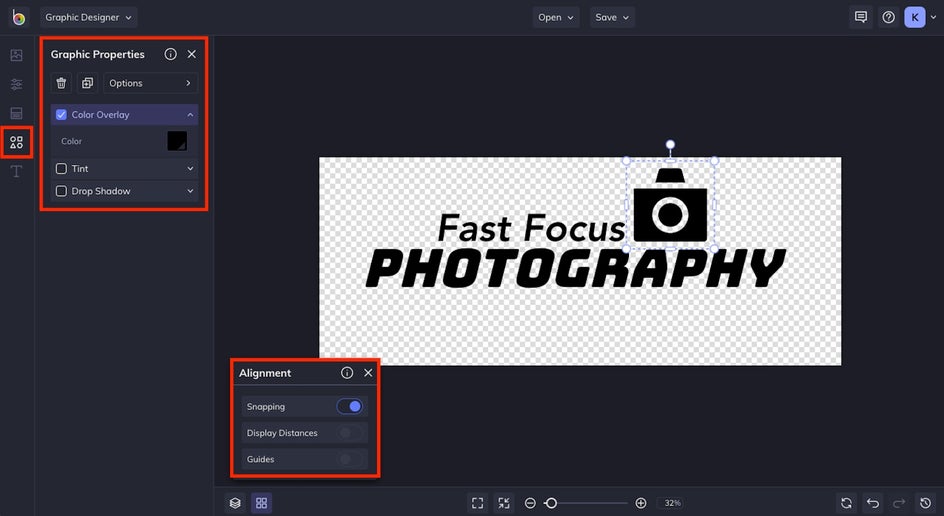
Next, use the Graphic Properties menu to make customizations to your graphics. Here you can change the color of the graphic, adjust the blend mode, move it forwards or backward in reference to other layers in your project, and add tints or drop shadows.
To move the graphic around your canvas, click and drag it. You can click the Alignment menu on the left of your bottom menu to add Snapping, Display Distance, or Guides to help with aligning your elements.
Customize your graphics by adding them together and seeing how they can relate to each other. Use the Layers & Groups icon in the bottom left menu to move your graphics layer arrangement, or combine them into a layer group.
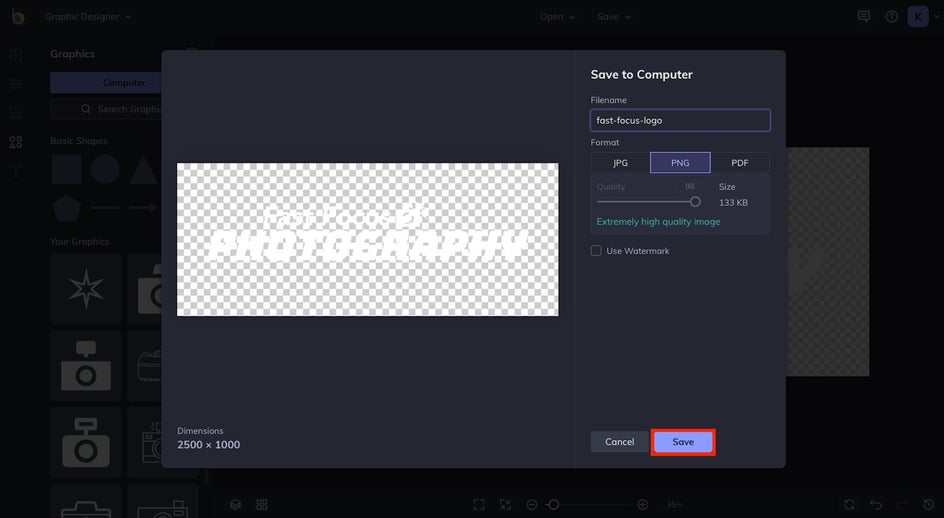
Step 5: Save It as a PNG
Once you’re happy with your new design, click the Save button at the top of the Graphic Designer to save your file. Select the destination on your computer where you want to store the file, and click the PNG button under Format. In this case, you will not want to save your project as a JPG, as it will add a white background around your design.
Alternatively, you can save your design directly to your BeFunky Project Library for easy access.
Note: Make sure to change your background to transparent before saving if you didn’t do this in your initial setup.
Step 6: Start Using Your Design
Once you save your design as a PNG, you can immediately start using it! Start a new design project in whatever format you like. Here, we’re adding a logo to some images to be used on the web.
Head over to your Image Manager to upload or select the PNG you just created. It’ll appear as a layer that you can double-click on or drag and drop.
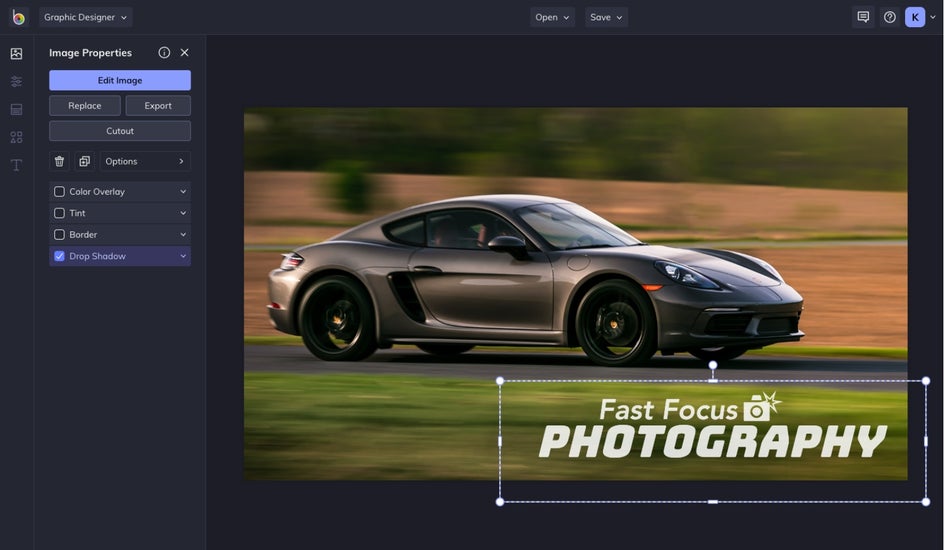
Once it’s on the canvas, you can resize your design, adjust the opacity, and customize it even further by using the Image Properties menu. When you’re happy with the results, click the Save button at the top of the editor to save your finished project.
Use Your Designs to Define Your Creative Identity
Creating a series of versatile, transparent logos and design elements gives you the freedom to use your designs across a variety of different design avenues. Add this transparent logo to business cards, adjust it to fit in social media ads, or save it as a watermark to batch process on a variety of images. Your possibilities are endless with BeFunky’s Graphic Designer!