The Ultimate Guide to Capturing Viral Travel Photos

Travel photography has evolved immensely over the years due to the popularity it amassed via Instagram in such a short time. Not too long ago, it seemed like our feeds were filled with popular professional travel photographers, as well as amateur Instagram photographers trying to make it big.
With the popularity of travel photography came pre-made filters from professional photographers. Once these hit the market, everyone began editing their travel photography in a few main ways and since this time, travel photography has really settled into its recognizable niche.
Within the realm of travel photography editing, two main aesthetics emerged, have stayed, and have defined what we know as travel photography today. We have light and airy photos, and we have dark and moody photos. One of the similar editing techniques that both of these aesthetics have in common is that their shadows have a matte effect to them. Travel photography is now a part of our everyday culture and it continues to inspire people’s future holiday and vacation plans.
Whether you’ve got a trip planned or you want to practice travel photography in your own city, we’re sharing all our best tips for nailing the shots and then will also show you how to achieve this popular travel photography aesthetic using BeFunky’s Photo Editor.
4 Tips for the Capturing Viral Travel Photography
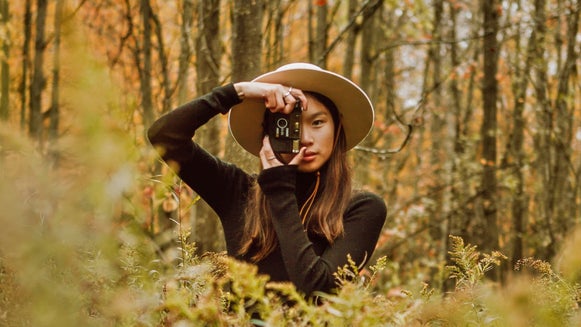
Traveling to a new place is exciting and well worth documenting. Follow these tips to enhance your travel photography and editing skills. Later, we will take one of our travel photos and show you a few of BeFunky’s Photo Editor tools that are perfect for travel photography.
1. Venture off the Beaten Path
When you are traveling to a place you’ve never been before, research some of the main places you want to visit. To do this, I often search for ‘2-Days In [City of Choice], including the city you’ll be traveling to. This is going to give you plenty of hits of the top things to do in this city. Once there, if you are in a city that accommodates walking, walk to each destination and take your time getting there.
Stop at any place, restaurant, building, or view that catches your attention along the way. I do this each time I am in a new city and have found the most wonderful places, some just by scent alone!
2. Get a Different Perspective
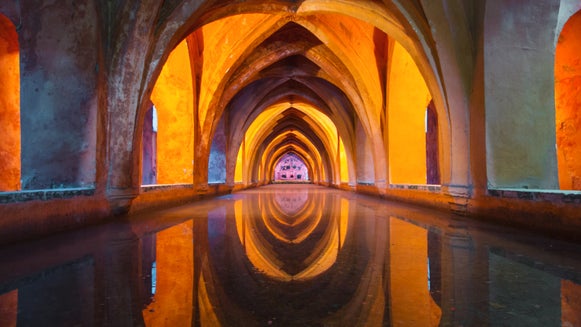
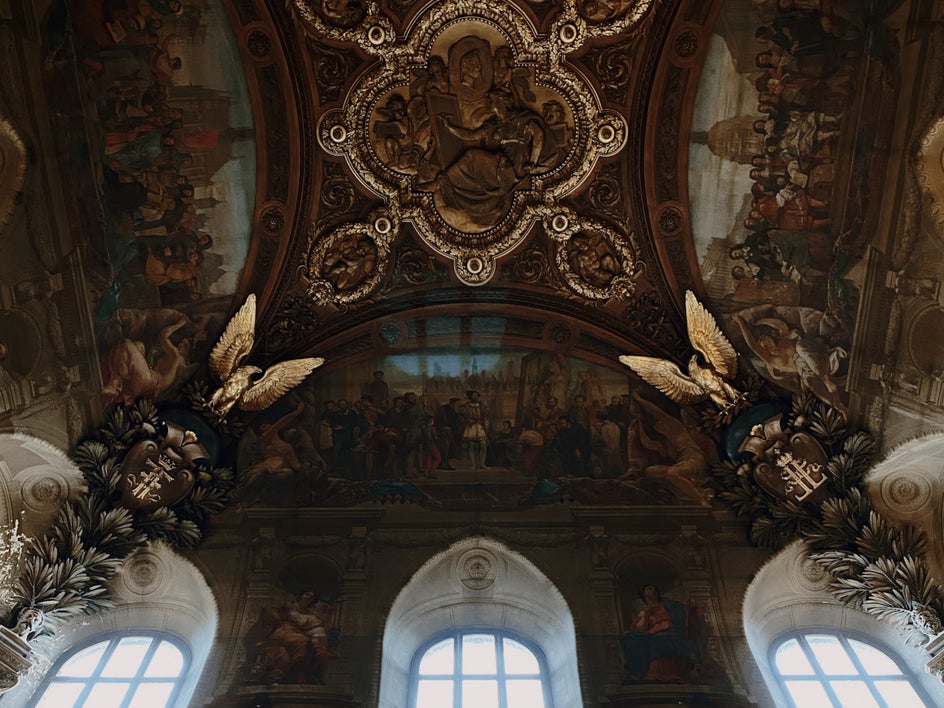
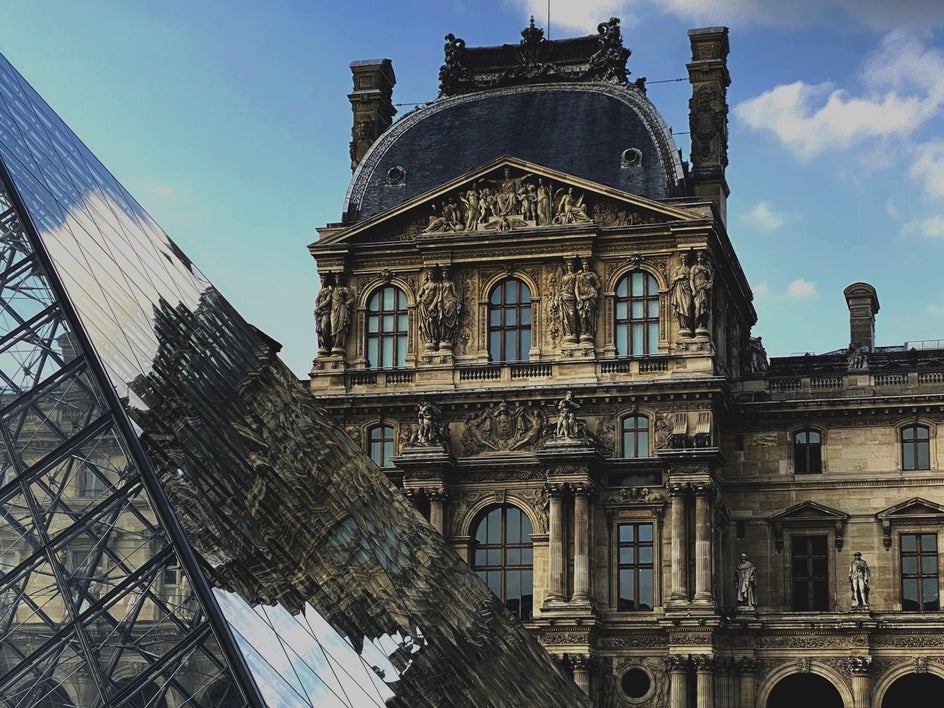
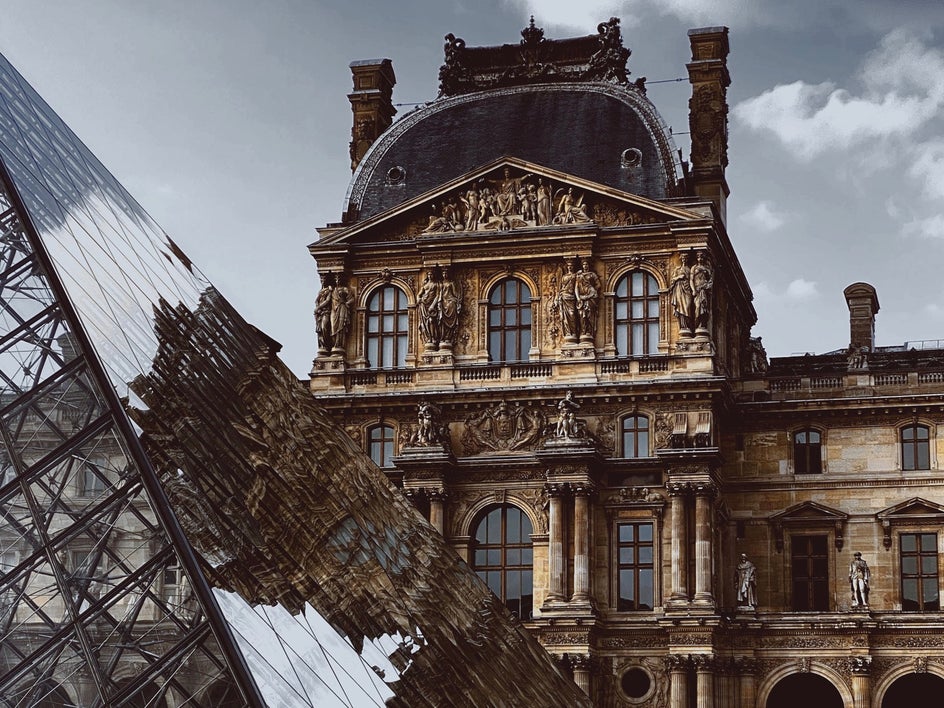
If you’ve seen one picture of the Eiffel Tower, you’ve seen them all. Since our feeds are inundated with travel photography, the shots that stand out are the ones that are innovative. Work your angles and find a unique point of view. The pictures below show the same subject as the focal point from two very different perspectives.
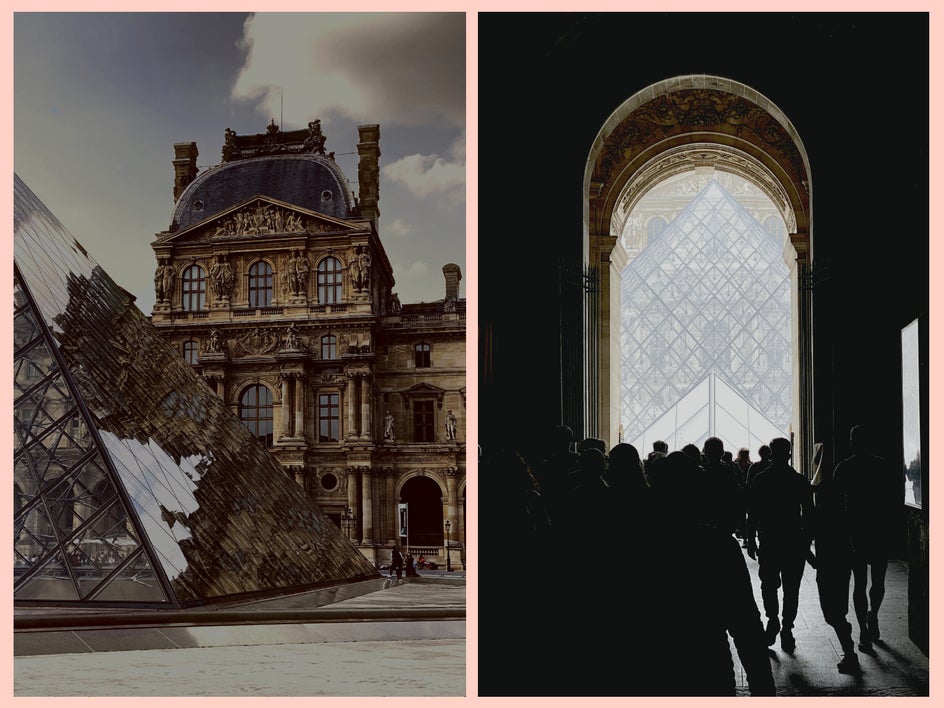
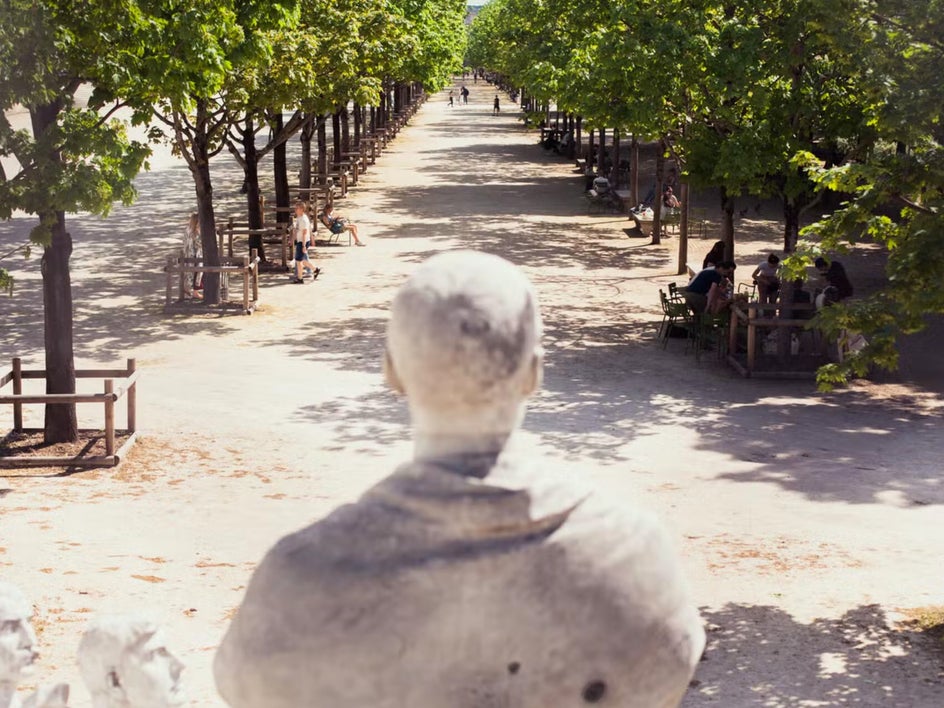
Once you arrive at the place you want to be, take some time walking around your subject to see it from a different perspective. If there are trees nearby, try using the foliage as a buffer in the foreground with your subject in the distance. See what happens when you lay on the ground and shoot upwards towards your subject to display its grand size.
When I started photographing, I was nervous about looking weird getting into certain positions on the ground, standing on objects like chairs, or squatting. Let me reassure you that all great photographers do this. Do what you have to do to get the shot and don’t worry about what other people think. There was a reason why Ansel Adams said, “A good photograph is knowing where to stand.”
3. Pay Attention to Lighting and Time of Day
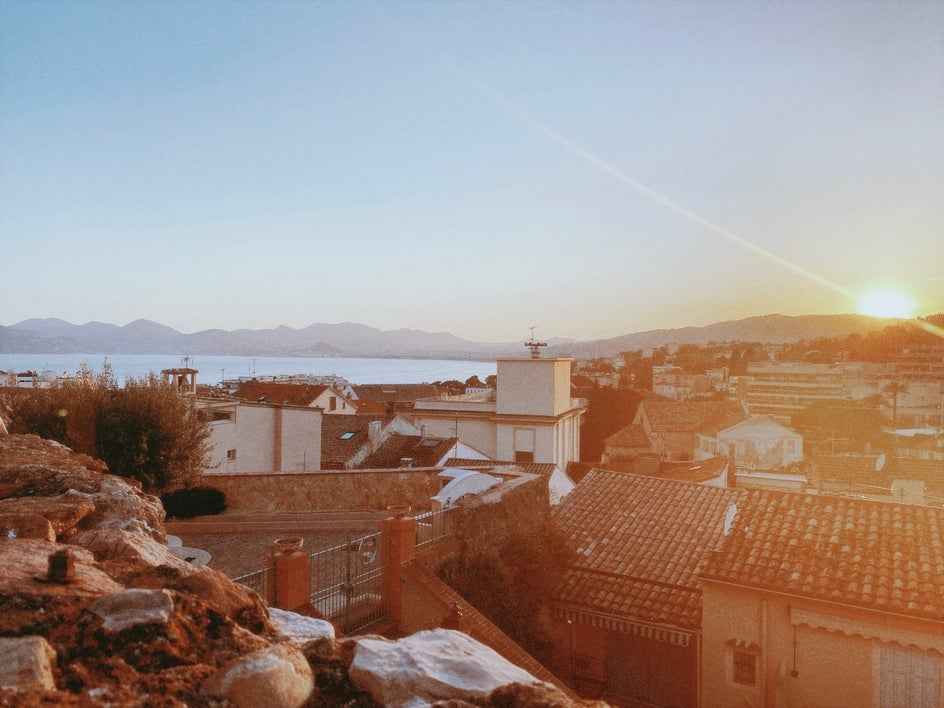
Match your lighting to your mood. This one is key, no matter if you are having a photo shoot in your hometown or are taking travel photographs around the world. Lighting can set the whole mood of your frame. Be mindful of the mood you want to capture and use the light to your benefit. I would normally say the best time to take photos is in the early morning or evening, or when it is overcast when the light is soft. Lately, though, I have been loving harsh mid-day lighting with contrasted shadows. If you are trying to capture the romance of a place, waiting until golden hour helps to bring alive certain elements you’re photographing that broad daylight may not.
4. Shoot In Your Own Backyard
When most people think of travel photography, they immediately imagine someplace far off in other parts of the world. As practice, try taking photos like a travel photographer in your own city. Sometimes we don’t think of our hometown as a place to travel to, but not only will it help you prepare for taking epic photos in other places, your own city could easily give someone else a case of wanderlust!
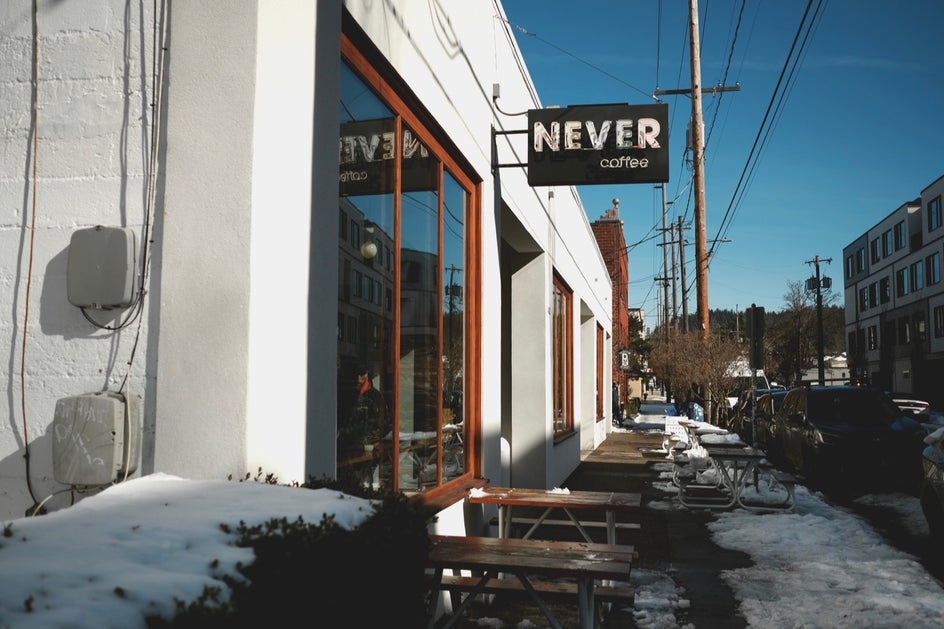
Walk around your neighborhood and try taking unique photos of something you see every day, like inside your house, your favorite coffee shop, or the best viewpoint within walking distance. Practice capturing these places at different angles, at momentous times of the day, and in different weather conditions.
The Best Photo Editing Tools For Travel Photography
The process of creating a great photograph doesn’t end with pressing the shutter release. To bring out important details of your images, fix problem areas, and enhance the overall mood of your photo, you’ll need BeFunky’s Photo Editor. These are our favorite tools to help enhance your travel photography:
The Crop Tool
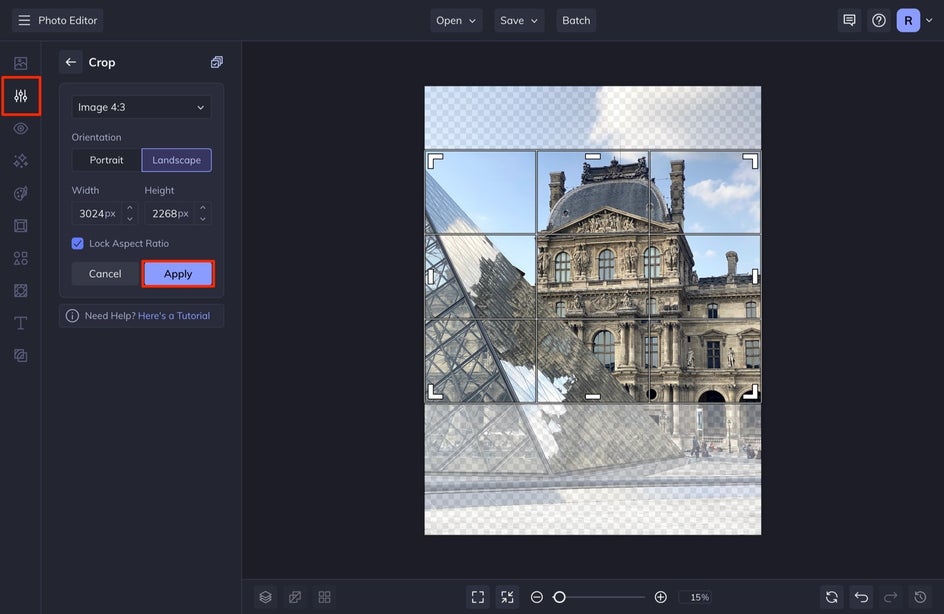
Composition is everything. What most people don’t realize before traveling to certain monuments or places around the world is that the reality of a monument’s surroundings often looks completely different. For example, the photos you often see of the Taj Mahal are from the same angle. The reason for this is that on the opposing side of the frame, the ground is covered with trash. The Pyramids of Giza, as another example, look like they are sitting in the middle of a desert, but are backed right up into a city.
The Crop tool can help you to reposition your focal point or crop out unwanted items in your shot. After selecting it from the Edit menu, drag and resize the Crop target to fit within the area you want to highlight. Everything outside of this target will be eliminated from the photo.
The Levels Tool
To quickly enhance the brightness, shadows, highlights, and contrast of your photo, click on the Levels tool in the Edit menu.
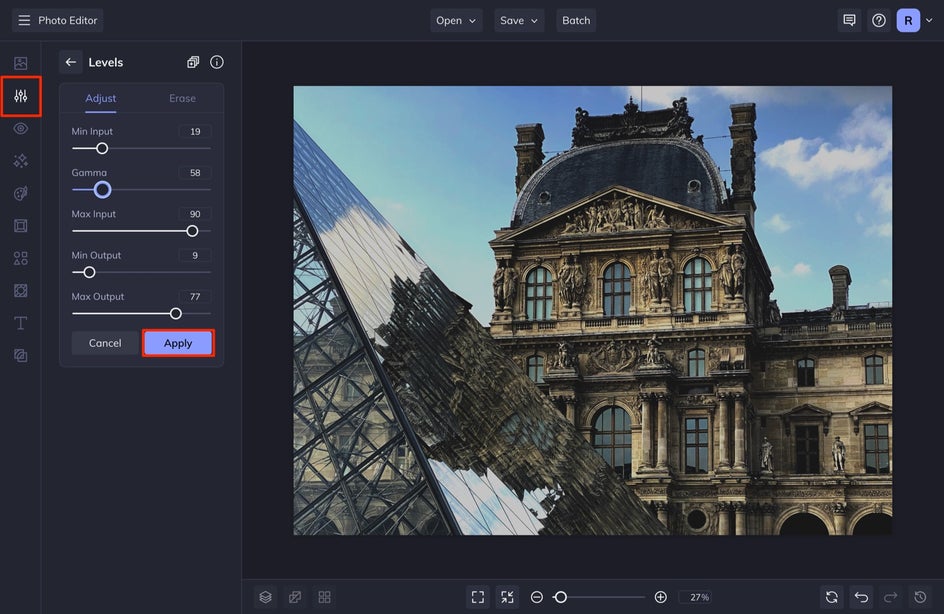
This tool is exceptional for adjusting your photo exposure and also creating that matte look you see regularly in travel photography. If you want a deeper tutorial for this tool, check out A Professional Photographers Tips for Fixing Exposure With the Levels Tool.

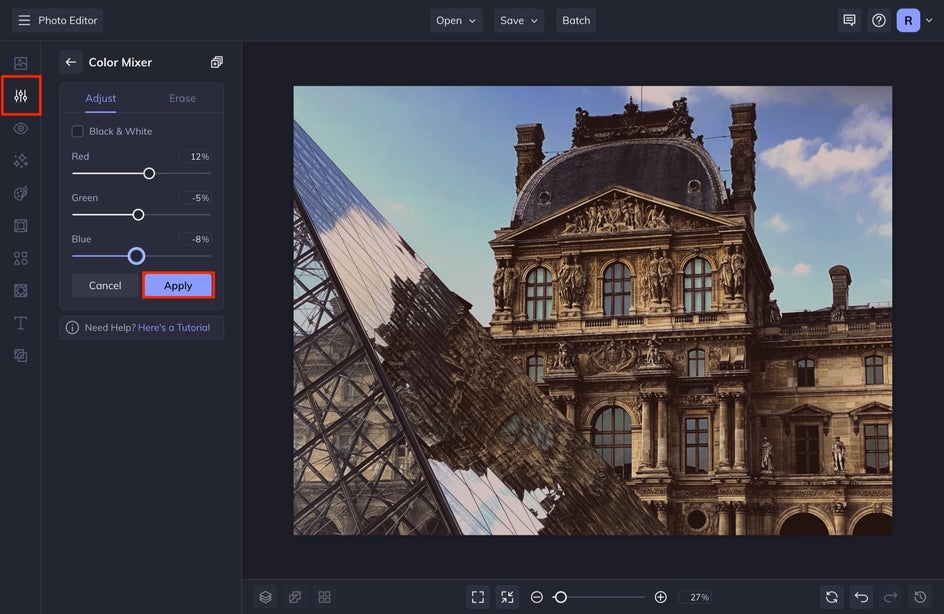
The Color Mixer Tool
The Color Mixer Tool helps to balance out the Red, Green, and Blue in your image. This makes your image’s color richer and helps to correct the colors that your camera may otherwise not be able to capture correctly.
The Clone Tool
The Clone Tool is by far one of my favorites for travel photography. This tool makes it easy to remove unwanted objects in your photo and disguise those areas with another part. If you have a person’s head in your shot, you can seamlessly remove it with the clone tool.
To use it, select Clone from the Touch Up menu on the left. A circular target will appear for you to select the area of the photo you want to use to cover up the unwanted area. Then an additional cursor will appear for you to click and drag over the unwanted object, painting over it with a different part of your image.
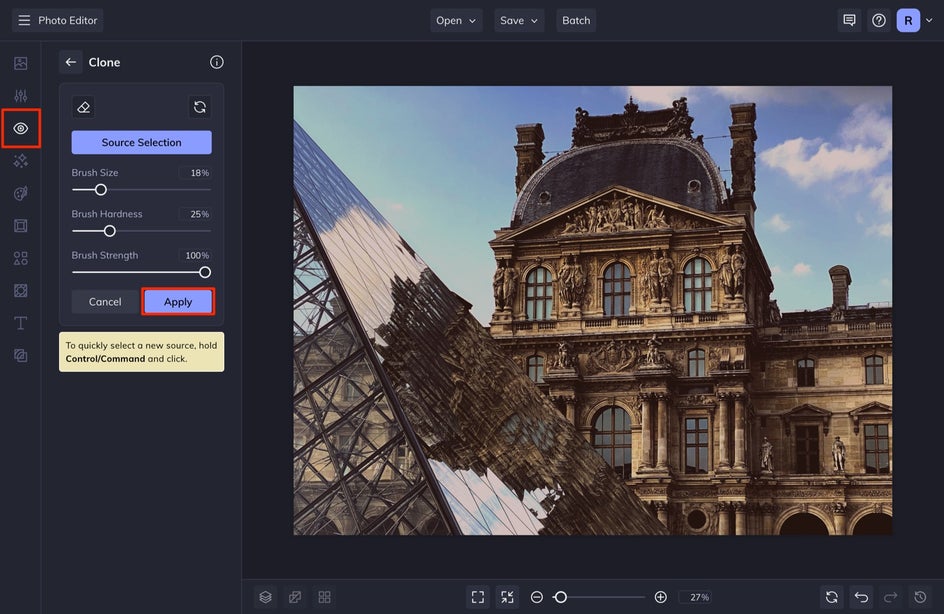
Check out this tutorial for a deeper look at the Clone tool.
The Replace Color Tool
This tool is amazing for desaturating certain colors that are distracting from the overall subject. This can also help you create the right color profile for your image, making your image more aesthetic. You can make grass darker, and desaturate the sky, making a moodier image.

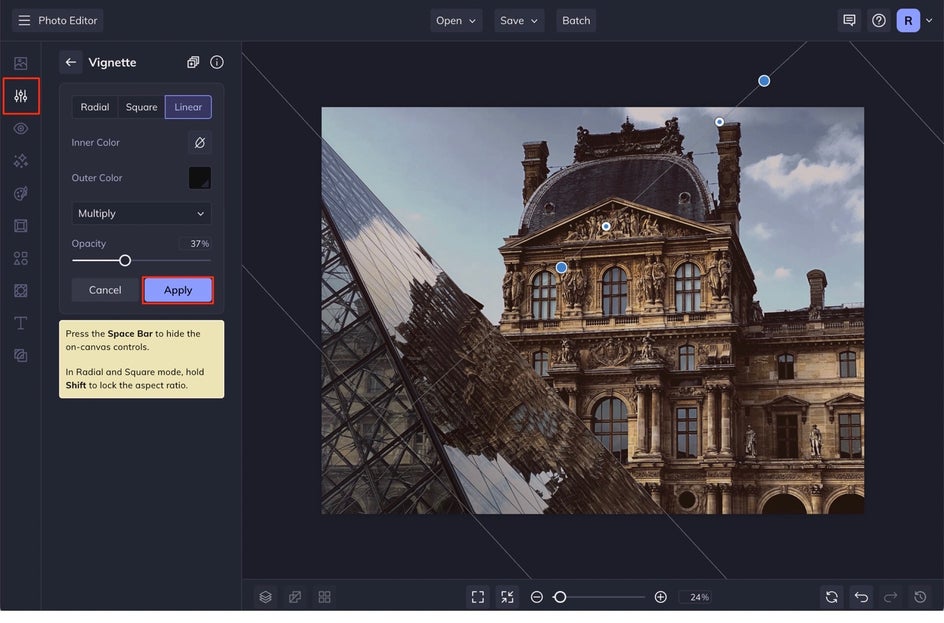
The Vignette Tool
With photography, you always want to draw your audience's eye to the focal point of your choosing. Using a vignette can be a very helpful tool to accomplish this, as it’ll slightly darken the edges of your photo to subtly direct the viewer’s gaze where you want it to go.
To use one, click on Vignette in the Edit menu and select either the Radial, Square, or Linear tab. Most vignettes are circular in nature, but you can get creative with the Square or Linear vignettes if you want! Drag and resize the vignette target on your image so that the focal point is in the center, then adjust the Opacity, Color, or Blend Mode from the menu.
Once you are all finished, make sure to save your image by going to the top of your screen, selecting Save, and then Computer.

Capturing Travel Photos Just Got Easier
These photography shooting and editing tips are the ones that I’ve used for over a decade and truly work to produce the kinds of viral travel photographs you see littered on your feed. With just a few simple edits in Befunky’s Photo Editor, your travel photos are ready to be added to your travel or lifestyle feed.