Add an Underpainting Effect to Your Photos
Have you ever wondered how you can turn your photo into a painting? We all have at least one photo we’d love to recreate on a canvas with paint, but let’s face it: unless you’ve got a ton of artistic knowledge, materials, and time, the whole idea is a little overwhelming.
Thankfully, we’ve got the solution. BeFunky’s Photo Editor is home to a wide range of Artsy effects to help you turn any photo into a painting! Our Underpainting online photo effect is one of these, and in just a few clicks, it’ll emphasize contrast and create a surreal hand-painted look.
Intrigued? Keep reading to find out how!
What Is Underpainting?
In the art world, underpainting is a technique used to lay the foundation for an artist’s masterpiece, usually by outlining or painting a base layer in a monochromatic color. They then layer more colors on top of the “underpainting” to create a subject. Without underpainting, the finished piece would look flat, making this technique incredibly important for creating a multi-dimensional work of art.
In photo editing, BeFunky’s Underpainting tool works in a similar way. It defines the colors in your photo and adds a painting-like texture to give the appearance of more depth. This helps add visual dimension to your photos by making them look as though they have an underpainted base.
How to Achieve the Underpainting Photo Effect Using BeFunky
Ready to transform your photo with our digital Underpainting effect? Start by heading to the Photo Editor and opening a photo of your choice.
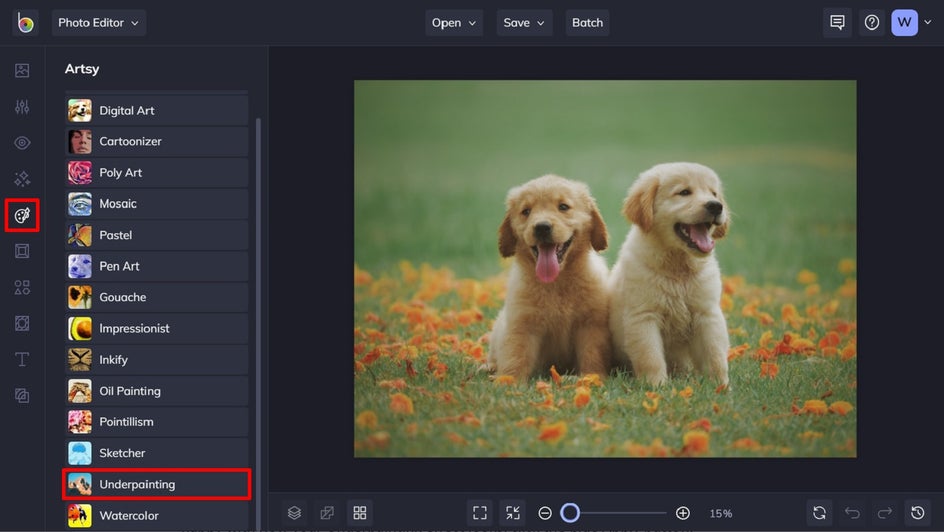
Step 1: Navigate to the Underpainting Artsy Effects
Click on the Artsy tab in the left sidebar menu. Here, you’ll find everything you need to turn photos into art! You'll find Underpainting towards the bottom of this list of effects.
Step 2: Choose an Underpainting Photo Effect
Here, you'll have two options to choose from – try out both Underpainting effects by clicking on them, and go with whichever produces the best result for your photo and vision. When you click on an effect, you’ll notice three options above the slider: Settings, Cancel, and Apply. Next, we'll be using these options to further enhance and refine the effect.

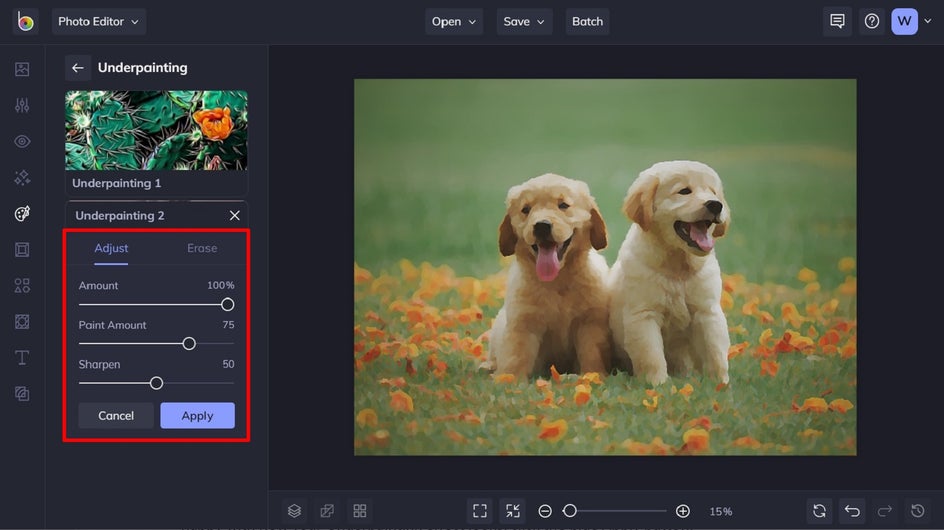
Step 3: Adjust Your Underpainting Effect
If things look perfect as-is, then great! But if you want to adjust additional elements of your effect, click the Settings button (the square icon on the far-left). Here, you can alter things such as the Paint Amount or Sharpness. Simply adjust the sliders from left to right to do so. Once you’re happy with how your Underpainting effect looks, click the Apply button.
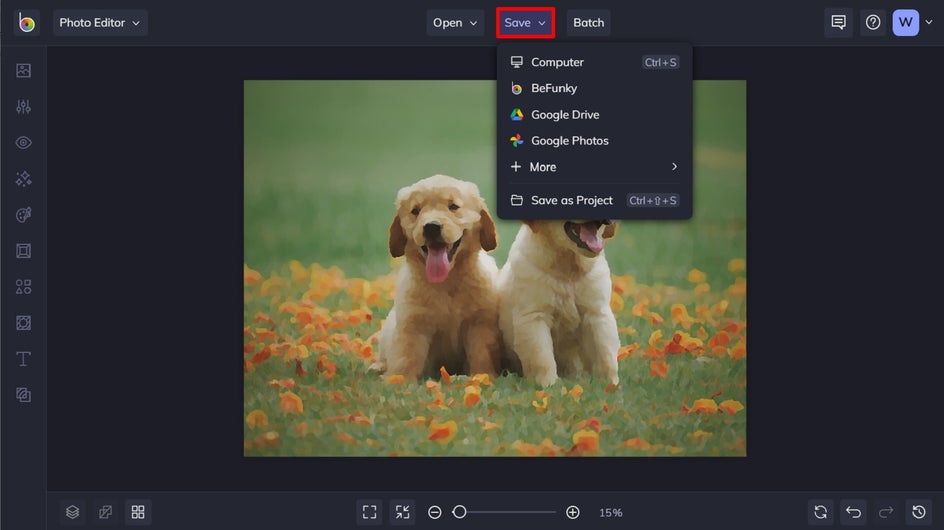
Step 4: Save Your Photo
Click Save at the top of the screen, and then select your desired location. You can save it to your BeFunky account, Facebook, and more.
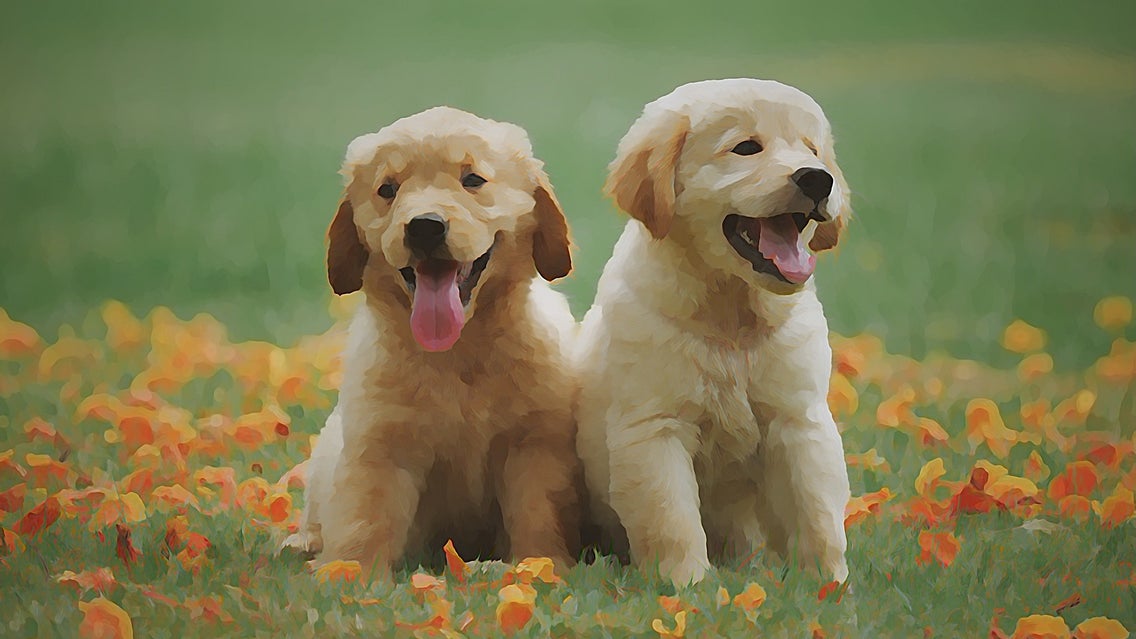
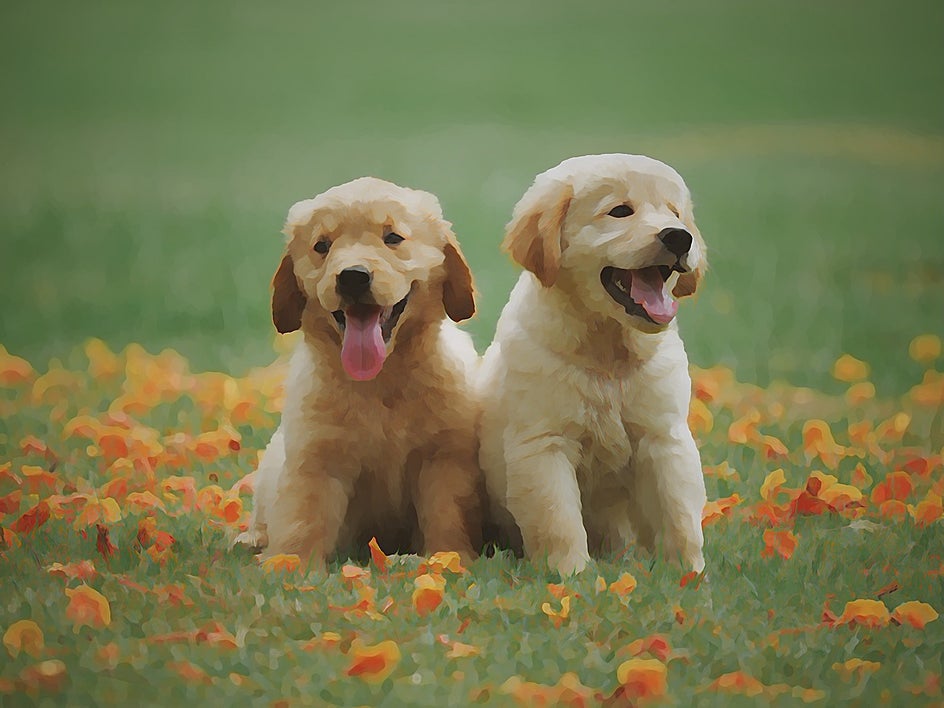
These puppies were already cute, but now they're cute and multi-dimensional. You can try this effect on any type of photo – like landscapes or portraits. Whatever suits your fancy!
Underpainting Inspiration
Want to turn your own photo into an underpainting but don’t know where to start? Here are some of our favorite ways you can use this Artsy effect to transform your everyday photography!
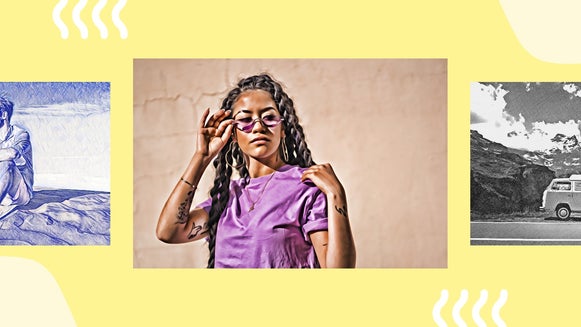
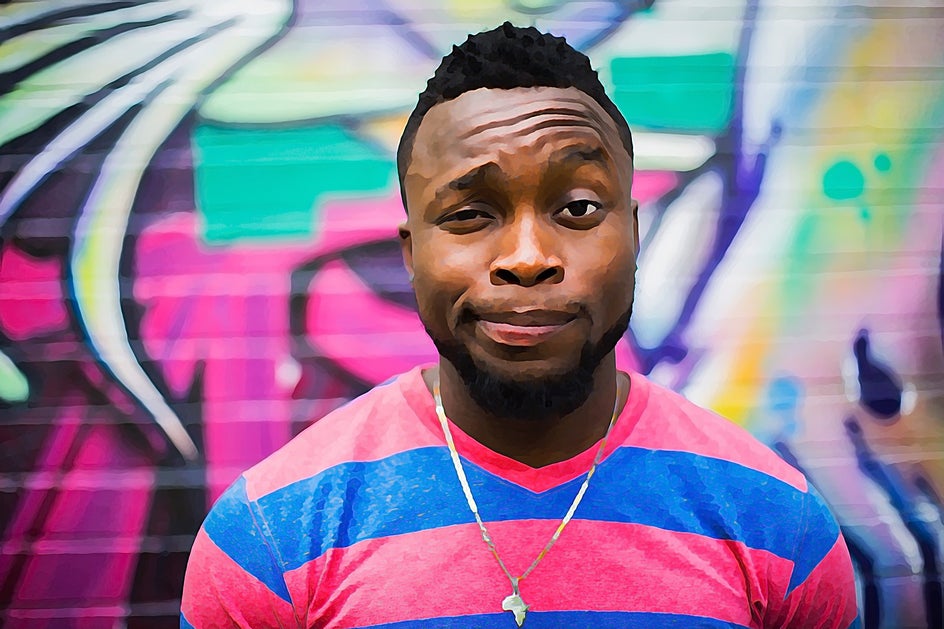
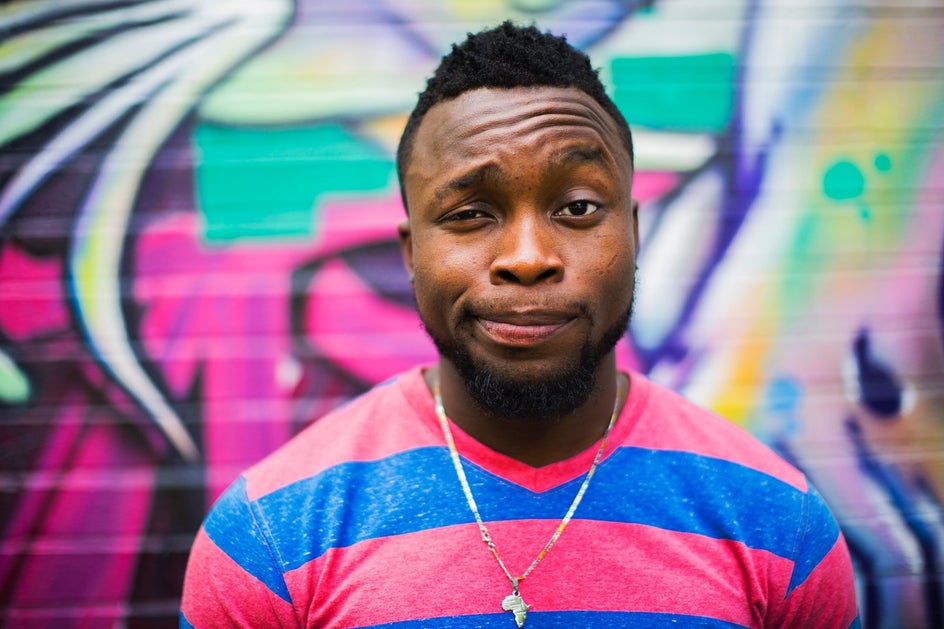
Portrait
The Underpainting effect is the perfect way to add an artistic flair to your portraits. See how the effect instantly transforms this colorful portrait into something that looks like it was expertly painted? It’s subtle, yet eye-catching!
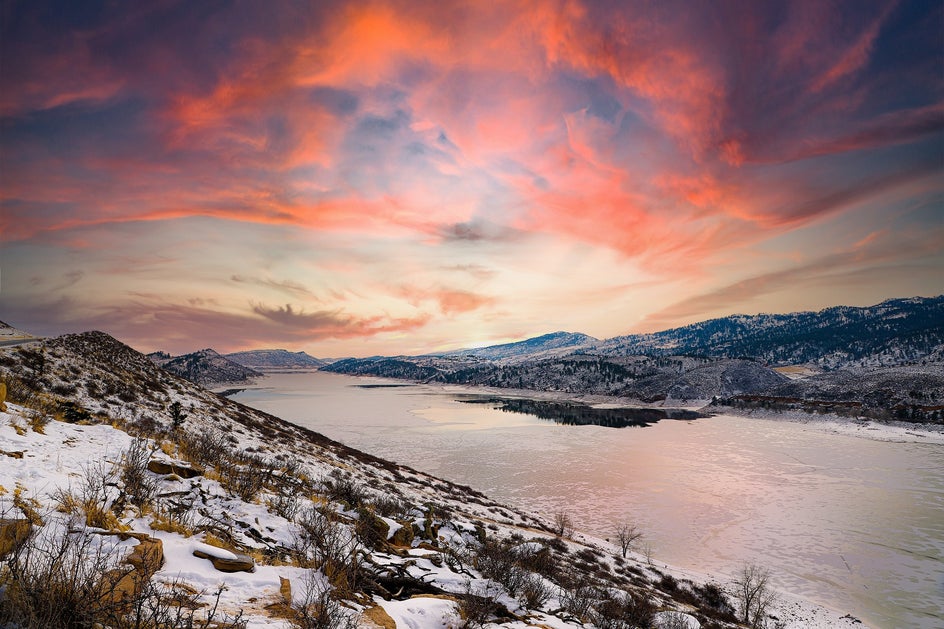
Landscape
Landscape photos are stunning, but there’s something about a painted landscape that will always take our breath away. If you want to turn your favorite scene into a painting, including all of the minute details that make it unique, then the Underpainting effect is the perfect tool for this. In the example below, we love the dappled look of the snow, not to mention the soft and dreamy sky.

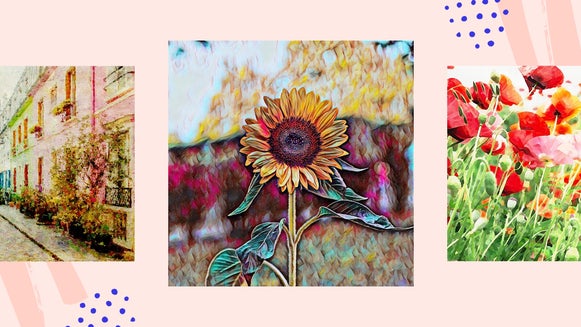
Still Life
Still life paintings are a whole genre on their own and they certainly haven’t lost their popularity over the centuries. Thankfully, you can put your paintbrushes and paint away for this one. Creating your own artistic still life is now as easy as capturing a photo and using the Underpainting effect to digitally transform it before your very eyes.
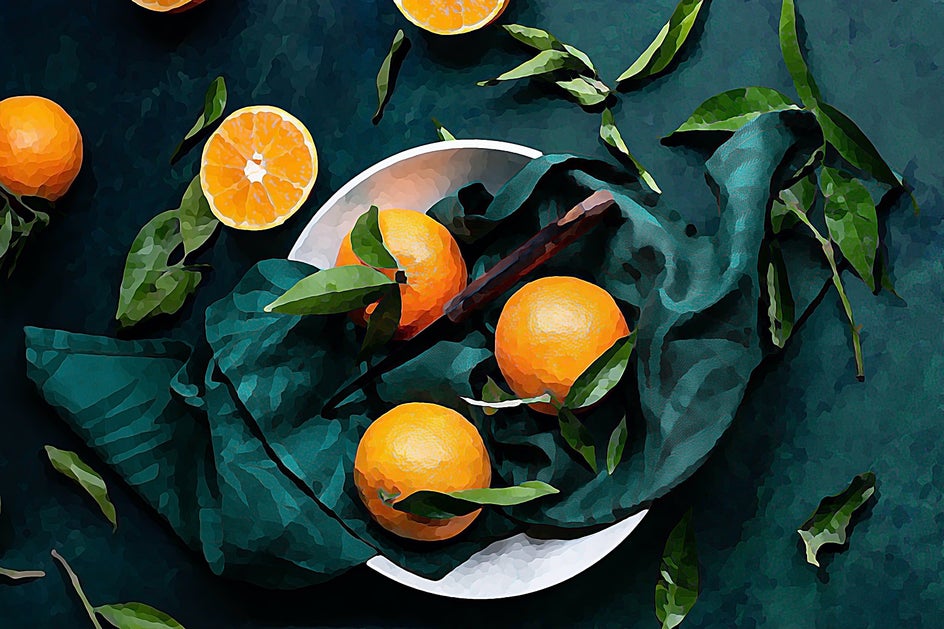
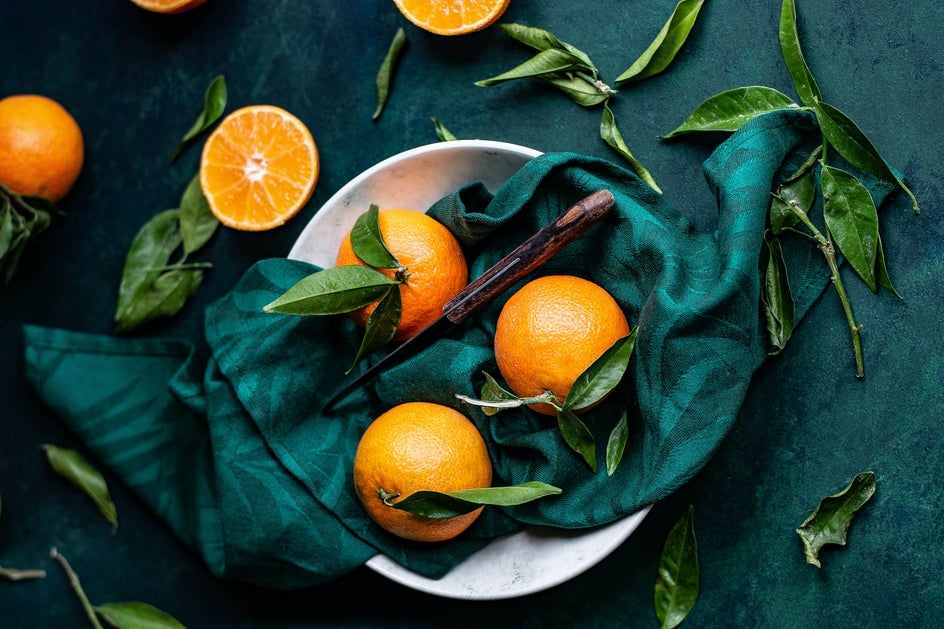
Photo to Underpainting Made Easy
Turn your favorite photo into an underpainting-inspired masterpiece, thanks to BeFunky’s Artsy effects. In just a few clicks, you too can emphasize the contrast and create a surreal, hand-painted look. Whether you frame your new artwork, layer on even more edits give it to a friend, or share it on social media – there’s an underpainting effect to suit any project you have in mind!