How to Make a Valentine’s Day Photo Collage
We have the ability to take photos every day now that we have personal cameras in our pockets. Unfortunately, most of these photos stay digital, and there is nothing worse than having a digital mishap and losing all of your memories. Whether you’ve got a handful of your favorite photos or an album full of them, it’s time you put them to good use – and what better way to use them than to create a memorable gift for a loved one? With Valentine’s Day coming up, it is time to make your partner feel extra special. If you want something a little more personal than a Valentine’s Day card, we’ve got the best idea for gathering your photos all into one thoughtful Valentine’s Day gift: a photo collage.
With BeFunky’s Collage Maker, it’s easy to create the perfect photo collage for gifting on Valentine’s Day. With hundreds of amazing layouts and customization options, you’ll be able to create a thoughtful gift in minutes. And now with BeFunky’s mobile app, you have all of these powerful tools right in your pocket, making your uploads more seamless than ever.
How to Make a Valentine’s Day Photo Collage
If you are ready to create a photo collage for your partner and want to see how simple it is to do it, check out this tutorial. To get started with BeFunky’s Collage Maker, click here. If you want to follow the tutorial below where we will be using BeFunky’s App, be sure to download it on Google Play or the App Store.
Step 1: Upload Your Photos into the Image Manager
First, open the BeFunky App and select Create a Collage from the main menu.

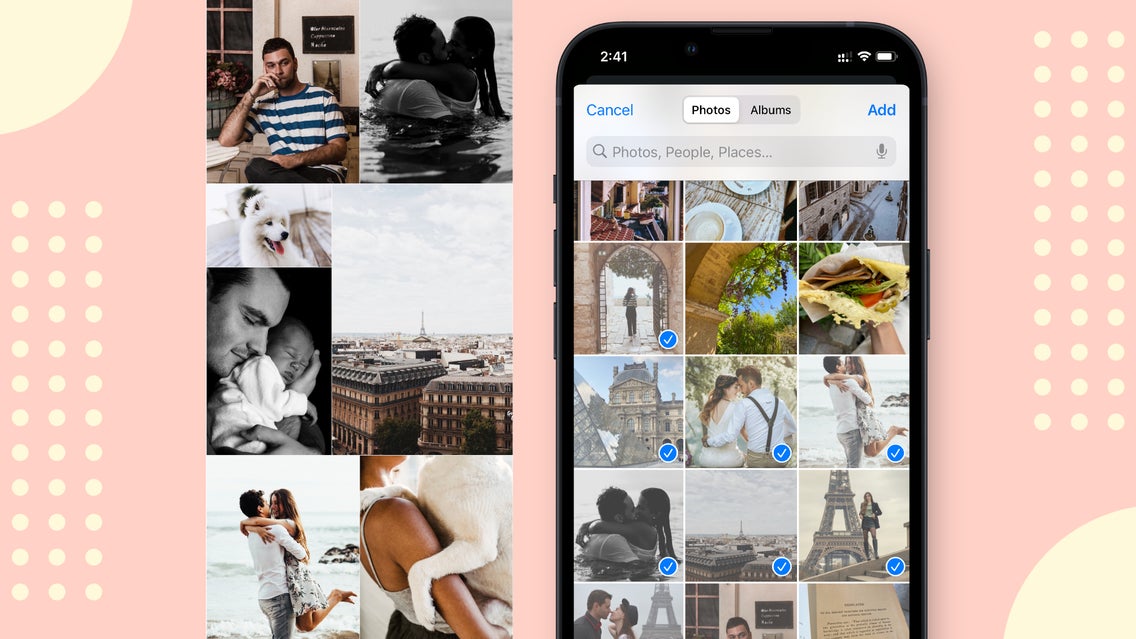
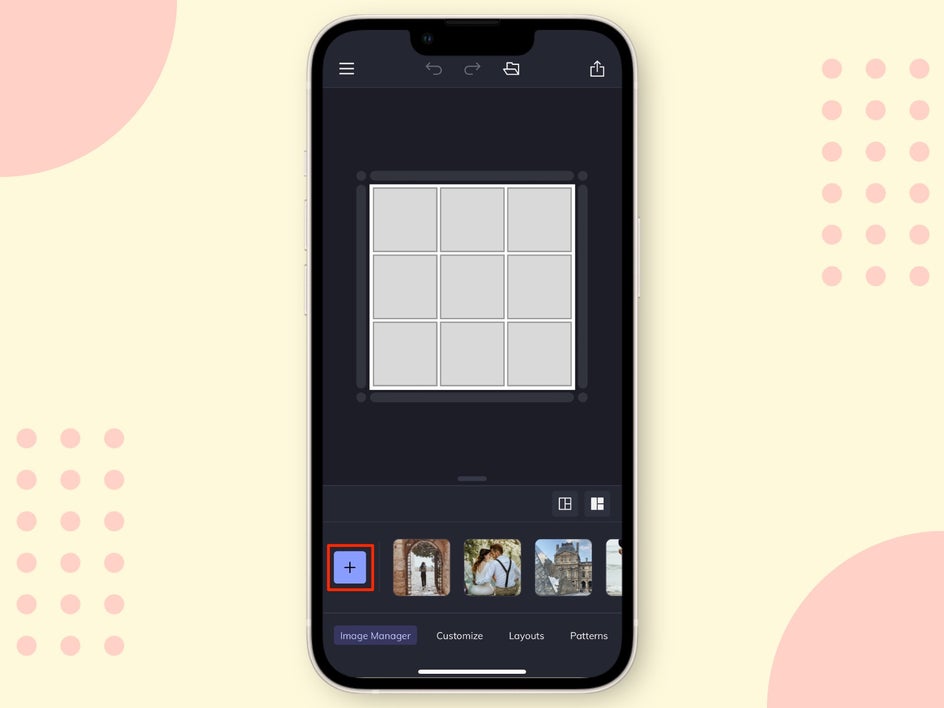
After this, select the plus sign at the bottom left-hand of the screen to add your photos to BeFunky’s Image Manager.
Once you select this, your camera roll will pop up and you can easily select the images you want. When you have your images selected, press Add in the top right corner of the screen where they will be automatically added to your Image Manager.

When you selected Create a Collage, a 3x3 grid was automatically chosen as your collage layout. You can change this whenever you like, but first, we're going to add our photos.
Step 2: Add Your Images to the Collage Cells
You can either tap and hold the photo you want and drag it into a cell or tap a photo you want to add and then select Add to Cell.
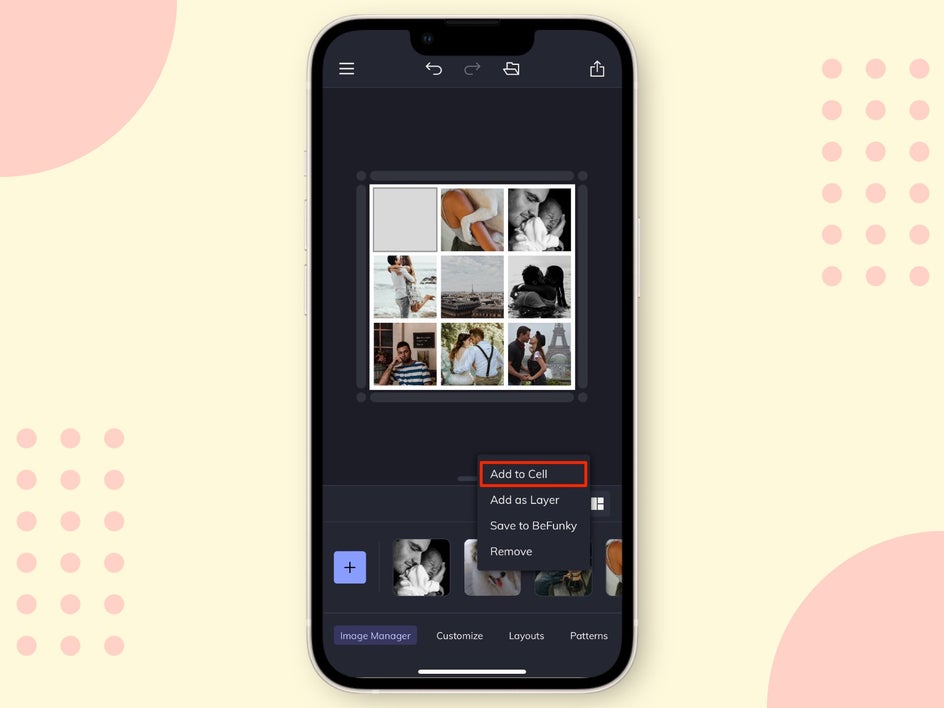
Do this with each photo you want to add. We can adjust the photos later if needed, but first, get them onto your canvas.
Step 3: Select the Perfect Layout
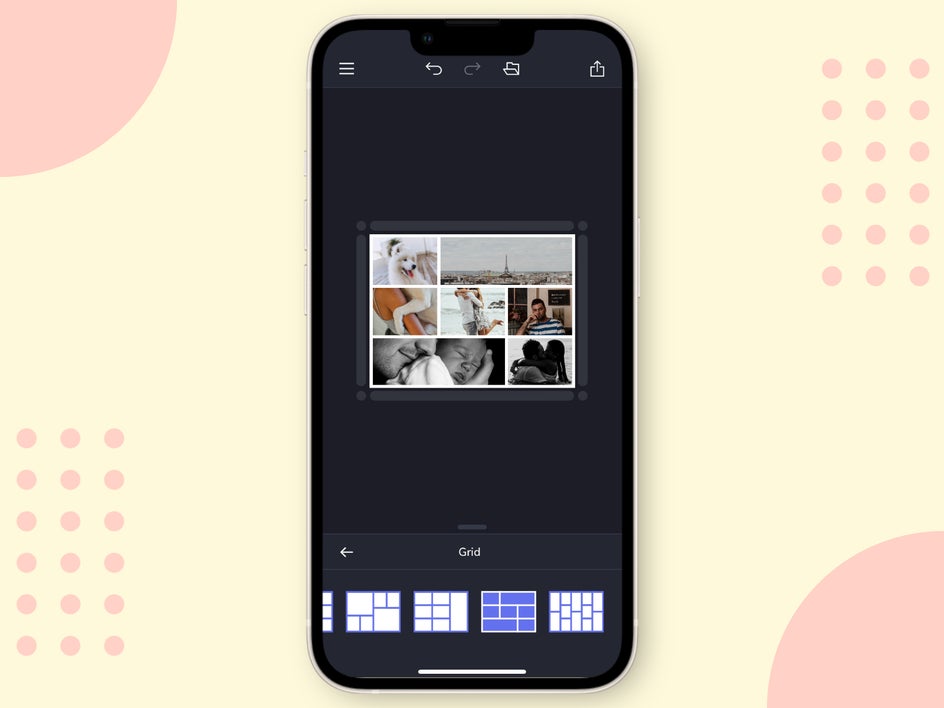
Once you have your photos uploaded, select Layouts at the bottom of your screen and then select Grid.
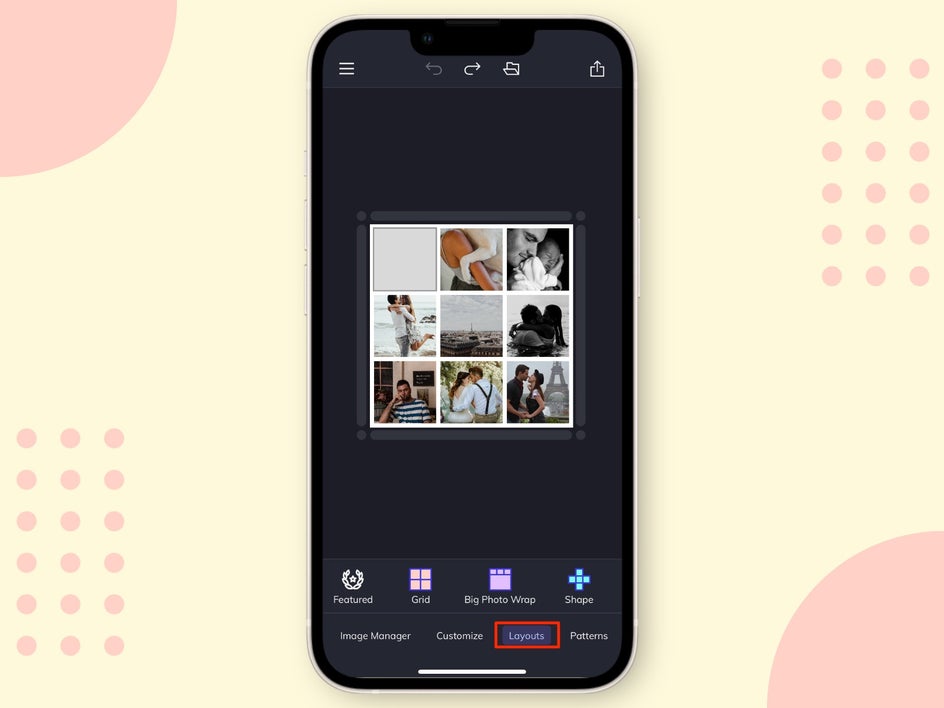
Choose the grid layout that you want. You will see that once you select a grid it will automatically adjust the canvas to that layout.
If you are having a hard time choosing which layout you want, you can select Collage Wizard from the main Layout menu. Here, you can see how your images are locked up before selecting the layout you want. To do this, select your images and then click Use Images.
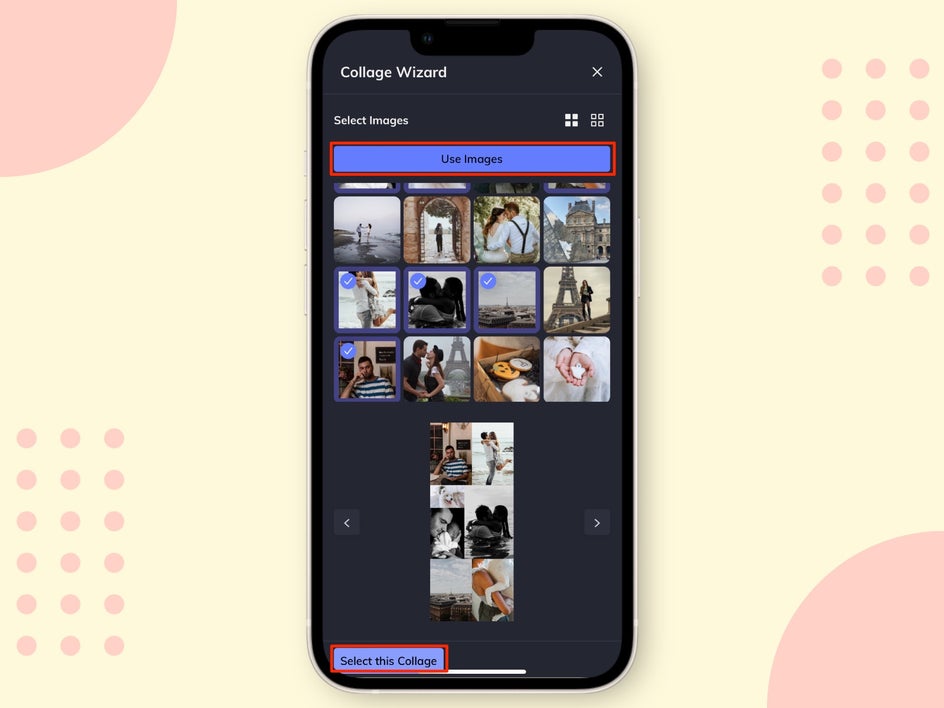
At the bottom of the screen, use the left and right arrows to switch between layouts, and once you see the one you want to use, click Select this Collage.
Step 3: Customize Your Photo Collage
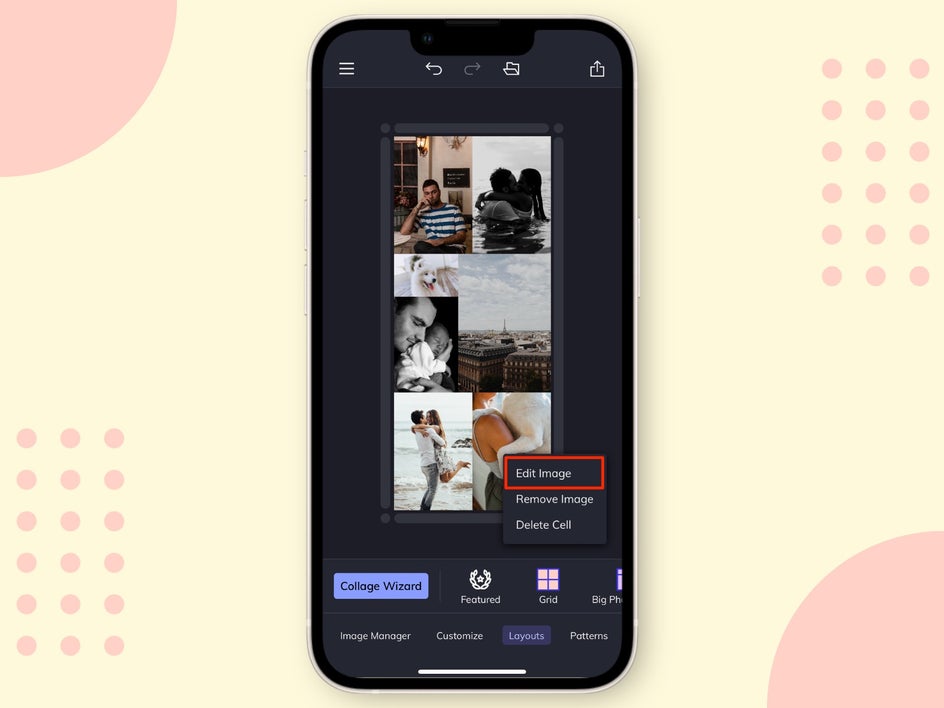
With your chosen layout loaded onto the canvas, you can edit and arrange your images. To edit your image, click on the image and select Edit Image.
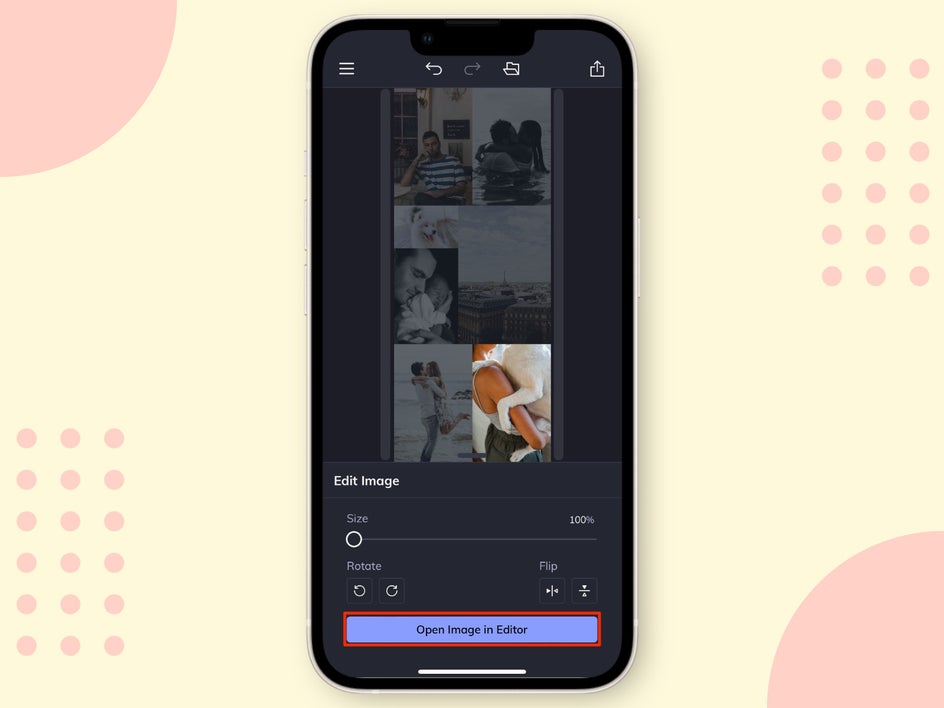
You can adjust the Size, Rotate, and Flip the image. If you need to make further adjustments, you can select Open Image in Editor to open the image in BeFunky’s Photo Editor. From here, you can then use any of our powerful editing tools or effects to adjust your image.
We want to make a cohesive look for this project, so we are going to edit each photo to match a specific aesthetic so that each image better matches the others surrounding it.
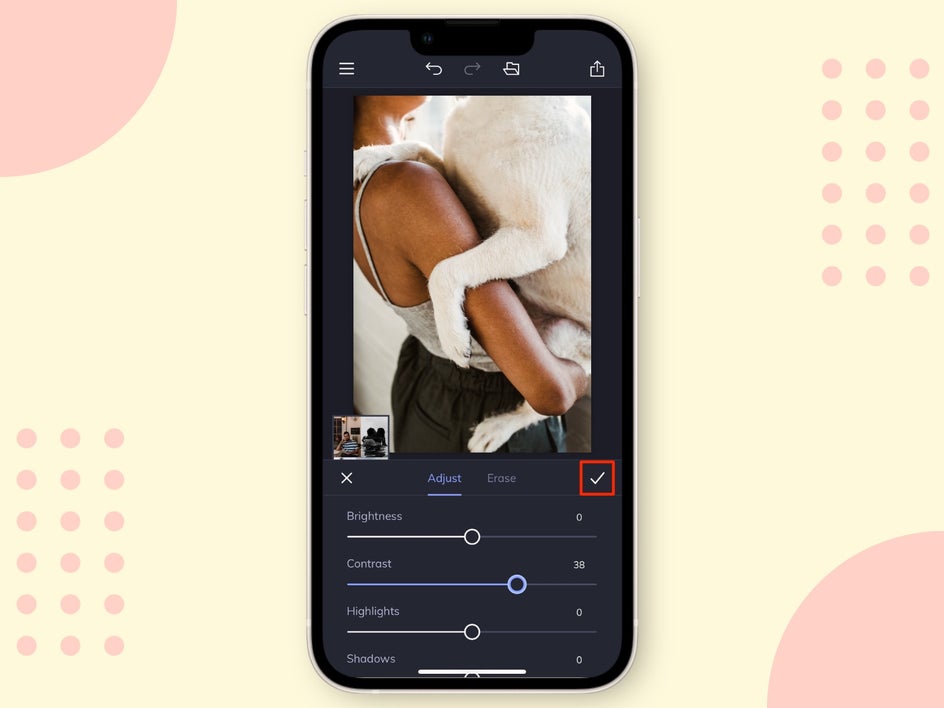
We are going to desaturate the color, brighten the image, and increase the contrast. Once you are finished, click the check mark on the right side of the screen to save your edits. To go back to your collage, simply select the collage preview in the bottom left of the screen. Do this with each photo to create a cohesive look.
After you have your image edits how you want them, select Customize at the bottom of the screen.
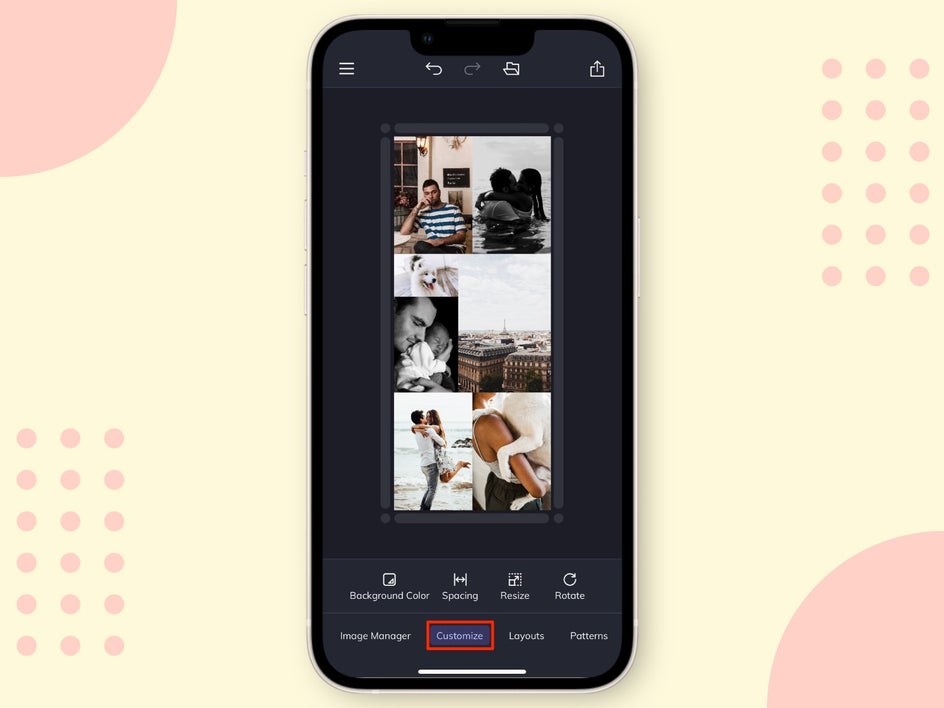
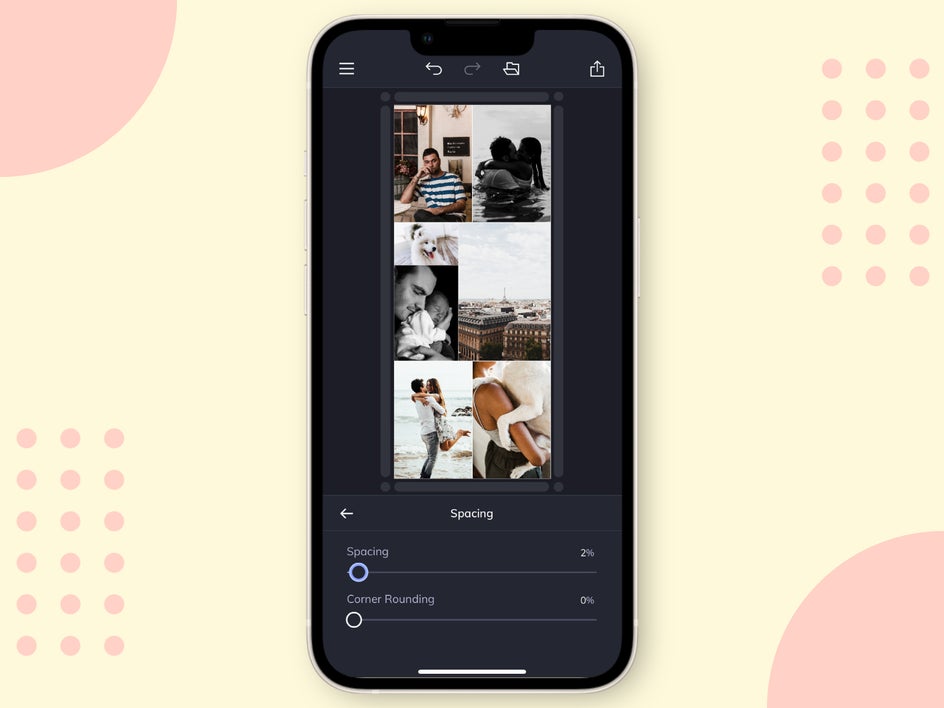
Here, you can customize the Background Color, Spacing, Resize your collage, or Rotate it. We want to create a very minimal white space around each photo so we are going to adjust the Spacing to 2%. Once you have it how you like it, select the back arrow on the left.
Step 4: Save And Print Your Valentine's Collage
When you are finished creating your special Valentine’s Day gift, head to the top of your canvas and select the boxed arrow in the top right.
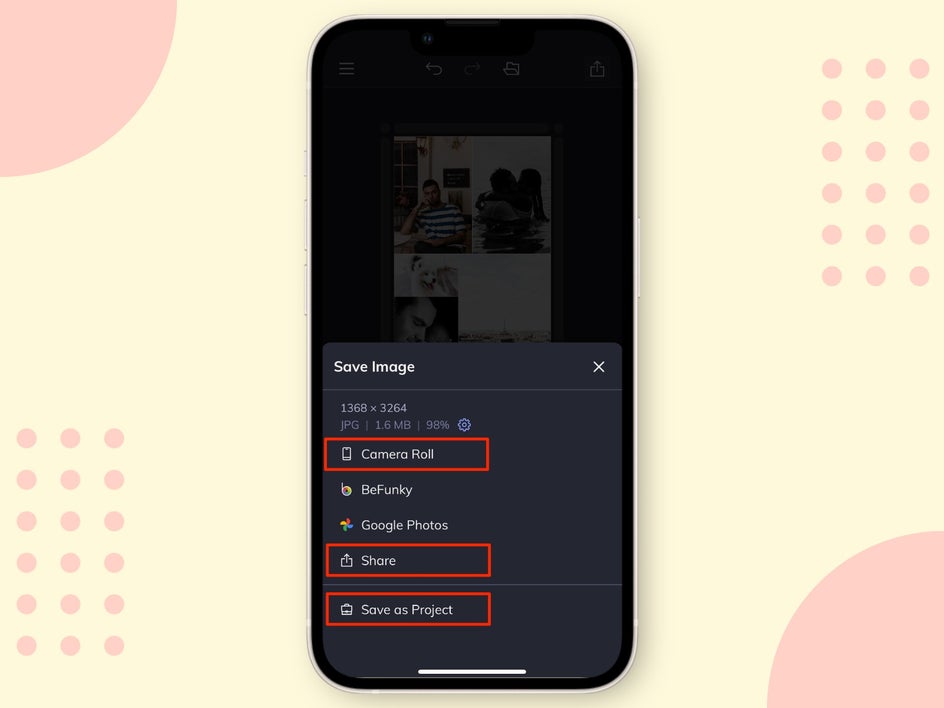
You can save the image to your Camera Roll or share it to your email, where you can easily send it to a printer.
We recommend printing your collage and framing it for a truly one-of-a-kind gift that you can hang in your home. Make sure that you also Save as Project so that you can come back to make any future adjustments.
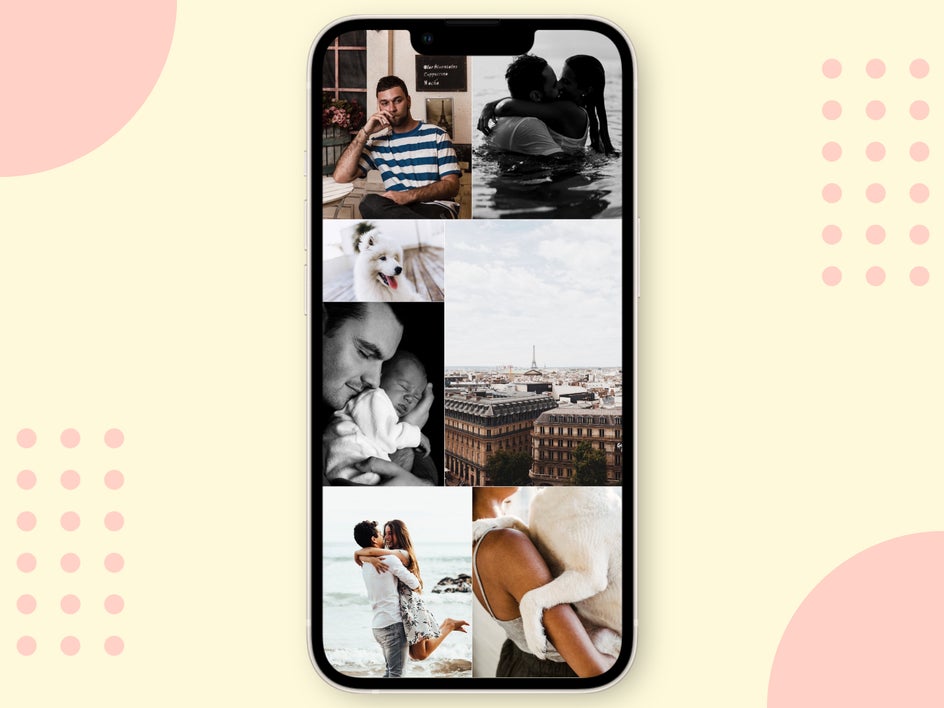
Final Results: DIY Your Own Valentine's Day Collage
There are so many projects and DIYs you can do with BeFunky’s Collage Maker. Use all of the images you have in your camera roll in order to create a truly unique piece for your loved one.
Whether you use your images to decorate the outside of a memory box, create a digital background, or frame a collage to hang in your house, BeFunky’s powerful tools can do it all.