How to Enhance Image Color With the Vibrance Tool
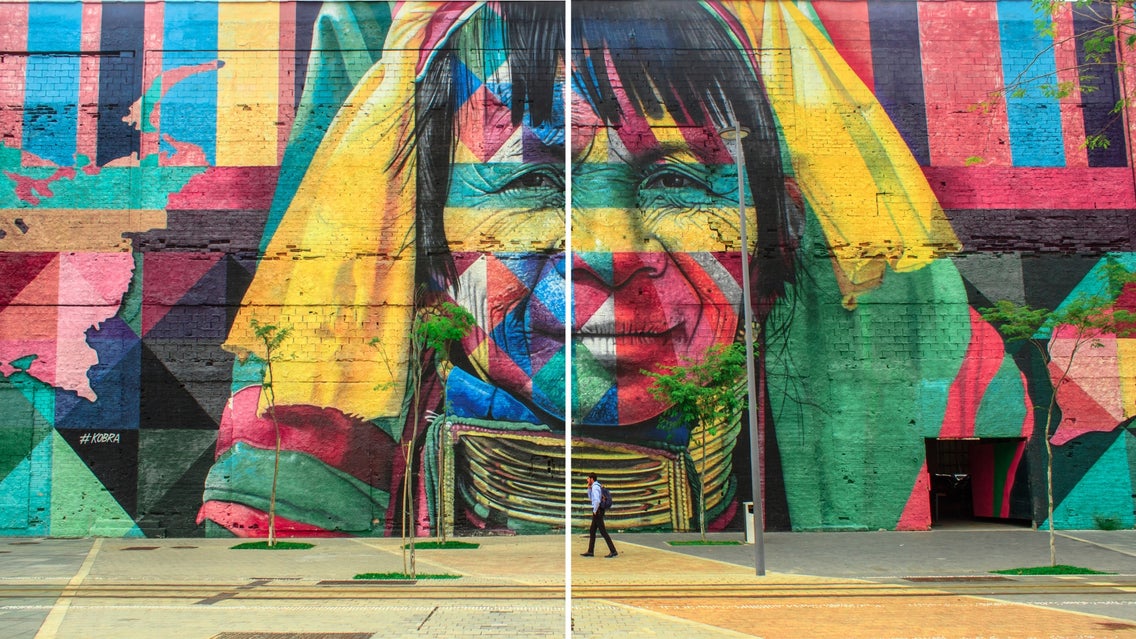
Beauty is in the eye of the beholder, but a camera lens doesn’t always capture the beauty that your eyes can see. This is where the Vibrance tool comes into play, a simple solution for making your images as vibrant as when you first captured them. Instead of letting the image remain dull and lifeless, you can adjust it to be as vibrant as your heart desires with BeFunky’s Photo Editor.
Is There a Difference Between Vibrance and Saturation?
Saturation simply means the intensity of color; the higher the Saturation, the more vivid the display of colors will be. Increasing saturation will intensify the colors in your photo and make them pop. But it only increases the color across the whole image, without targeting specific areas, which can result in an image that is too bright in all the wrong places.
On the other hand, vibrance selectively boosts muted colors to complement the hues in your photo that are already well-saturated. BeFunky's Vibrance tool has smart sensing capabilities to balance the colors and achieve a more natural final result – all in just a few clicks.
How to Fill Your Images With Vibrancy
When you are ready to adjust the vibrance of your images, open the Photo Editor and upload your image by selecting the Open tab at the top of the page. For even faster uploading, you can simply drag and drop your image file into the interface and it will automatically appear.
Step 1: Navigate to the Vibance Tool
Under the Edit tab on the left side of the interface is the Vibrance tool that is found under the Essentials section.
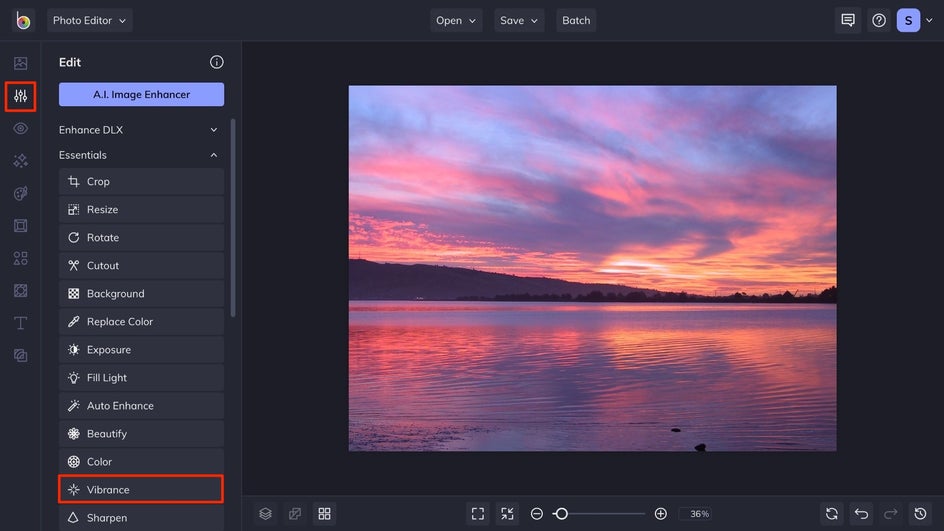
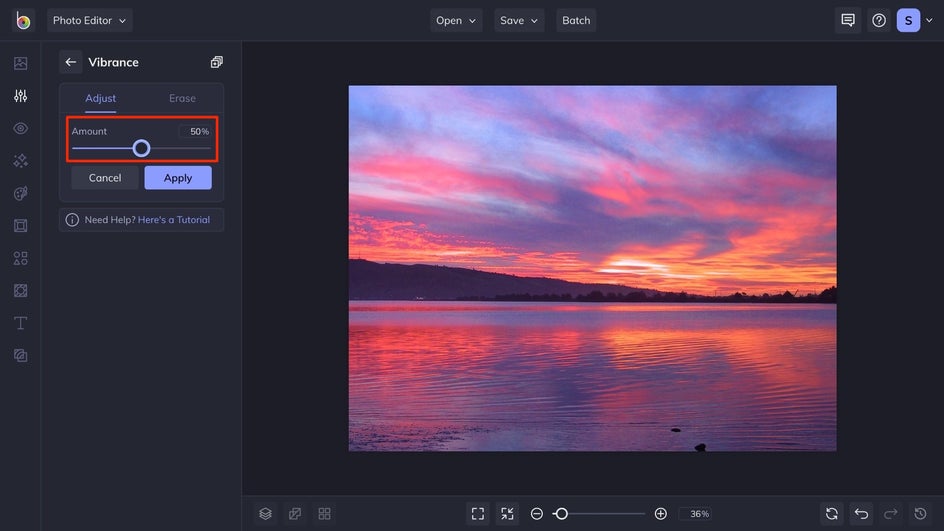
Step 2: Make Your Adjustments
Once you select the Vibrance tool, it will automatically apply vibrance to your photo. To get a more customized look, you can use the slider to change how much of the effect is applied to your image. The further to the right you slide it, the more vibrance will be applied to your image. When you are using the Vibrance tool with scenery, more vibrance can be a good thing. However, when you are using it on people, less is more. Small adjustments to the Vibrance will be better.
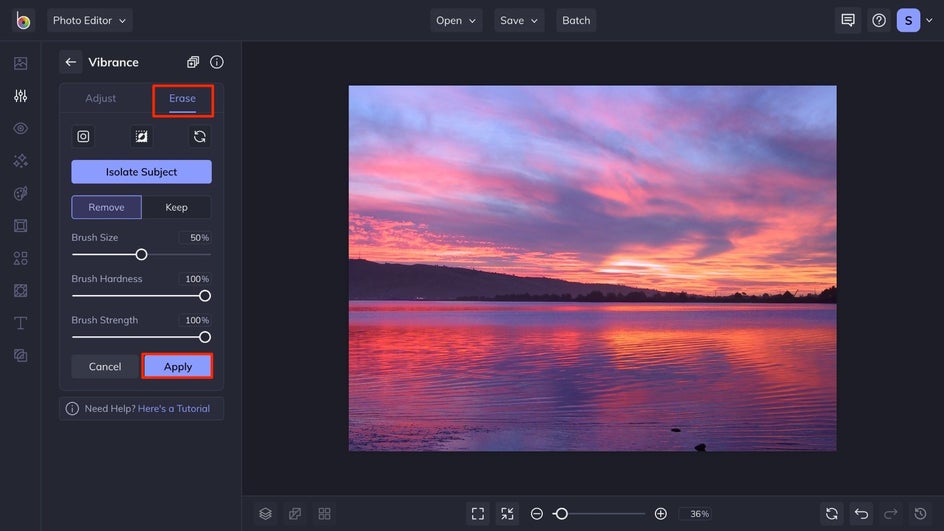
Step 3: Utilize Erase Mode for a More Personalized Touch
If you feel like your image has a certain section that needs some vibrance injected into it, select Erase mode and you can hand-pick the sections that you add vibrancy to. Simply swipe your brush over the areas that you want to remove the vibrancy from and click apply when you have achieved your desired result.
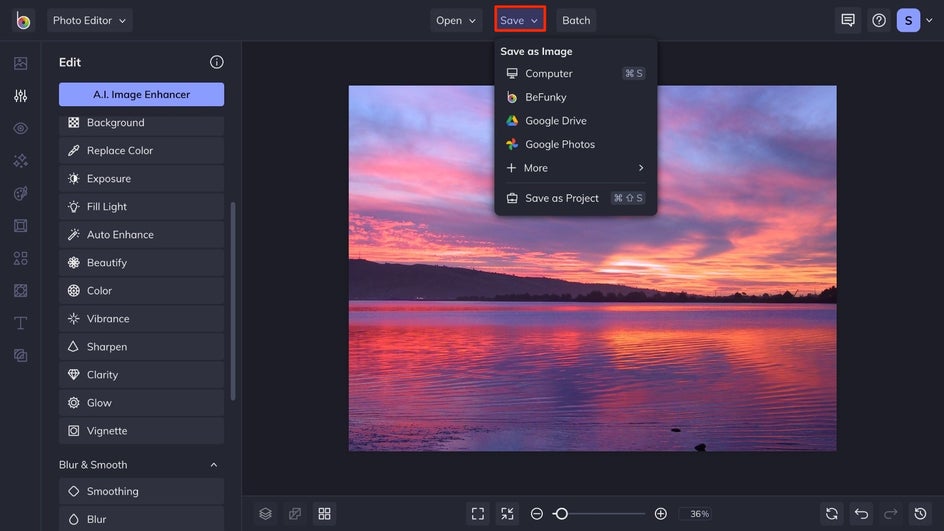
Step 4: Save Your Vibrant Image
At the top of the interface, select Save when you are satisfied with your image's final results. You can save your photo to your desired location, and share it with the world.
Achieve Vibrancy in Just a Few Clicks
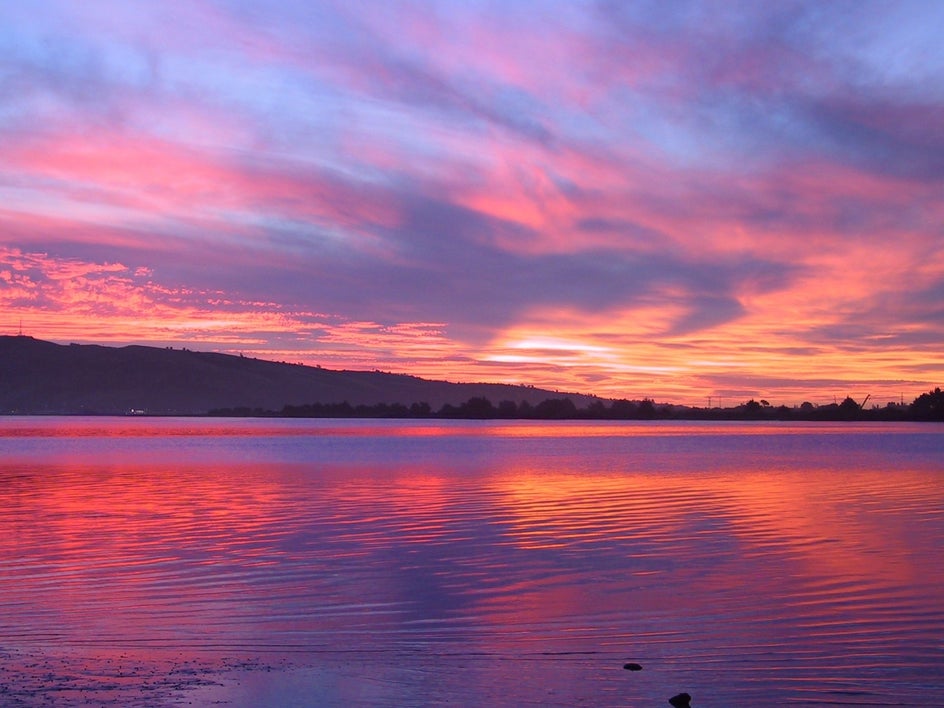
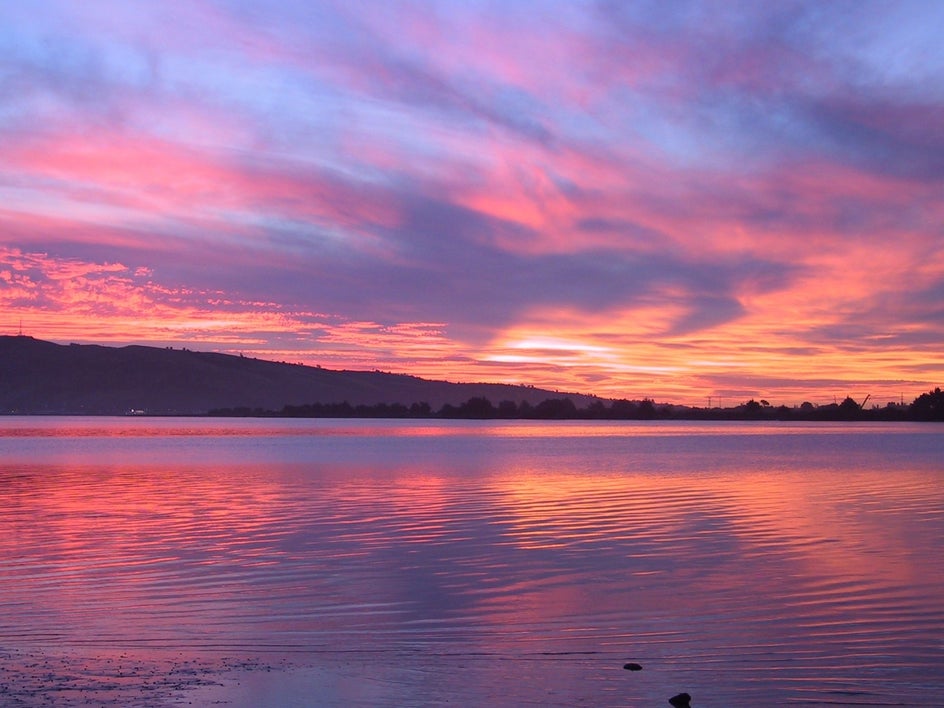
Take a look at how we transformed this sunset and its reflection on the water to be a beautiful vibrant image. Play around with the settings to get your perfect desired outcome, and in just a few clicks your images will be shining. Get Started on making your images match the real-life version of vibrancy.