2 Ways To Watermark YouTube Videos
As of today, YouTube is the second most visited website online. That means there is huge potential for your video content (and overall brand) to be seen, but it’s also more important than ever to make your content stand out. In addition to making great videos, creating click-worthy thumbnails, and branding your YouTube Channel as a whole, there’s one more thing that’ll help keep your video content on-brand: adding a watermark.
It’s a pretty common part of the creative workflow to watermark photos and designs, but these days where video content reigns, watermarking videos is also on the rise. Not only does a watermark add a professional, branded look to your videos, it also helps prevent your content from being stolen. Luckily, you can easily create your own watermarks with BeFunky's Background tool and everything you need to get creative with text, graphics, and logos in our Photo Editor. Whether you’re designing a watermark from scratch or want to use a logo you’ve already created, we’ll show you two ways to make watermarking your YouTube videos happen.
What Is A Video Watermark And Why Does It Matter?
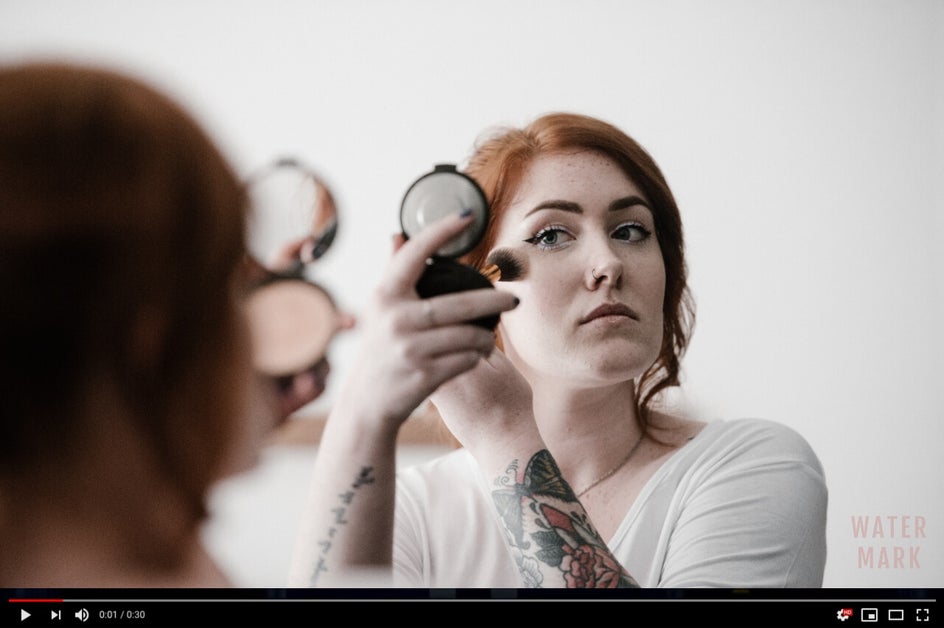
A video watermark is essentially the same as a photo watermark. It’s a still image that sits on top of your video as it’s playing, commonly placed in the bottom right corner of the video. This watermark can be anything you want; your brand logo, website URL, or an otherwise custom watermark. If you decide to use a website URL as your watermark, be sure to customize it to your brand or channel.

Watermarking your videos has become increasingly important for two main reasons: brand recognition and video theft protection. Sadly, it’s not uncommon for YouTube videos to get stolen and passed off as someone else’s work. However, a watermarked video has less of a chance of being stolen because the watermark indicates the true source. It’s basically like an artist signing their masterpiece, and can’t easily be removed.
Not only does watermarking help with video theft protection, but a watermarked video will help increase brand recognition. By adding watermarks to every YouTube video, viewers will consistently see your brand and associate it with your video content. The ultimate goal with this is that your brand will reach top-of-mind recognition amongst your viewers, and watermarking videos is just one piece of an entire brand experience. Other pieces include ensuring your video content, YouTube Channel Art, and every YouTube Thumbnail you create are on-brand.

Even if you’ve already published tons of YouTube videos without watermarks, you can easily add them after the fact. First, we’ll show you how to create a video watermark, then we’ll show you how to add it, whether you’re in the video editing process or you’ve already uploaded a video to YouTube.
How To Create A Video Watermark
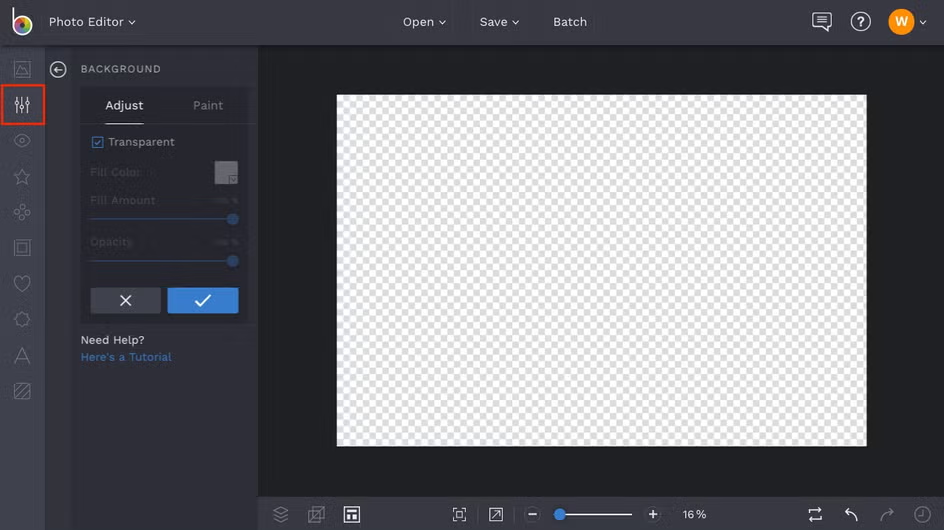
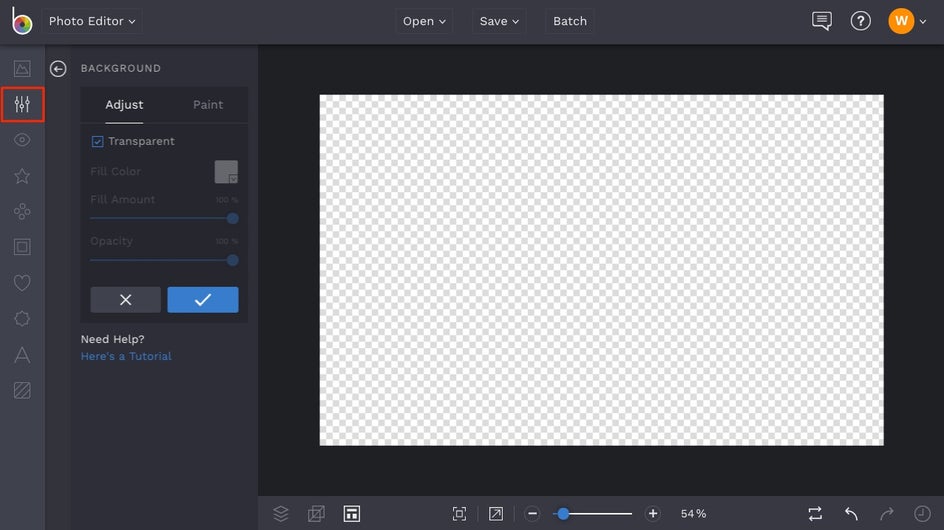
Creating a watermark is easy in BeFunky. First, decide what you want your watermark to be (a logo, website URL, etc.), then head to BeFunky’s Photo Editor. You’ll want to create a transparent background canvas to design on, so upload any image and select the Background tool from the Edit menu on the left. Upon clicking on the Background tool, the entire photo will become a transparent background. Press the blue checkmark to apply the transparency.
Next, click on the Resize tool from the Edit menu on the left. Make sure the Lock Aspect Ratio box is unchecked, then type 150 into the Width and 150 into the Height boxes.
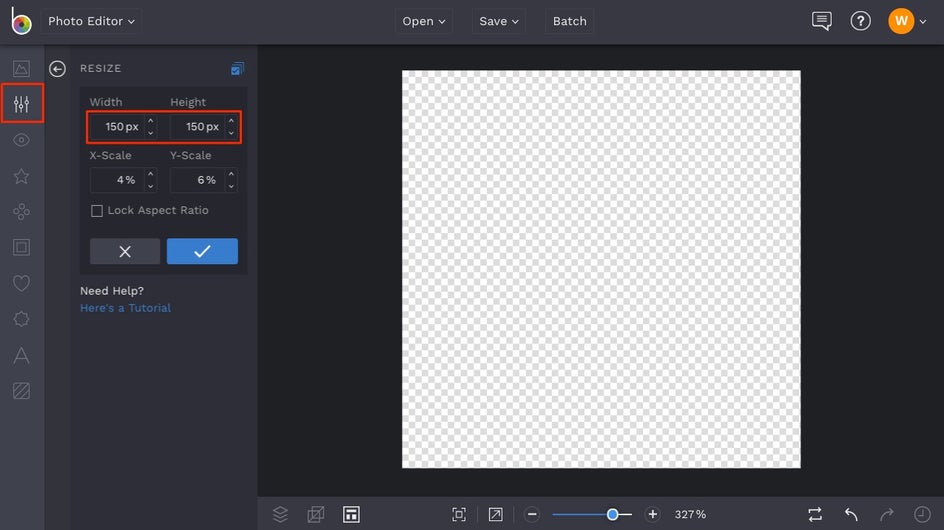
Press the Enter button on your keyboard to make your transparent design canvas a 150px x 150px size, then press the blue checkmark to apply the Resize tool. This is the most common size for a video watermark.
Creating A Logo Watermark
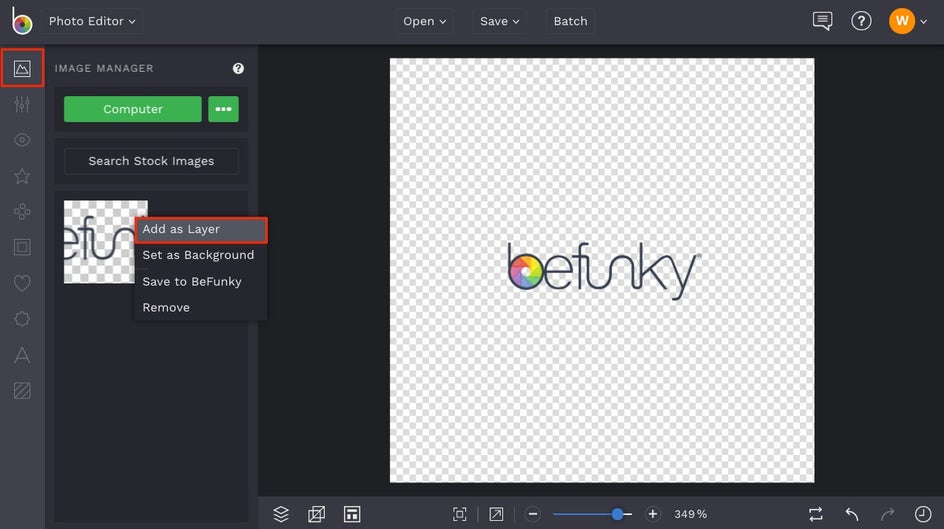
If you’ve already got a logo you want to use as your watermark, click on the Image Manager tab at the top of the menu on the left. Then, use the Computer button to upload the logo. When it’s uploaded, it will appear as a thumbnail in the Image Manager. Click on the thumbnail and select Add As Layer from the menu that appears.
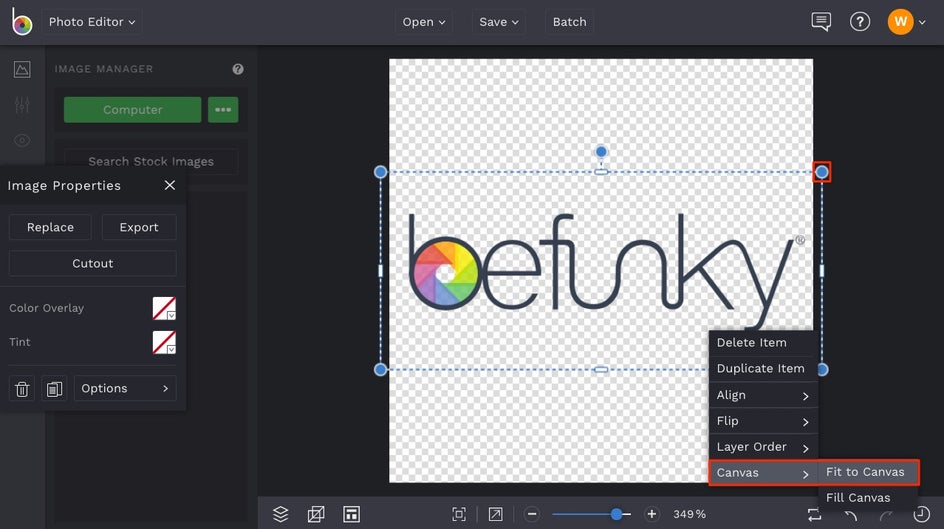
Now that your logo is on top of your transparent background canvas, use the blue circles around it to resize the logo to fit perfectly within the canvas. For a really quick and efficient way to do this, right click on the logo layer and select Canvas > Fit To Canvas from the dropdown menu that appears.
Finally, click the Flatten Layers button (two overlapping squares icon) in the bottom left menu. From here, you can click the Save button at the top of the Photo Editor to save your watermark to your Computer. Just make sure to select the .PNG option in the Save menu to keep the background transparent.
Designing A Watermark From Scratch
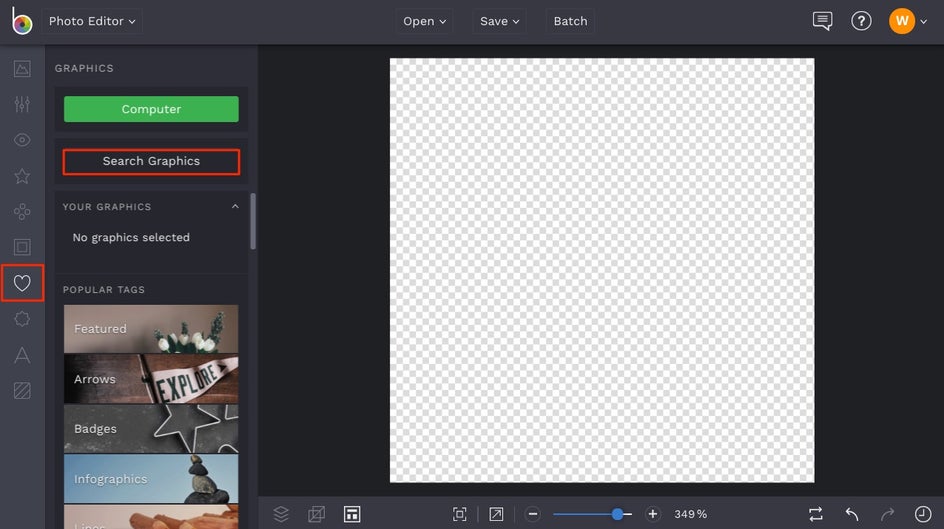
If you don’t yet have a logo you want to use as a watermark, BeFunky has all the necessary tools you need to design one from scratch. Follow the steps above to create a transparent background and resize the canvas to 150px x 150px. For designing a watermark with graphics, click the Graphics tab (the heart icon) in the menu on the left, then click the Search Graphics button.
To search the Graphics Library, type in your search query or use the Popular Tags to find the design elements you’d like to use. Select any that you might want to use, then close out of the Graphics Library.
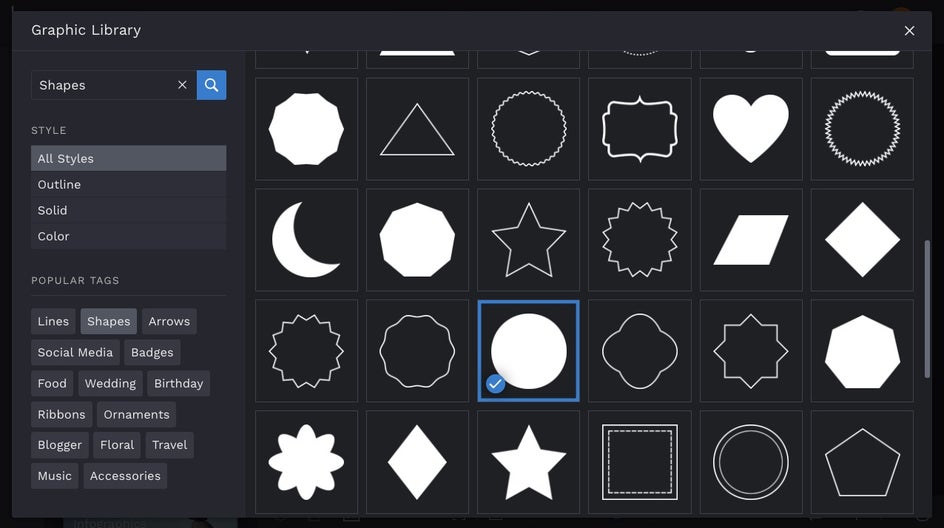
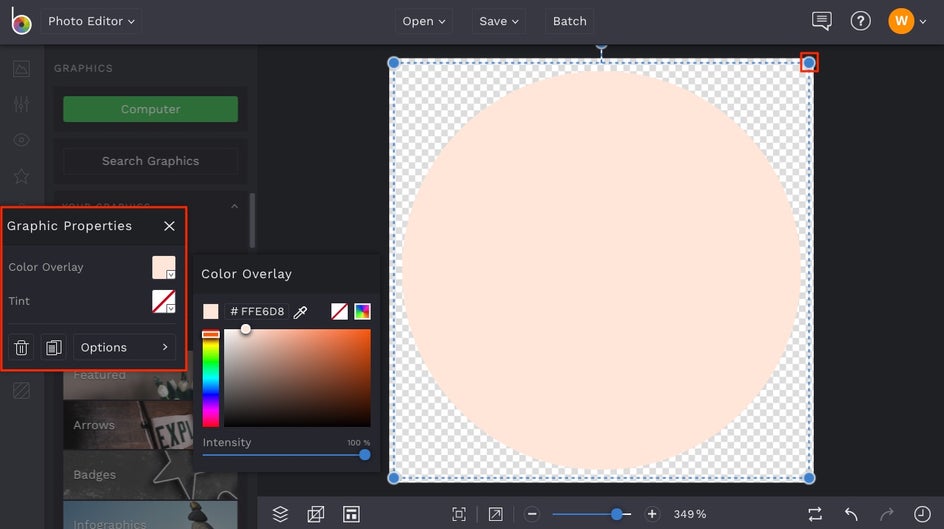
You’ll find that all the graphics you’ve selected from the Graphics Library will be added to the Graphics tab under Your Graphics. Simply double-click them or drag-and-drop them to add to your design canvas, then use the Graphic Properties menu to adjust the color, opacity, blend mode, and more!
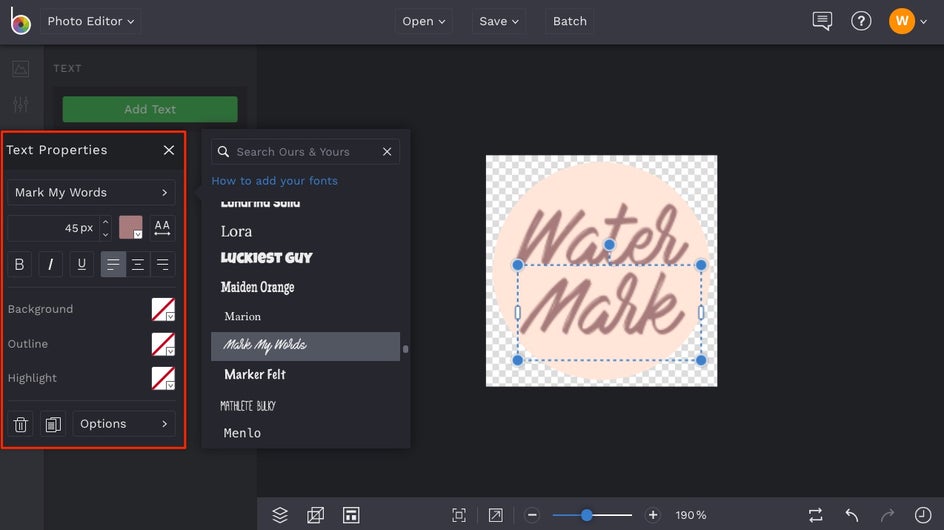
If you want to add text to your watermark in addition to or instead of the graphics, click the Text tab (the A icon) in the menu on the left. Select the Add Text button and type anything you’d like in the textbox that appears. You can then use the Text Properties toolbar that appears to change the font, colors, and more. Remember to keep your watermark design simple, readable, and memorable.
When you’re finished designing your watermark, click the Flatten Layers button (two overlapping squares icon) in the bottom left menu. From here, you can click the Save button at the top of the Photo Editor to save your watermark to your Computer. Just make sure to select the .PNG option in the Save menu to keep the background transparent.
How To Add A Video Watermark
Now that you’ve got the perfect video watermark, it’s time to add it to your YouTube videos! Whether you need to add watermarks to videos that have already been published or videos you’re creating, here’s everything you need to know:
Adding Video Watermarks To Published YouTube Videos
YouTube makes it really easy to incorporate your watermark into your published videos. To do so, login to your YouTube account and select YouTube Studio (beta) from the dropdown menu that appears when you click your icon in the upper right corner. Next, click the Settings tab in the left menu, followed by Channel > Branding.
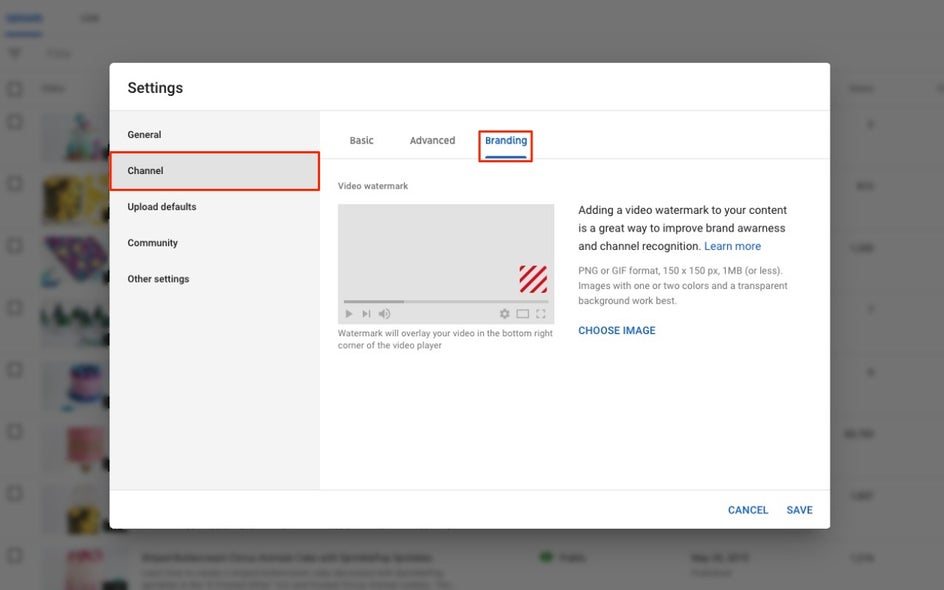
Select Choose Image and upload the watermark .PNG file you created in the previous section. Once it’s uploaded, you can select options for the Display Time, choosing when and where your watermark appears in all of the videos on your YouTube channel.
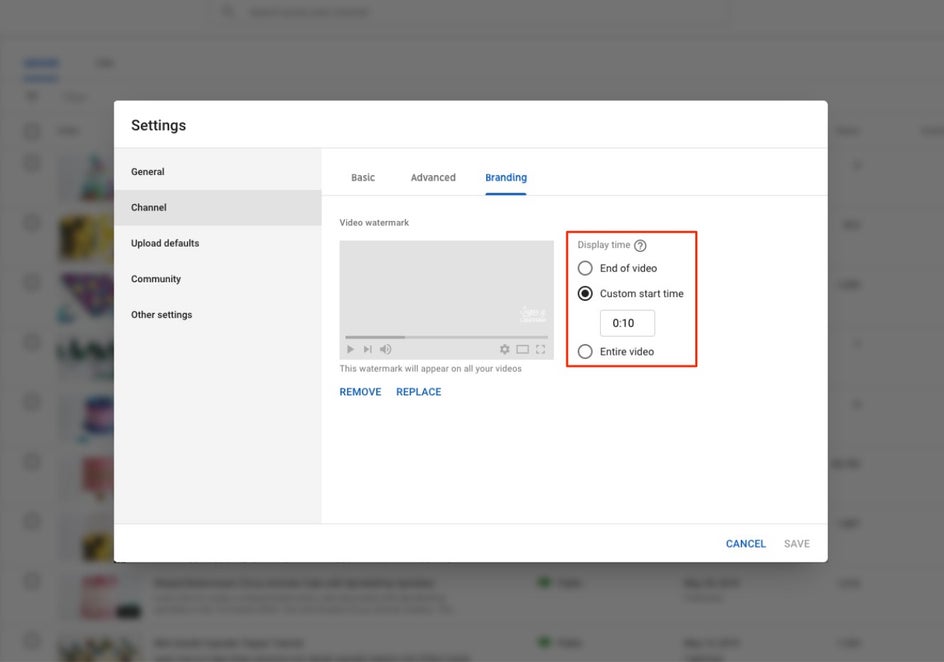
Press Save and you’re done! Every video you’ve uploaded will now have a consistent, branded watermark.
Adding Video Watermarks In The Editing Process
Whether all of your current YouTube videos are watermarked from following the above steps, or you just want to watermark them from here on out, there’s one additional step you need for adding a watermark to videos in the editing process. Head back to BeFunky’s Photo Editor and upload any photo, then select the Background tool from the Edit menu to create a transparent design canvas.
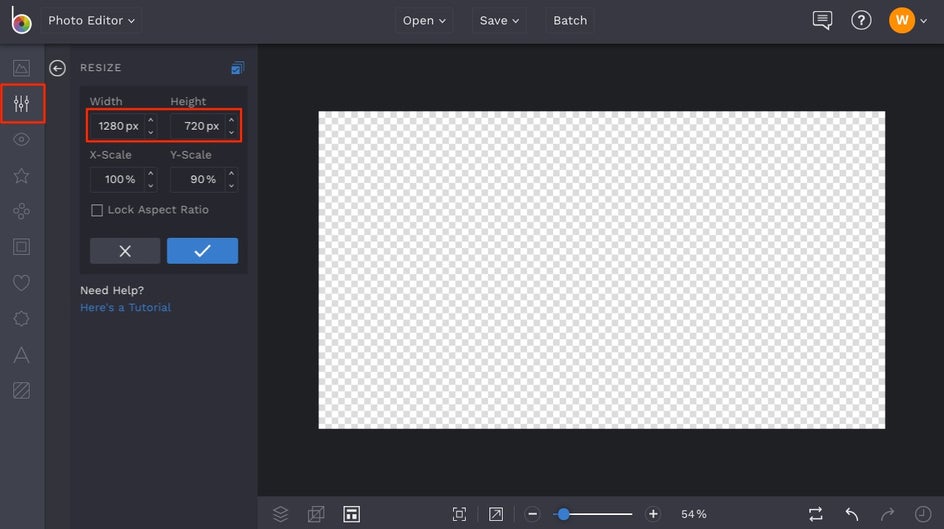
Next, click on the Resize tool from the Edit menu on the left and resize the canvas to 1280px x 720px. This is the size of the YouTube video itself.
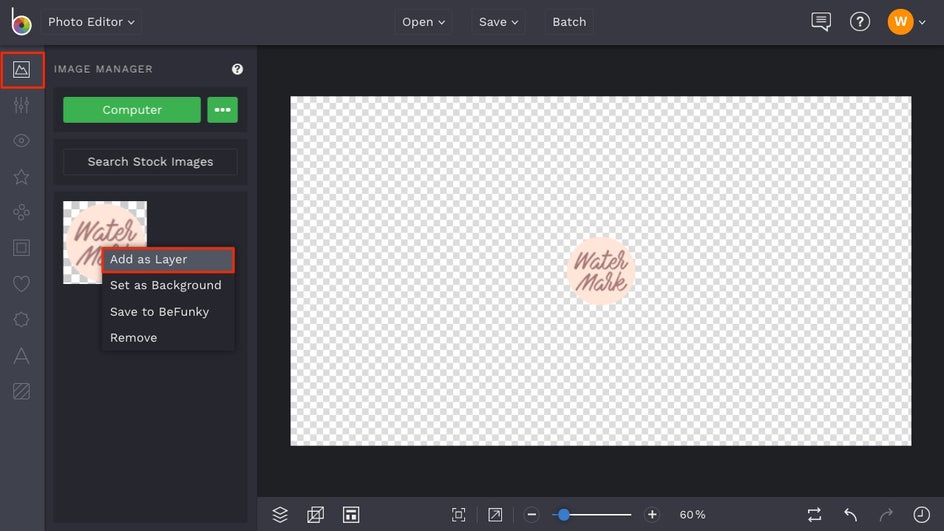
Open the Image Manager tab (the top icon) in the menu on the left and select Computer, then upload your watermark .PNG file. When it’s uploaded to the Image Manager, it will appear as a thumbnail. Click the thumbnail and select Add As Layer from the menu that pops up.
When your watermark is on the transparent canvas, use the blue circles around it to resize it, then drag to position it wherever you want your watermark to appear on the video. The bottom right corner is a popular placement option.

Finally, click Flatten Layers and select the Save button at the top of the Photo Editor. Make sure you choose the .PNG option in the Save menu to keep the background transparent and save the file to your Computer. In the video editing program of your choice, you can now add this .PNG file as a layer on top of your video.

Now that you know how to brand your YouTube Channel Art, create custom YouTube Thumbnails, and watermark all of your videos, you’re totally unstoppable! Click the link below to get started with your video watermark creation: