Your Ultimate Guide to Vignette Effects
Before social media, creating and sharing art was a much slower-paced affair. Now, there’s always a demand for content, and your creative work can be scrolled past in seconds. But at this point, most people are tired of getting oversaturated with content. They’re craving art that takes the time to consider a subject with thoughtfulness and depth. One way to do that is to use vignettes, drawing the audience’s focus back to a single subject. By creating quiet, intimate moments, vignettes get people to slow down and pay attention. And with the Photo Editor’s Vignette tool, creating authentic, custom vignettes has never been easier.
By reducing the brightness and saturation around the edges of your image, the Vignette tool creates a soft border which slowly guides your audience’s gaze toward the center of your picture. It will create stunning images, grab the attention of your audience, and get them to consider your photography more deeply. While vignettes can sometimes look too intense or dramatic, the Photo Editor allows you to customize every aspect of the effect, so that you can control how strong or subtle the final product is.
What Is a Vignette in Photography?
In literature, movies, and plays, a vignette is a short scene that focuses on a single character or moment. Although brief, they are written with great detail and tend to make a strong impact on audiences. When working with photographs, the idea is very similar. In photography, a vignette utilizes deep shadows at the edge of the image, drawing attention to the bright subject at the photo’s center. This directs your audience’s attention toward the most powerful elements of your photograph, making them consider the subject itself more deeply.
When Should I Use a Vignette?
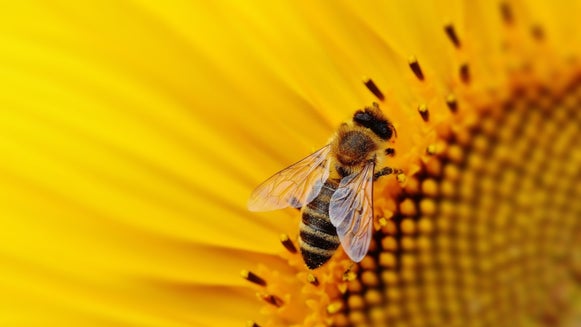
Vignettes work best in a few specific scenarios. The first is when there is any clutter in your photo that is distracting the eye away from your subject. Vignettes can help draw your viewer back to the subject by darkening the less important areas, and brightening the more important ones.
If you want to create a similar focusing effect without dark shadows, our Funky Focus tool can eliminate peripheral distractions by blurring them out. If you’re trying to draw your viewer’s eye back towards the center of your image, consider trying out both Vignette and Focus to see which one you like better!
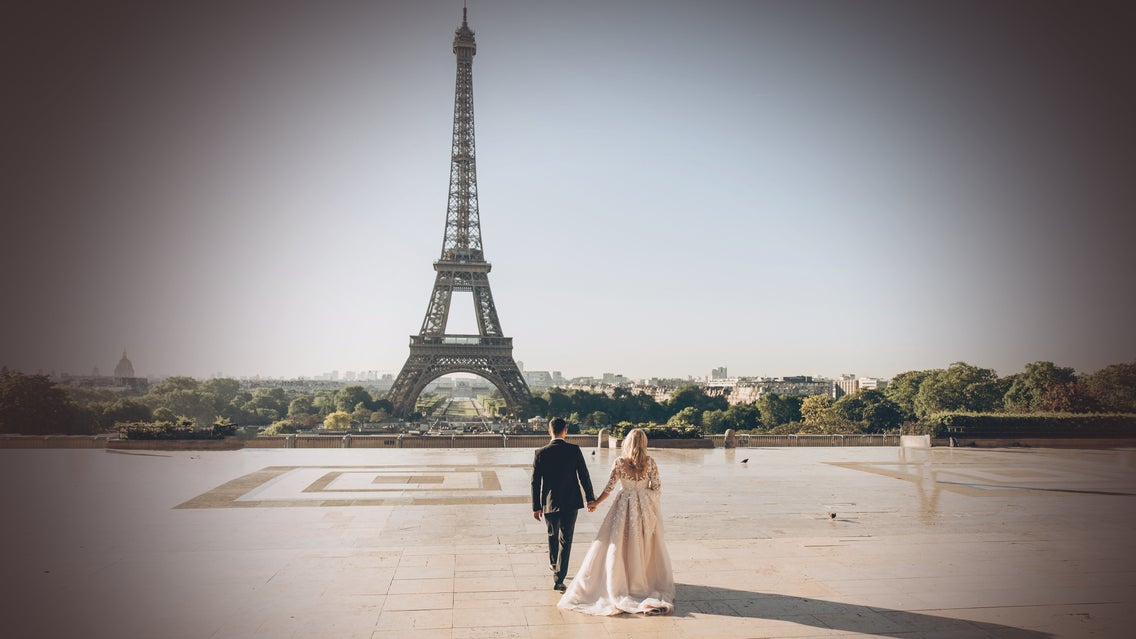
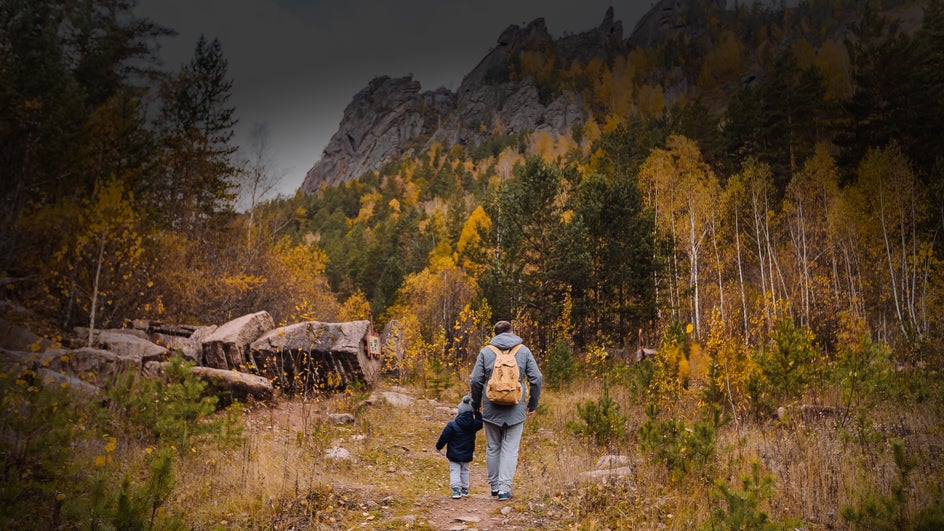
Vignettes also help when you want to make a big moment feel smaller and more intimate. By adding soft, dark edges along the sides of your image, you close the distance between the viewer and the subject. The vignette creates intimacy and invites your viewer to linger longer on your photo.
Because vignettes are common in old photographs, they can also help add a vintage feel to your images. Combined with one of the Photo Editor’s Sepia or Black-and-White filters, you can mimic the look of an old film photograph exactly!
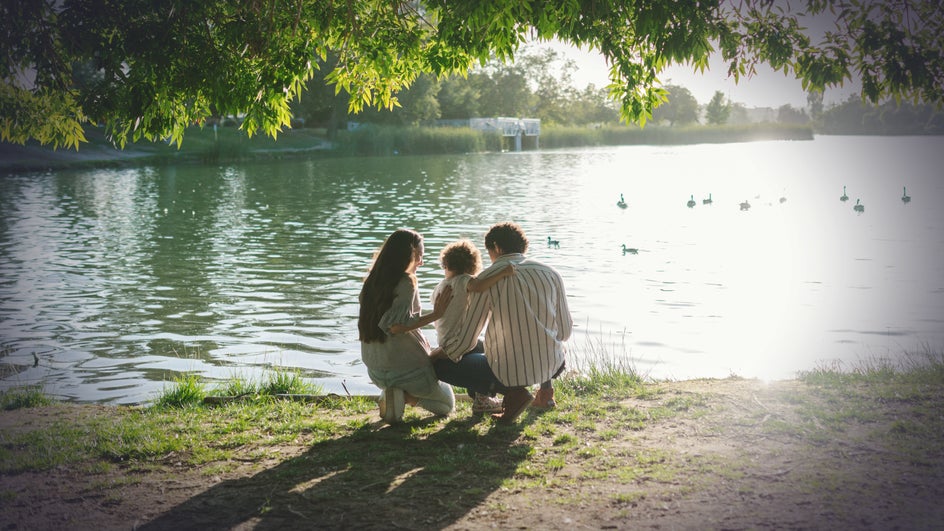
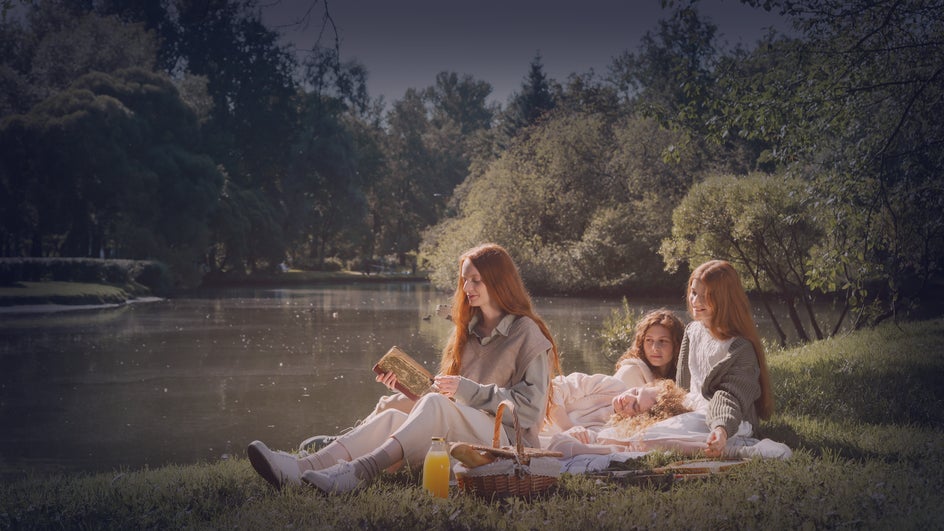
Or, use vignettes to create a dreamlike quality, turning regular photographs into images that look straight from a storybook. (Our Blur tool is also great for this!)
Vignettes can also serve as a great alternative to frames. Although BeFunky's Photo Editor offers a wide selection of photo frames, sometimes a subtle vignette can have a much stronger impact.
With the Photo Editor, you can customize your vignette in several different ways. This allows you to create vignettes that are very soft, or bolder depending on your needs. Softer, blurrier vignettes are better for those quiet or dreamlike moments. Darker, more intense vignettes can create a vintage look, or help to clear up any distractions and draw attention back to your subject.
How to Quickly Add a Vignette to Your Photos
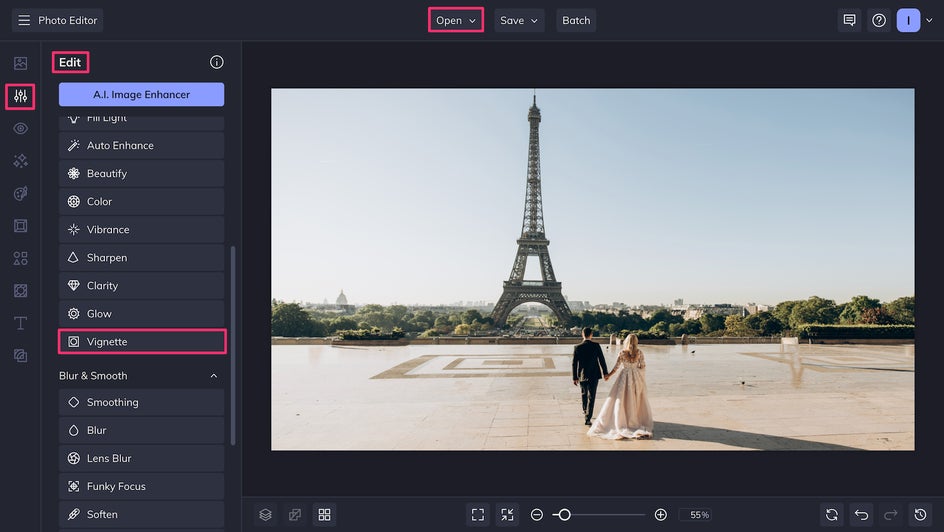
With BeFunky, it takes just a few clicks to add a beautiful vignette to your photo, and you can customize it exactly to your taste. To achieve this effect, first, upload an image to the Photo Editor. Then, click on the Edit tab in the menu on the left, open the Essentials dropdown menu, and select Vignette.
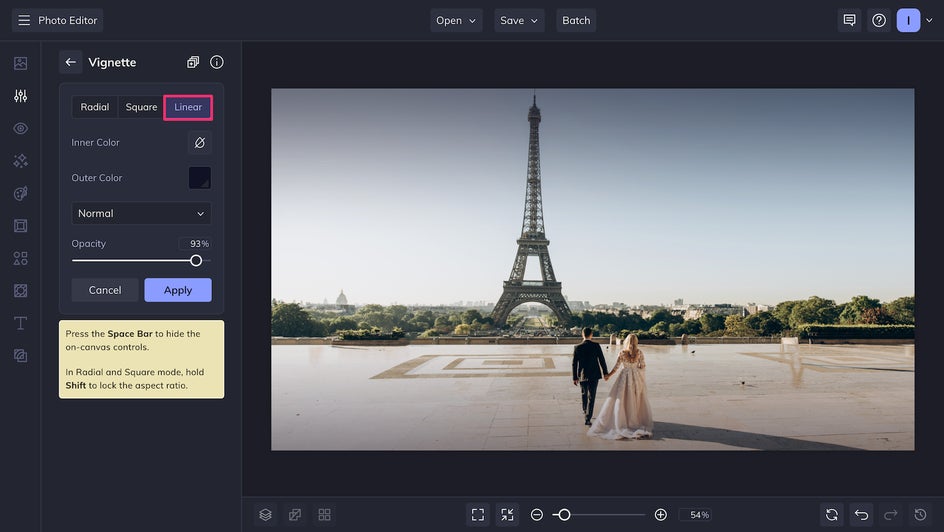
When you’re ready to start editing, you’ll be given the option to create a vignette in the shape of a circle (Radial), square (Square), or in straight lines (Linear). Traditional, more subtle vignettes are rounded. Square can add that perfect vintage look, and is also great if you want a bolder vignette. Linear is helpful when your focus spans the entire length or width of the image. To achieve the traditional vignette look, we’re going to use Radial.
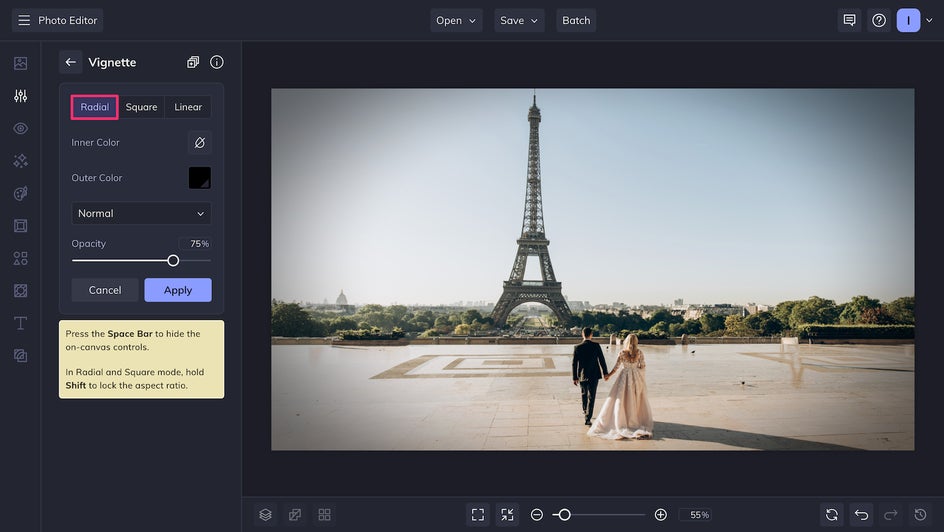
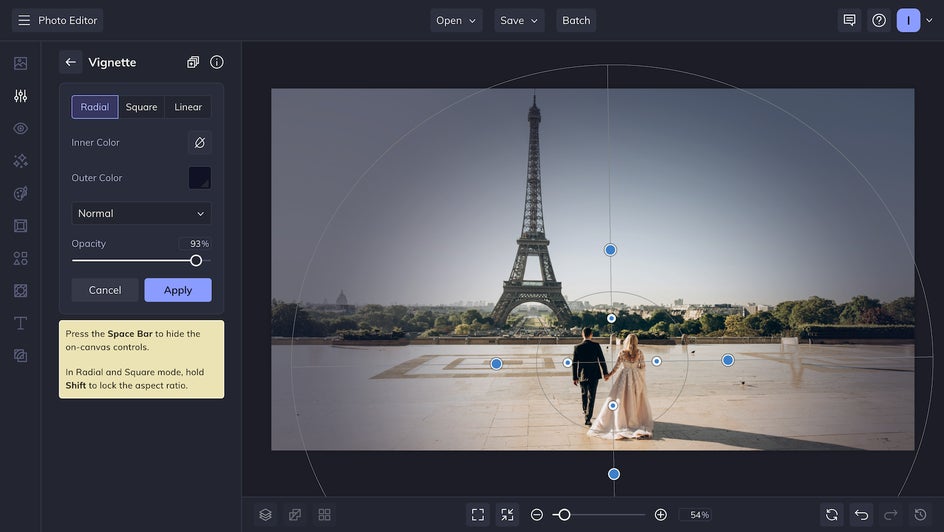
Once you’re in Radial mode, two circular targets will appear on your screen. The outer target represents the outer, dark part of your vignette. The inner target represents the brighter inner area.
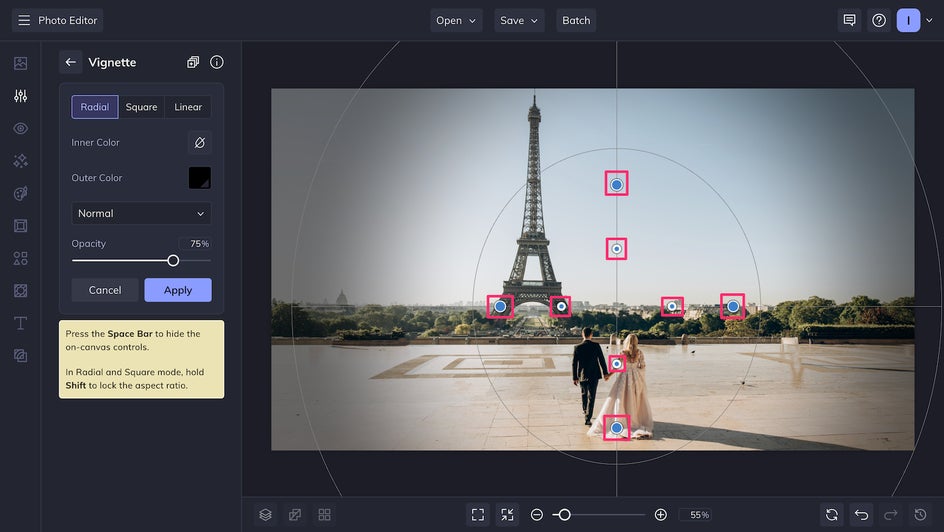
You can adjust the size, shape, and intensity of your vignette by clicking and dragging the blue circular handles. The large handles affect the whole vignette, while the smaller handles affect just the bright area.
Pro Tip: Don’t forget to hold down Shift if you want to adjust the size while keeping the shape consistent!
After you’ve sized your target, click and drag to place it over the part of your photo you want your audience to focus on. When it’s exactly where you want it to be, you can adjust both the Inner Color and Outer Color of your vignette. By default, there will be no inner color, and the outer color will be black. You can edit both colors, and use the slider to change the Opacity of each, to fit the mood of your image.
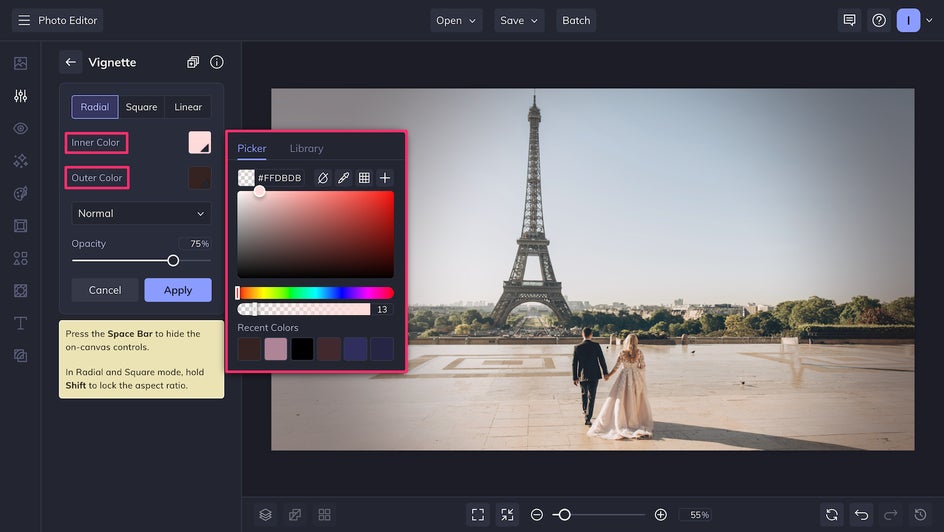
A true vignette will have a darker outer color and a brighter inner color, but feel free to play around with the color, opacity, and blend modes – you never know what combination might work best for you!
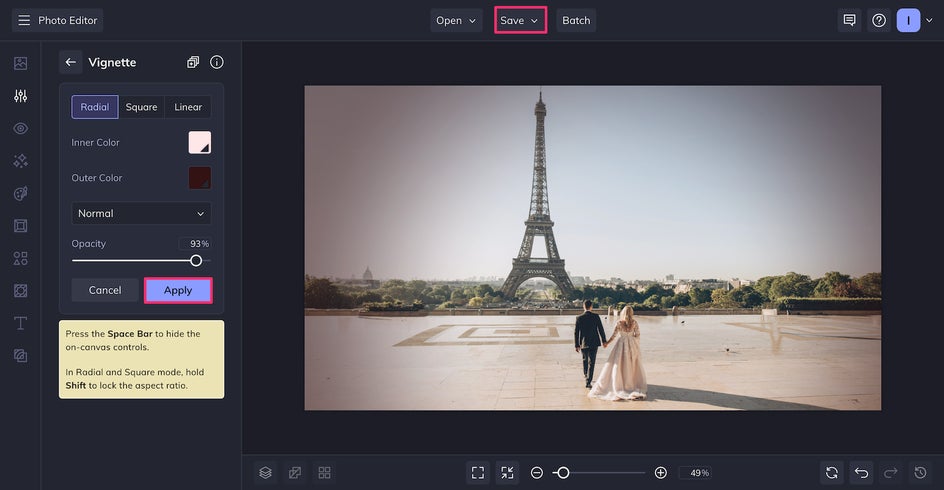
When you’re done adjusting your vignette, don’t forget to click Apply. Now your photo has a gradual fade to dark around the edges, drawing the eye to the bright focal point of the image. You’re ready to Save the image to your computer, drive, or BeFunky library!
Create Dramatic Lighting With Vignettes
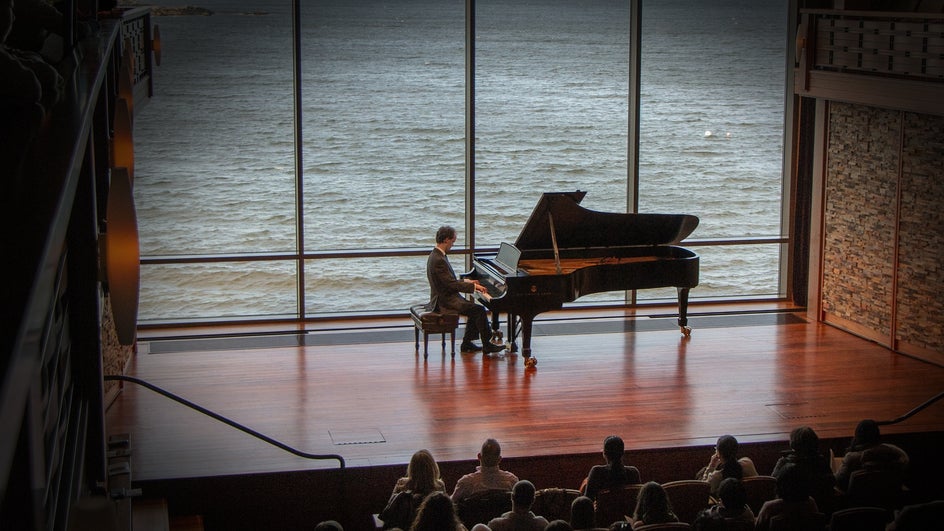
Besides allowing your audience to slow down and appreciate your photography, a vignette can help add drama and intrigue to your photos. The final mood all depends on how strong your vignette is, as well as the shape and placement. With the Photo Editor, you can customize the shape and intensity of your vignette in several ways.
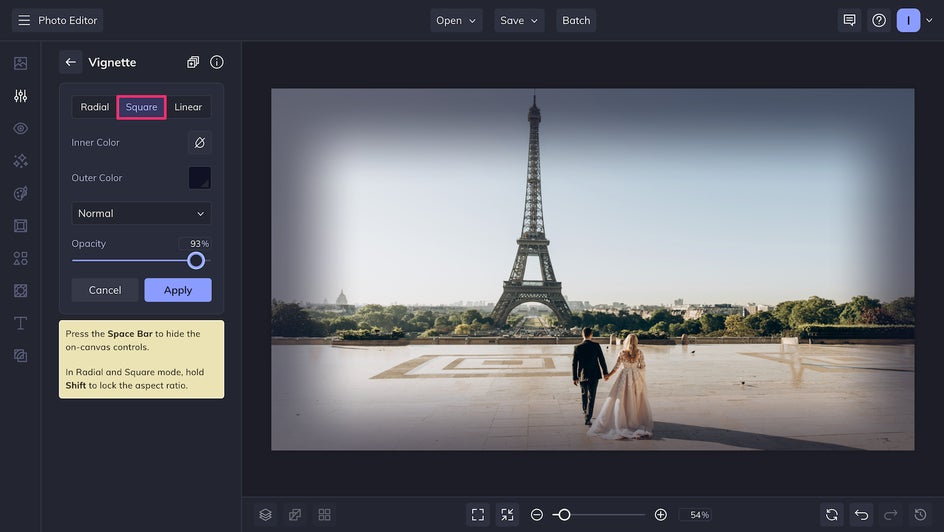
One way to create a more dramatic effect is to use a Square rather than a Radial vignette. To do this, just select Square from the Vignette tool menu. You can click the handles on both inner and outer squares to adjust the vignette’s size, orientation, and intensity until it creates the ideal focal point for your photo.
Linear mode is another helpful feature of our Vignette tool, which you can use to alter your vignette so it fades away from your subject in straight lines. Just choose Linear from the Vignette tool menu. Be cautious, the closer you bring the lines together, the darker your vignette effect will be!
For your final step, adjust the Opacity for further control over the intensity of your vignette, and then choose a Color. When you’re satisfied with the results, click Apply.
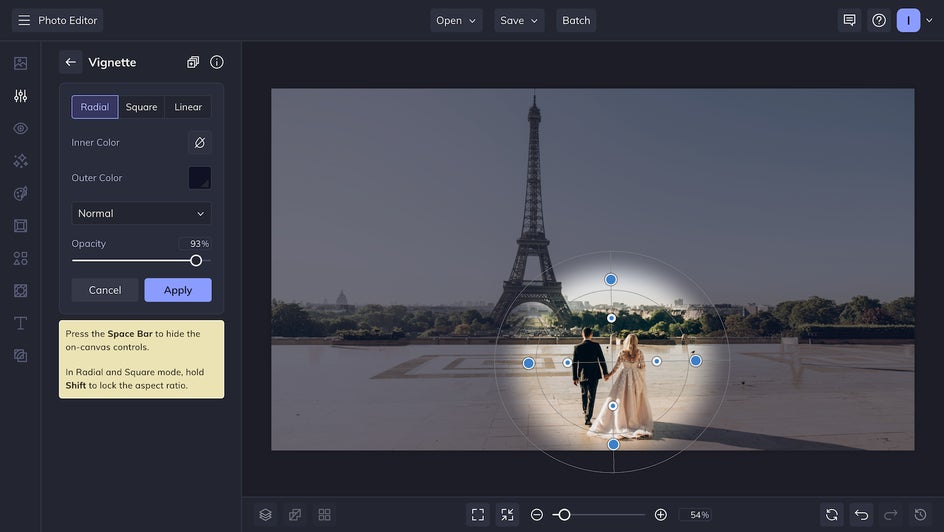
Pro Tip: To create a softer vignette, increase the distance between the smaller and bigger targets. This blends the darker and lighter areas of your vignette more thoroughly, blurring them together and softening your shadow’s edges.
Conversely, to create a strong vignette with darker and more defined shadows, decrease the distance between the targets. This will result in more intense dark edges that draw the viewer’s focus right to your subject, and create a dramatic contrast throughout your vignette.
How to Edit and Adjust Your Vignettes
Before photo editing became popular, it was difficult for people to add vignettes to their photos. The effect either happened naturally during the developing process, or it was done intentionally by burning the outer edges of the film stock. Thanks to BeFunky, that’s not the case anymore!
You’ve already learned how to change the color, size, shape, and orientation of your vignettes. But what if your image still feels like it’s missing something? To get the exact look you’re aiming for, try our range of preset Blend Modes. Each will instantly apply a unique vignette effect that will enhance your photo.
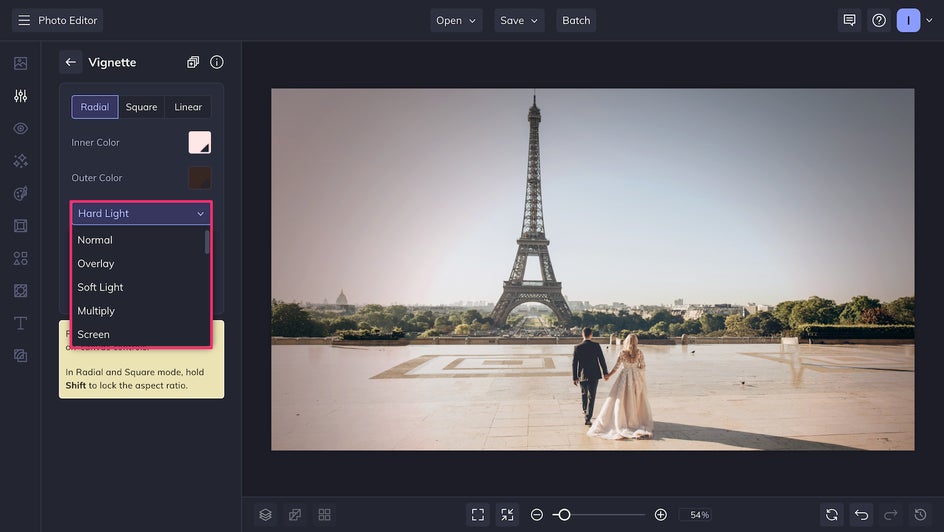
Feeling moody? Try our Darken Blend Mode to instantly intensify your vignette. Rather keep it light? Our Soft Light Blend Mode creates a perfectly balanced vignette for any photo. This effect offers 16 blend modes, so be sure to try them all!
Create Your Own Vignette With BeFunky
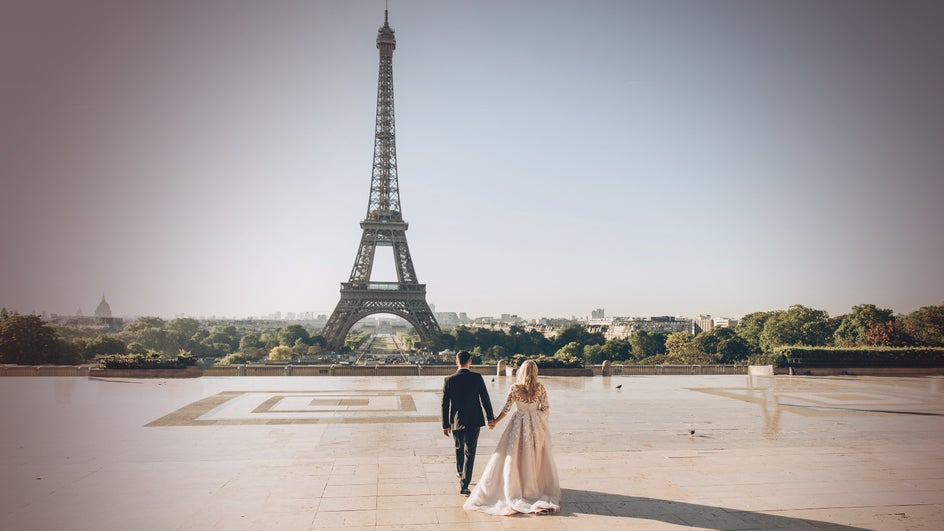
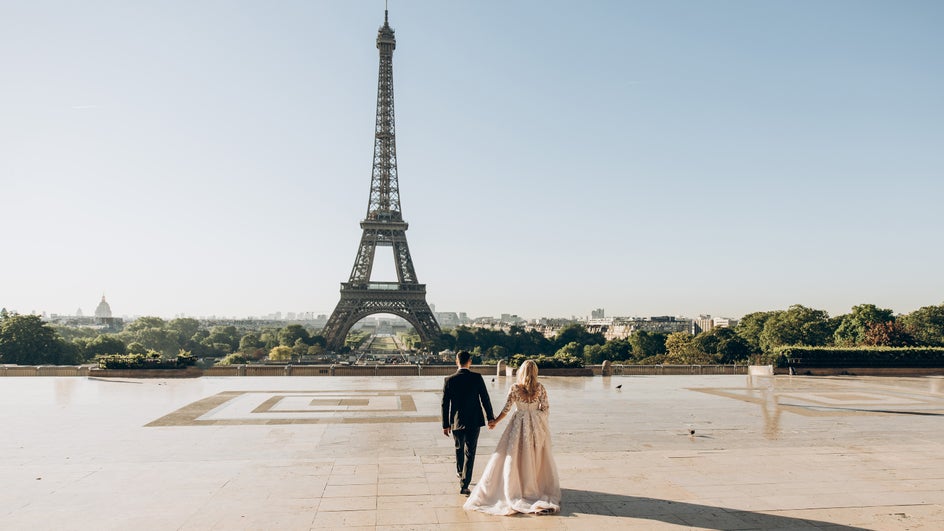
If you want to make a vignette that is intuitive but also highly customizable, BeFunky has your back. Just look at how this simple vignette effect enhances the focal point of this photo and makes it feel more intimate:
With BeFunky's Vignette tool, you can create stunning images, guide the gaze of your viewers, and help your photos stand out in a feed. Check out our Photo Editor to get started!