How to Add a Vintage Effect to Your Photography
From the grungy black-and-white appearance of early photography to the color-tinted and sun-drenched images of the 90s; there’s just something about photos of eras gone by that still capture our interest today.
If you’ve been wondering “how can I make my portrait look vintage?”, you’ve come to the right place. BeFunky has tons of vintage photo filters online for free, so whether you’re wanting to recreate an old-age photo effect online, or transport your portrait back into the 70s, 80s, 90s, or more – we’ve got you covered.
Add a Vintage Effect to Photos with the Vignette Tool
Let’s start by showing you how to add a vintage effect to your portrait using a Vignette effect. Head to the Photo Editor, then open a photo of your choice to begin editing.
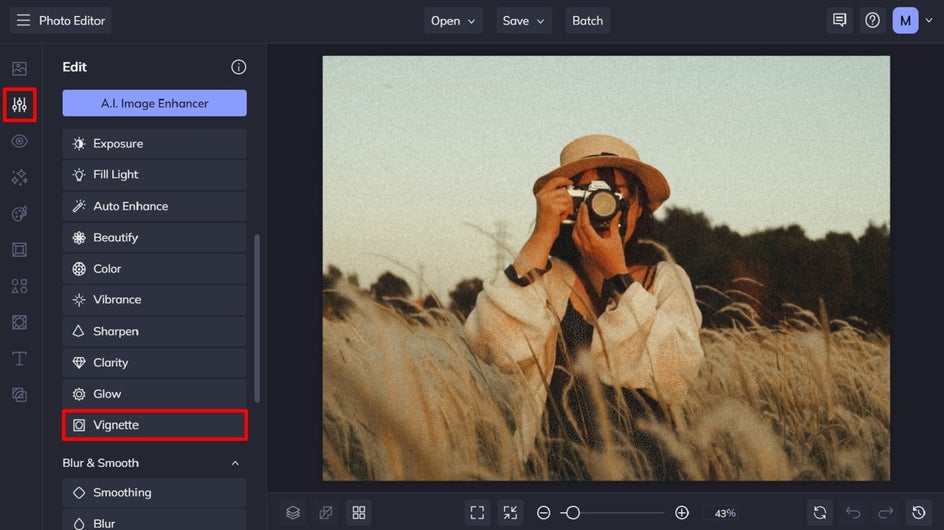
Step 1: Locate the Vignette Tool
Navigate to Edit from the main menu on the left. Then, scroll down and click Vignette.
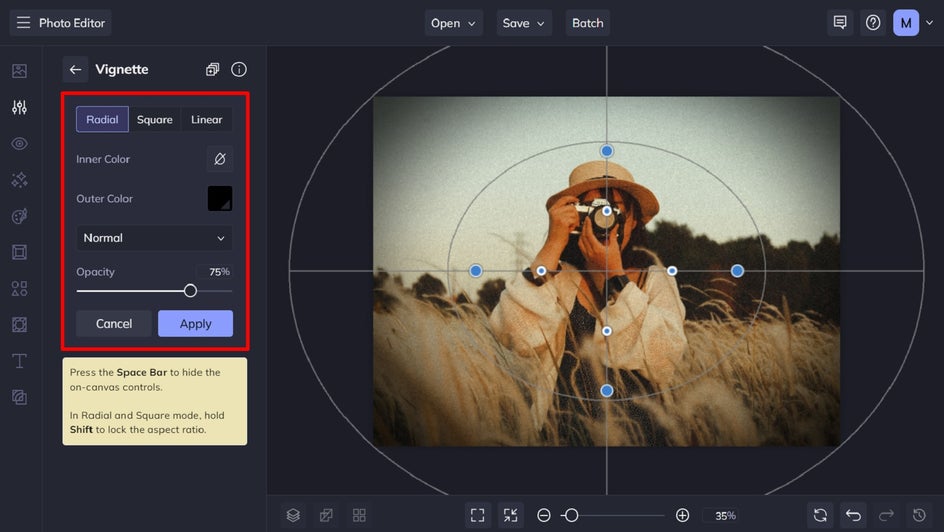
Step 2: Adjust and Apply the Vignette Effect
Within the Vignette tool, you’ll notice that you can select the shape of the vignette, including Radial, Linear, or Square. You also have the option to select the inner color and outer color for your vignette, along with the effect’s blend mode and opacity.
Vintage portraits often feature a black vignette, so we’ve stuck with this choice for the outer color, while leaving the inner color transparent (or blank).
You can also resize and reposition your vignette area using your cursor. Drag the blue and white circles in or out to make the selection smaller or larger. Additionally, you can click on a part of the selection and drag it to reposition your vignette elsewhere on your photo.
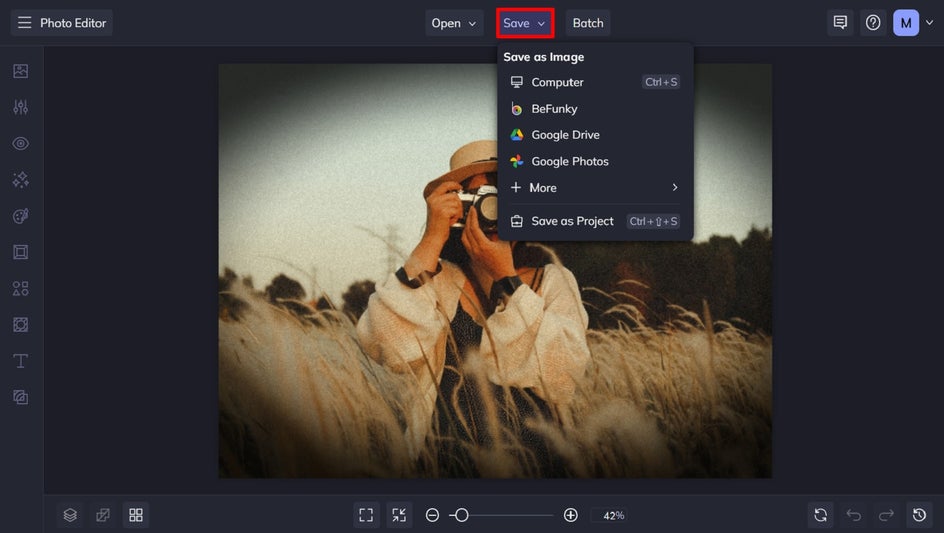
Step 3: Save Your Vintage Vignette Portrait
Once you’re happy with how your Vignette effect looks, it’s time to save your vintage portrait. Click Save at the top of the screen, then select your desired save location.
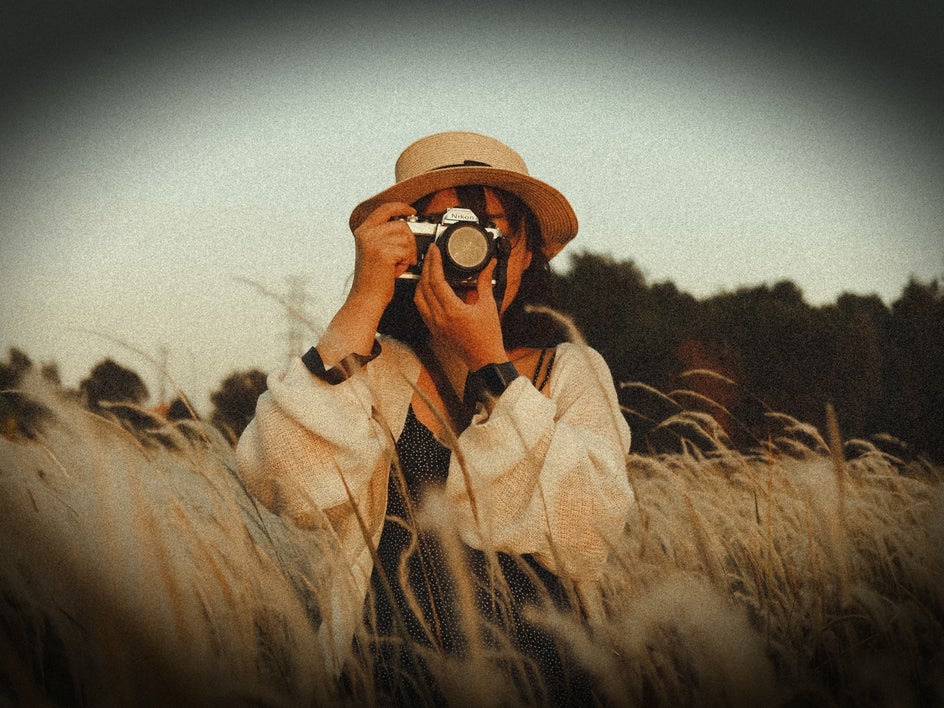
Adding a vignette is a great way to mimic the style of older manual cameras and draw focus to your subject. Try out all the different vignette options to see which works best with your vintage-inspired image!
Use Textures to Emulate a Vintage Look
You can also use a series of realistic photo textures to add a vintage effect to your portraits. You’ll also find these within BeFunky’s Photo Editor.
Step 1: Navigate to Textures
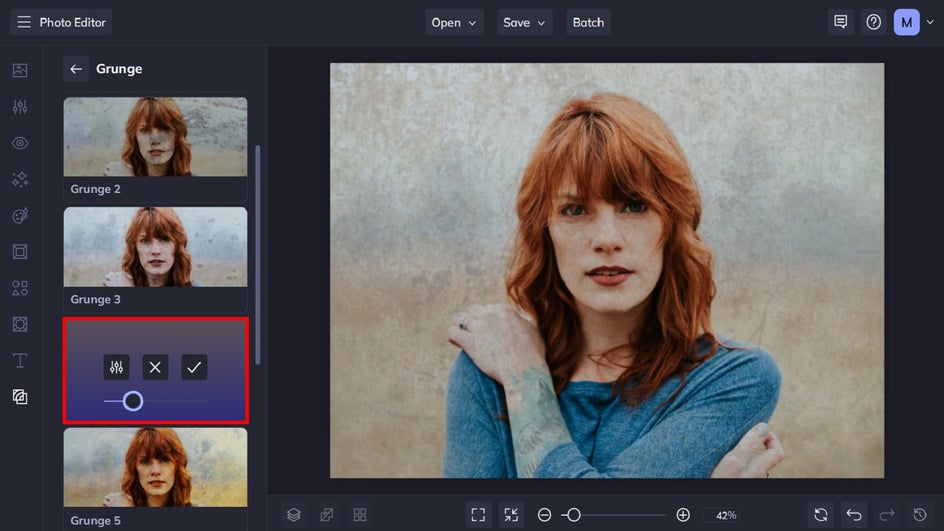
You’ll find all of BeFunky’s texture categories by clicking on Textures in the main menu on the left. As you can see, there are plenty of categories to choose from. To begin with, we’ll be adding a Grunge texture to our portrait, as it creates an effect reminiscent of old Daguerreotype photos.
Step 2: Select the Grunge Texture
You can click on each Grunge texture to sample how they will look on your portrait. You can also use the slider to adjust the strength of the effect. Clicking Settings (the first button) also allows you to further adjust elements of your texture if you wish to customize it further. Alternatively, you can click the ‘x’ button to cancel the effect or click the checkmark button to apply it.
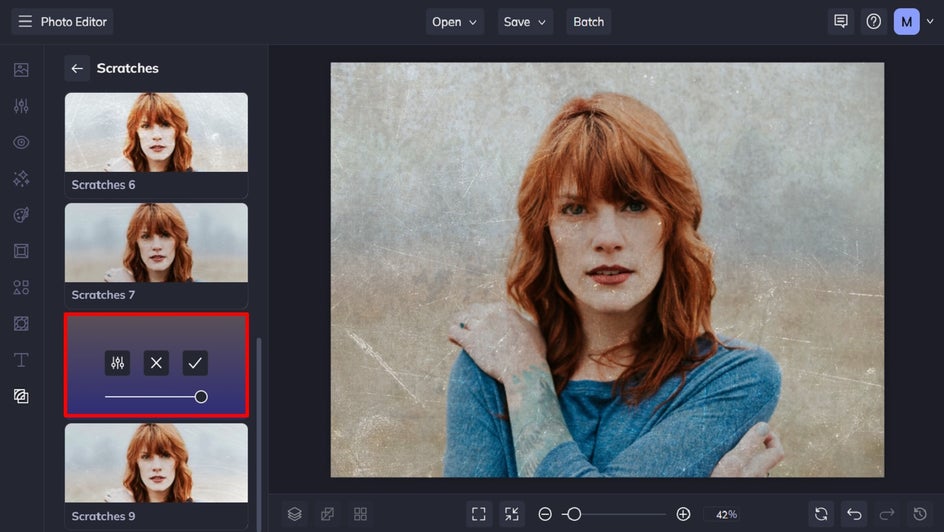
Step 3: Apply a Scratches Texture
In addition to the Grunge textures, the Scratches texture can also give your portrait that slightly-worn, old photo effect. Start by sampling each Scratches texture, then apply the one which looks best on your portrait.
Step 4: Finally, Layer a Paper Texture
This final step is completely optional, but we found it gave our vintage portrait a warmer pop of color, along with some subtle texture to really complete the look. Choose a Paper texture that takes your fancy, then click Apply to add it to your vintage portrait.

Then, all that’s left to do is save your portrait so it’s ready to use in any way you see fit! You can also experiment with BeFunky's Textures to find what combination or single texture works best to convey the vintage style you're looking for.

Use a Film Grain Effect to Create Vintage Photos
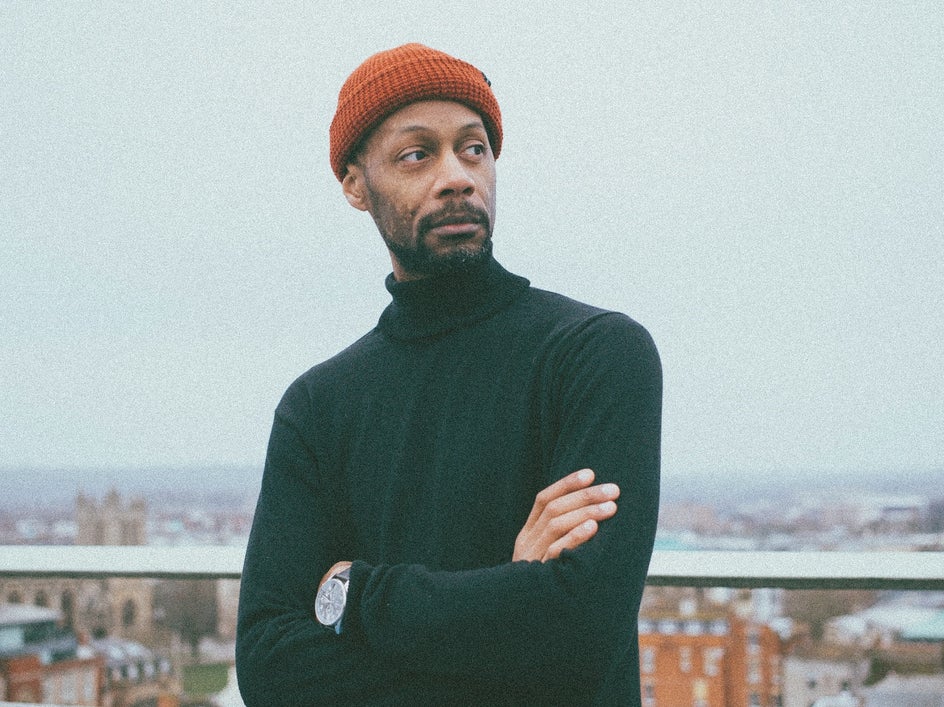
The 35mm camera was commonplace in the mid-to-late 19th century and it created photos with muted colors and a signature film grain texture. While these cameras have slowly died out over the most recent decades in favor of digital cameras and phones, you can still recreate their nostalgic look using BeFunky’s Film Grain Effect, available in the Photo Editor.
Step 1: Locate the Film Grain Effect
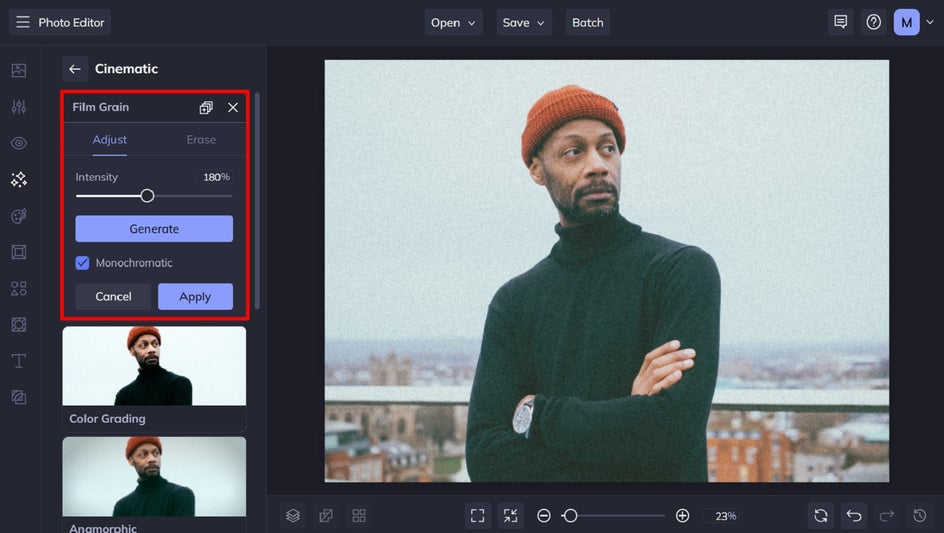
You’ll find it by navigating to Effects in the main menu on the left, followed by Cinematic.

The Film Grain effect is the first featured effect within the Cinematic category.
Step 2: Adjust and Apply the Film Grain Effect
By clicking on the effect’s Settings button, you can adjust your Film Grain further. In this example, we’ve increased the effect’s Intensity slider, as well as ticked the checkbox next to Monochromatic to give our portrait those muted colors we mentioned earlier.
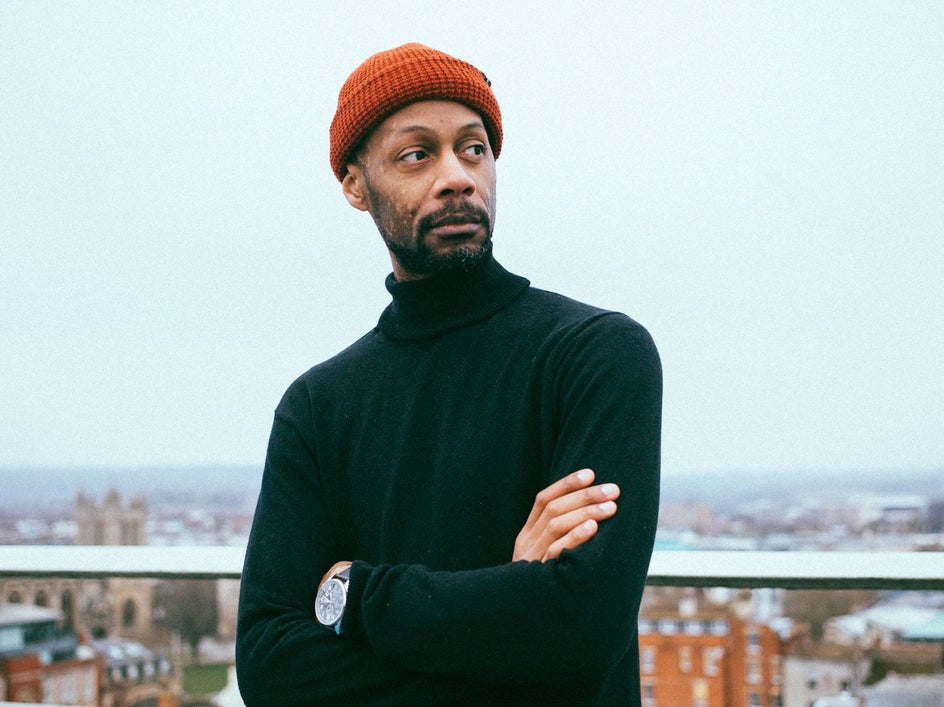
Finally, click Apply to apply your changes, then save your final photo.
Once you're happy with the results, choose your ideal save location. Film Grain perfectly mimics the effect of random textures caused by small particles, metallic silver, or dye clouds found on vintage film.
Create a Vintage Photo Effect With Black and White Filters
Another great way to add a vintage effect to your portraits is by applying a black and white photo effect. Thankfully, there are plenty to choose from within the Photo Editor.
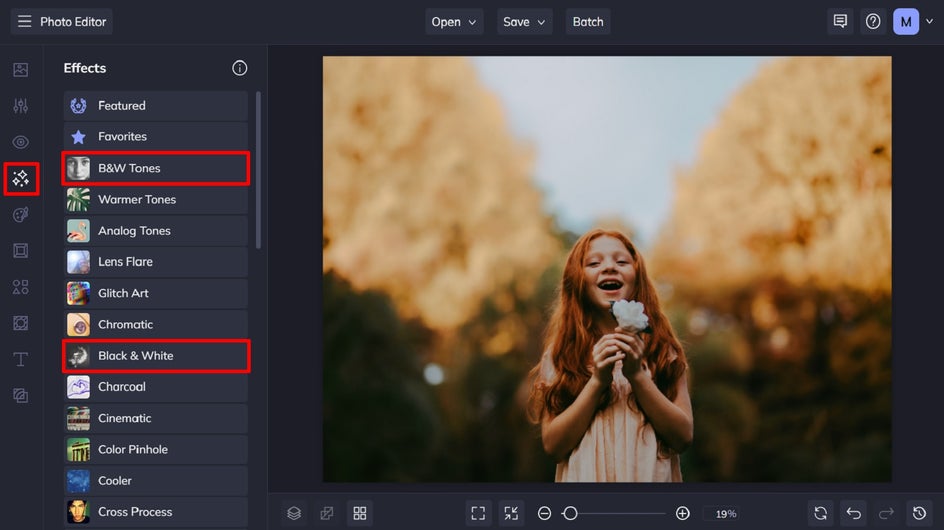
Step 1: Navigate to Effects
Click Effects in the main menu on the left. You then have two main ways to add a black and white filter to your portrait: B&W Tones or Black & White. Both categories are highly effective for turning your images into compelling black and white photos, however for this tutorial, we’re adding an effect from the B&W Tones category.
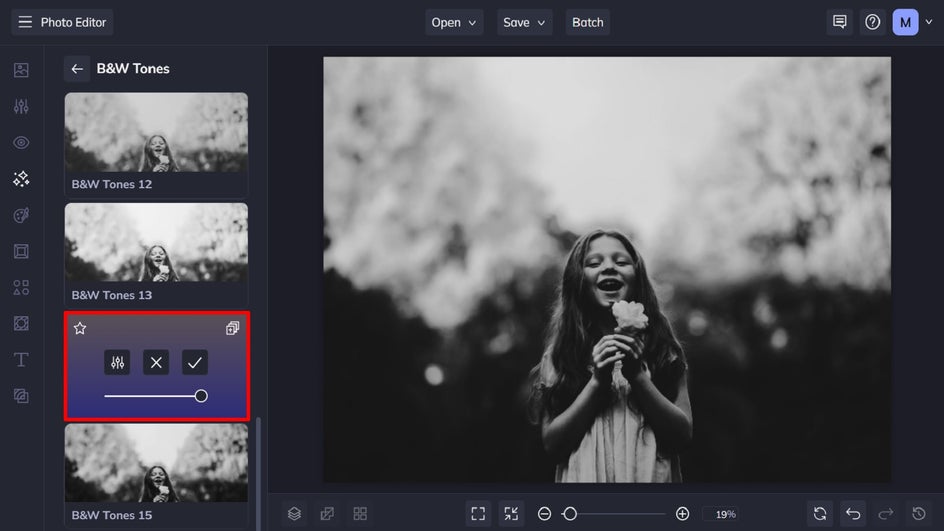
Step 2: Adjust and Apply Your Black and White Filter
Click on each B&W Tones effect to see how it looks on your chosen portrait. For this image, we love the look of B&W Tones 14. You can then either adjust the effect’s settings further or click the checkmark button to apply the effect as-is.
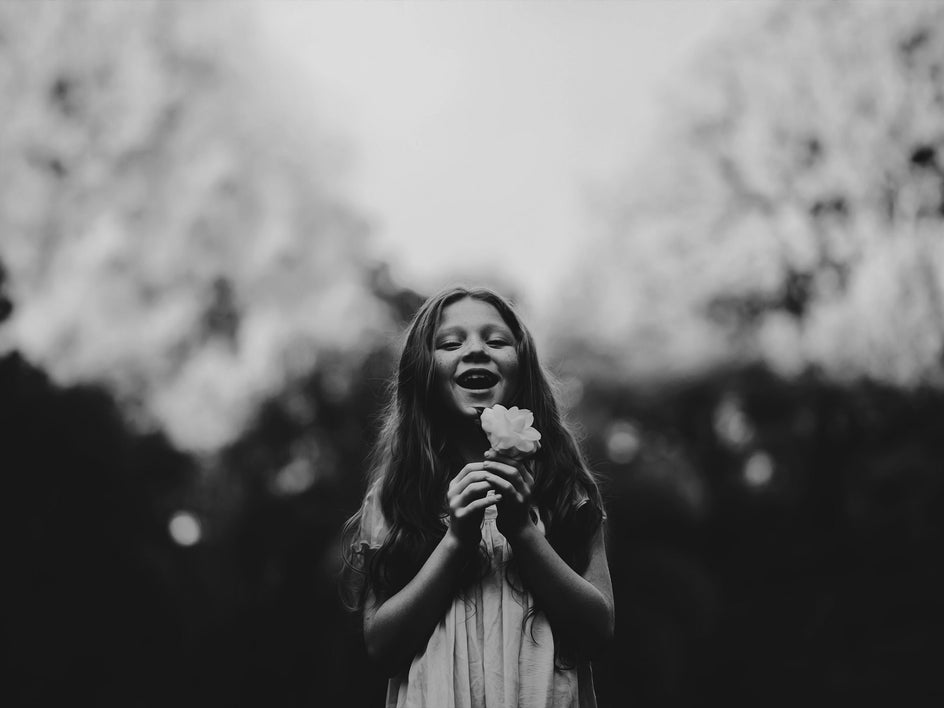
Then, simply save your portrait so it’s ready to share with the world!
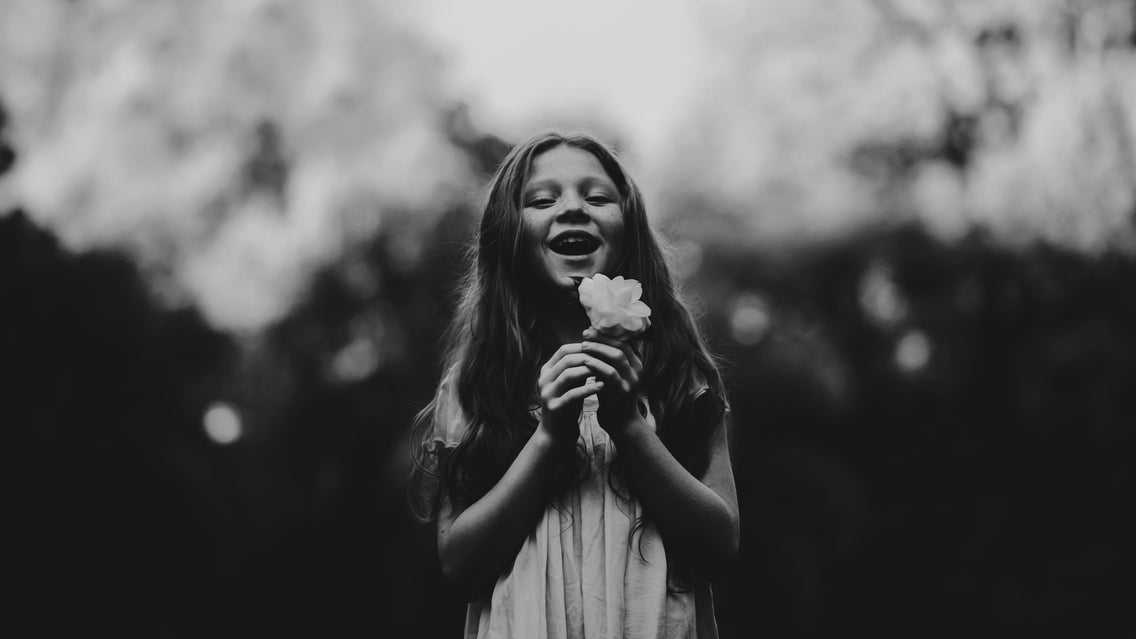
Although the ability to photograph in color was introduced in the 1850s, black and white photography remained a popular way to capture images in a unique way. See how the effect we used adjusted the exposure to add depth and drama?
Inspiration: Vintage Photo Filters for Every Decade
Now that you know how to make a portrait look vintage, you might be wondering how you add vintage effects to photos to make them look like they’re from a particular decade. Keep reading, because we’re about to take you back in time!
1950s
The “Nifty Fifties” were all about black and white photography with a film grain effect, courtesy of the most popular camera at the time: the Kodak Brownie. Recreate the vintage effect of this box camera by adding one of BeFunky’s Black and White photo effects, followed by a Film Grain effect (available in the Cinematography section).
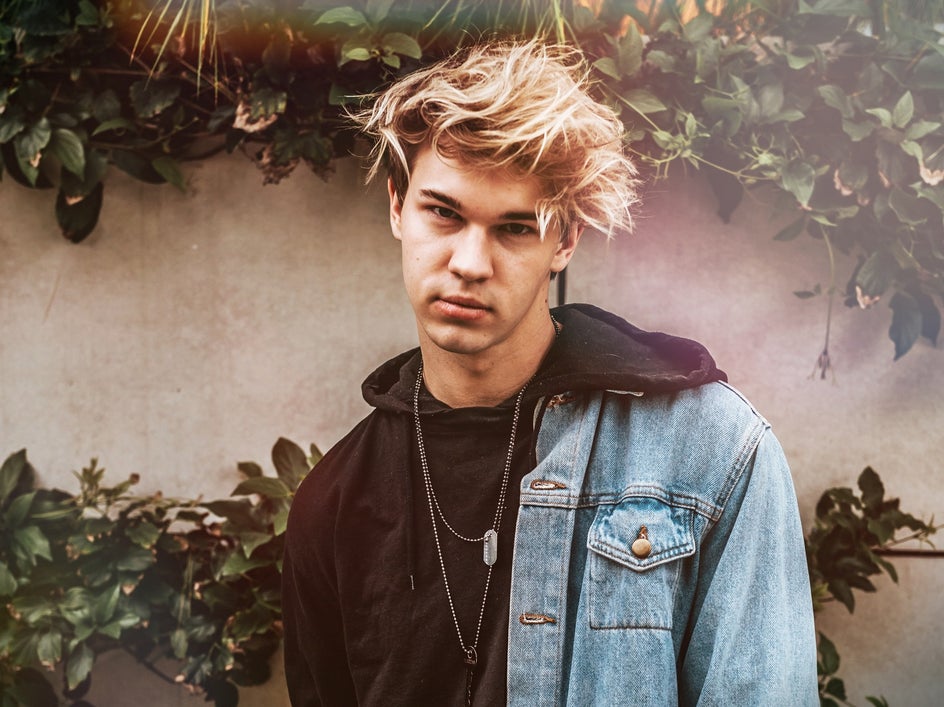
1960s
Color was becoming more widespread by 1960, although it was still reserved for travel photography and special events. When color photography was used, however, it featured pops of color against more monochromatic backgrounds.
To recreate this look in the Photo Editor, start by increasing your image’s saturation, which you’ll find within the Color tool of the Edit menu. Then, apply a B&W Tones effect at around 25% strength, but use the Isolate Subject and Invert Selection tools within the effect to ensure it’s only applied to the background of your image.
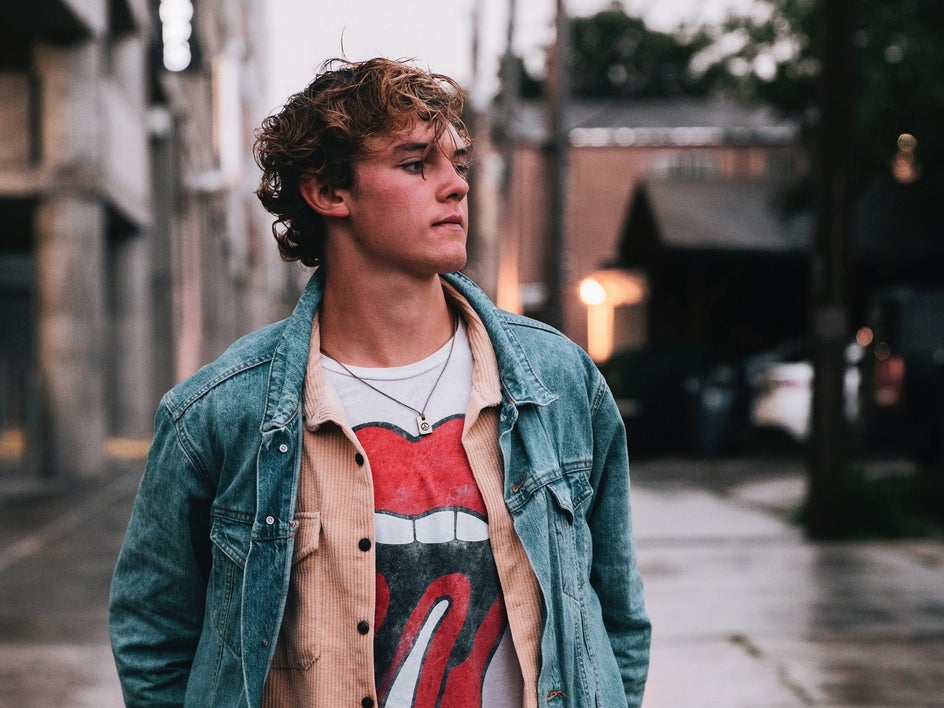
1970s
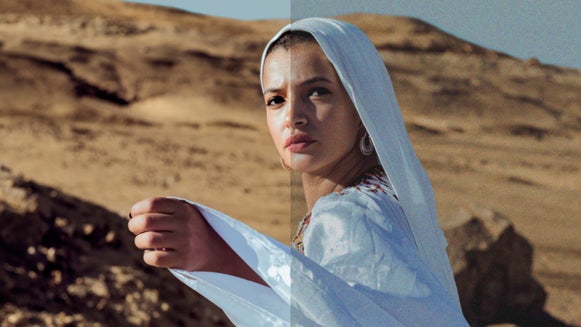
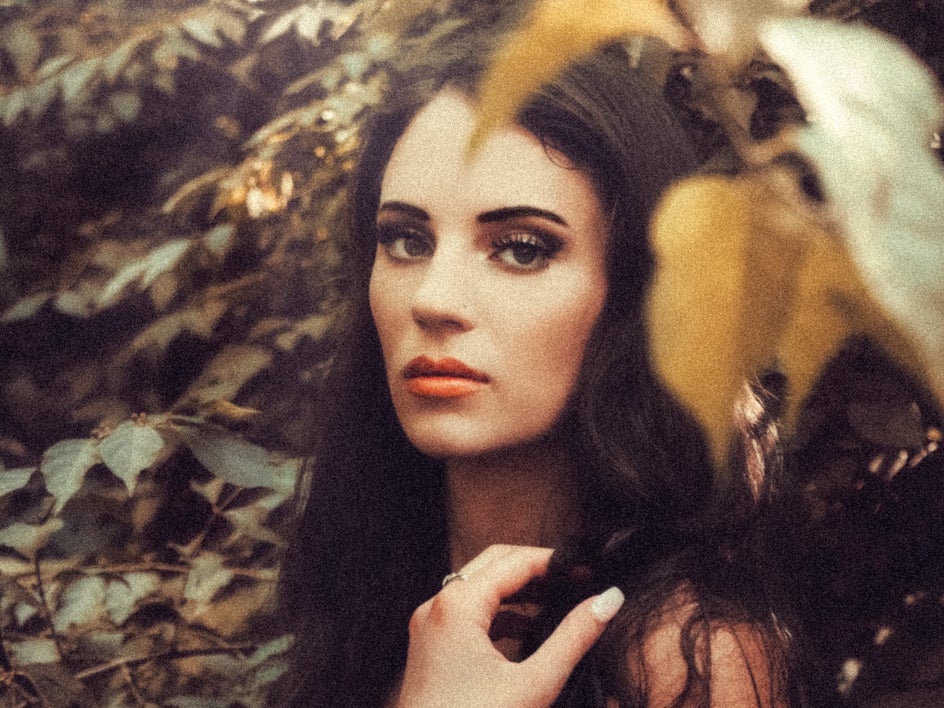
Wondering how to create a 70's effect on photos? This decade was all about photos featuring reduced contrast, warm sepia tones, film grain, and just a touch of soft focus. You can easily achieve this 70s aesthetic in the Photo Editor with many of the warmer Chromatic photo effects. In the example below, we’ve used a combination of Chromatic 1 and Chromatic 3. Then, add a Film Grain effect to make it even more authentic to this era!
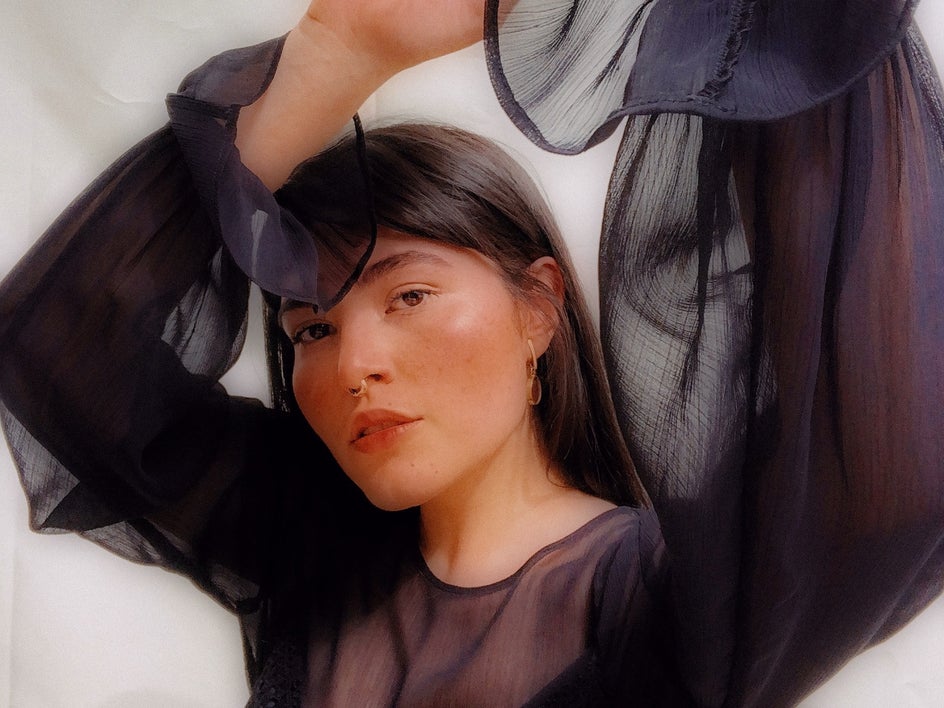
1980s
Looking for an 80s photo filter instead? This decade was all about studio glamor portraits featuring soft lighting and a dreamy haze. BeFunky’s Orton Style photo effect is perfect for recreating this look. If you’re after that signature 80s pop of color, you can also increase the saturation of your photo, as we’ve done in this example. You can also use the Smoothing or Soften tools in the Edit menu to add a softer focus.
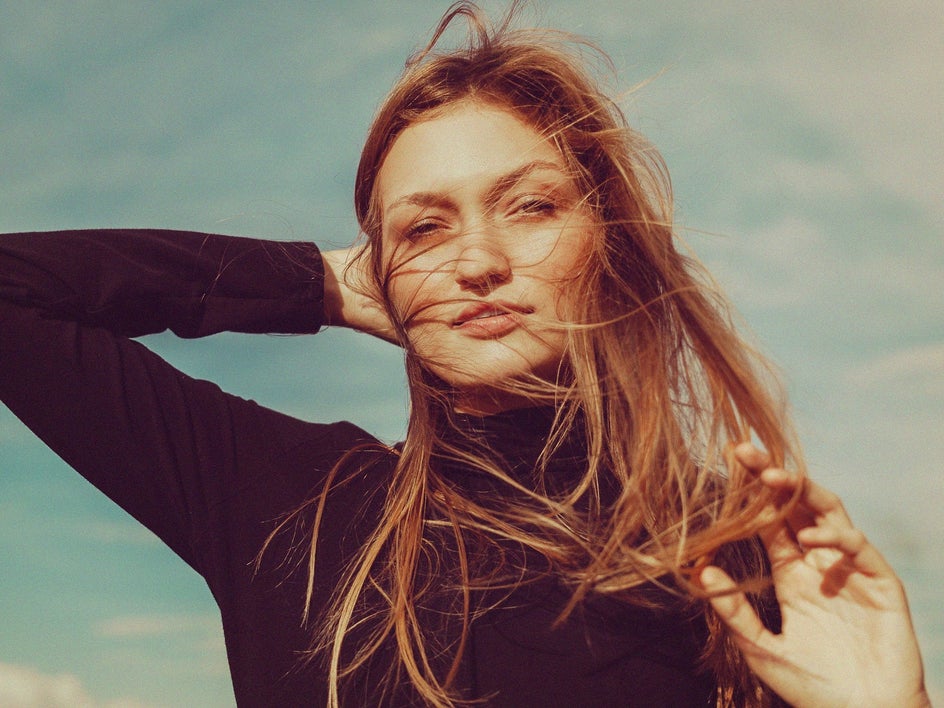
1990s
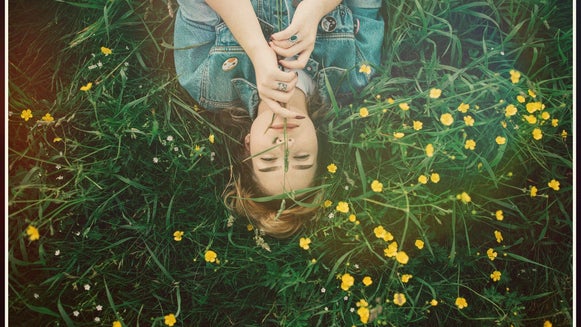
Want to know how you add 90s effects to pictures? Images from this decade were sun-drenched and subtly tinted, much like the instant photography produced by a Polaroid or Lomo camera.
For free 90s photo filters online, look no further than the Photo Editor’s collection of Instant photo effects. You can then achieve a sun-drenched look by adding one of our Light Leaks textures. Too easy!
BeFunky Is Your All-in-One Old Photo Effect App
Thanks to BeFunky’s wide range of photo editing effects and features, adding vintage effects to photos has never been easier – or more fun!
Ready to make your portrait look vintage? Head to the Photo Editor to start now!