How to Add a Watermark to Your Photos

Have you ever seen someone share a photo online and wondered where it originated from? With so many photos floating around social media, it can become difficult to find the source. Not only that, but without watermarks, people are able to take credit for work that they didn’t produce!
Why Watermarks Are Important
Think of a watermark as an image’s signature. Just like how you sign your name at the end of a document, a watermark serves the same function after you’ve finished a project. Not only do watermarks protect it from being improperly credited – or more alarmingly, stolen – but they also offer a unique way to strengthen your branding.

Although common, a watermark doesn’t have to be a signature. It can be a logomark or icon, a website URL, or a copyright symbol followed by your business name. We recommend that you use a design with a transparent background. A watermark is meant to blend seamlessly into your image, so as not to distract. For this reason, it is helpful to have both a light and dark version. If you need help creating a watermark, here’s a helpful tutorial. But if you have a logo, signature, or icon already made that you want to use as a watermark, just follow the tutorial below!
How to Add a Watermark to Your Photo
Once you have your logo, icon, or signature-ready, you can start customizing by using the Watermark tool. You can utilize this in the Photo Editor, Collage Maker, or Graphic Designer.
Step 1: Open and Save Your Photo
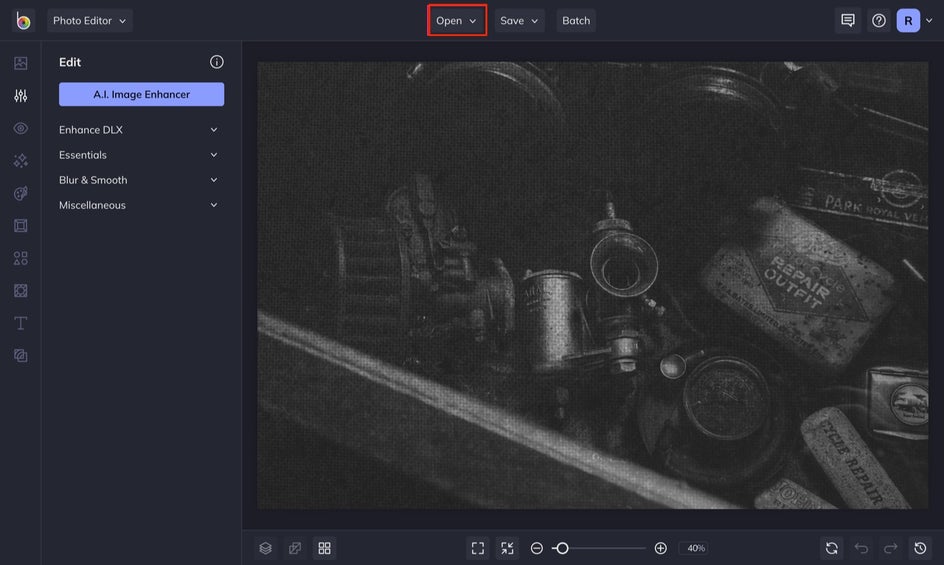
For this tutorial, we're going to head to the Photo Editor. To upload your photo, click on the Open tab, or simply drag-and-drop an image directly onto the interface.
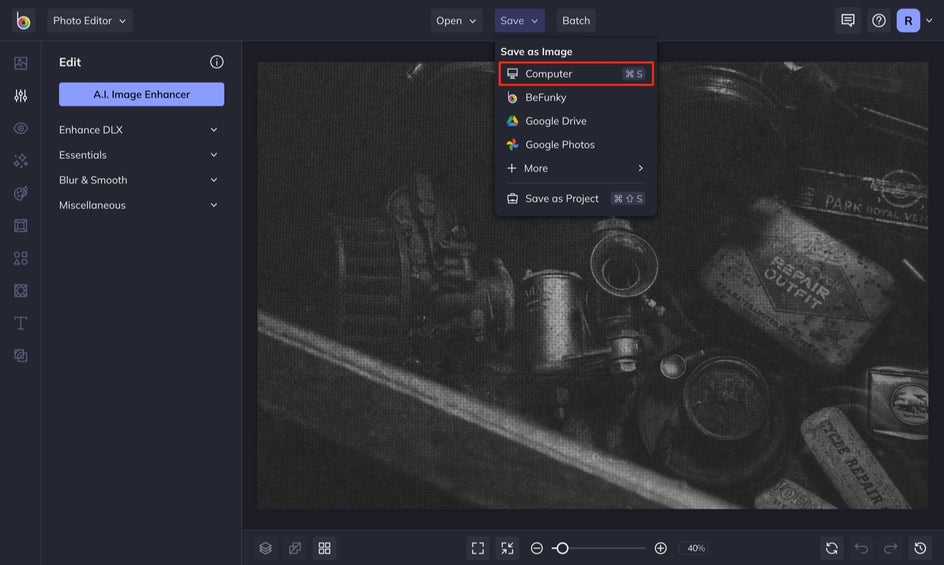
Adding a watermark will be the final step in your workflow. After you are finished editing your photo, click the Save button, followed by Computer or BeFunky.
Step 2: Create Your Watermark Template
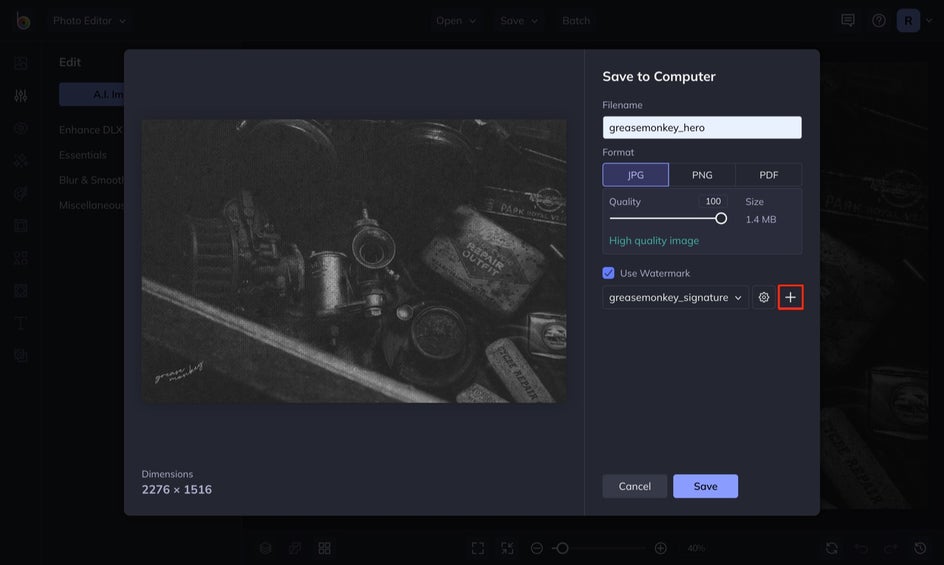
Once you've made your selection, you'll notice an option titled Use Watermark. Select the box and click the + button.
Next, you will be prompted to upload your watermark file. As mentioned, this can be your logo, icon, or signature. It is best to upload a PNG file with a transparent background - this way, your watermark will blend seamlessly into your photo without disrupting your work of art. If you don’t yet have a watermark to upload, here’s an easy tutorial on how to create your own!
In the Watermark Template Editor menu that appears, select the Upload Watermark button to upload your watermark. Then, give it is a descriptive name.
Step 3: Customize and Save
After uploading your watermark, it will automatically be placed on your photo as a preview. This is your chance to customize the size, padding, opacity, and placement.
First, the Placement menu allows you to choose where you’d like your watermark placed on the image.

The following sliders allow you to adjust the size, padding, and opacity. We suggest making your watermark semi-transparent so that it blends seamlessly into your photo.
Once you're done, click the Save Template button to keep it for further use!
Start Adding Watermarks to Your Images!
In our digital world, adding watermarks to your images is both the professional and safe thing to do.
With it being this easy to add watermarks via BeFunky’s Watermark Tool, anyone can easily add a watermark to their new and improved workflow.