4 Amazing Effects to Winterize Your Photos

There’s a lot to like about winter photos – whether it’s the sprinkling of snow, foreboding mist, or moody tones. For many though, replicating a wintery photo can be quite difficult. Not everyone is blessed with dreamy snowscapes during the colder months, and even if they are, it’s a fleeting time of year.
How to Winterize Your Photos
Luckily, turning your photography into a winter wonderland is easy, thanks to BeFunky’s range of winter photo effects! With just a few clicks, you too can recreate all that you love about winter, any time of the year. Keep reading because we’ll show you 4 methods for winterizing your photos in the Photo Editor!
Method 1: Add Snow
Nothing says winter quite like snow. Our snow filter lets you add falling snow to your photos, or enhance an already snowy scene. Simply click on this link to head to the Photo Editor.
Step 1: Navigate to Winter Effects
To locate the Winter Effects, navigate to Effects in the main menu on the left. Then, scroll down to click on Winter.

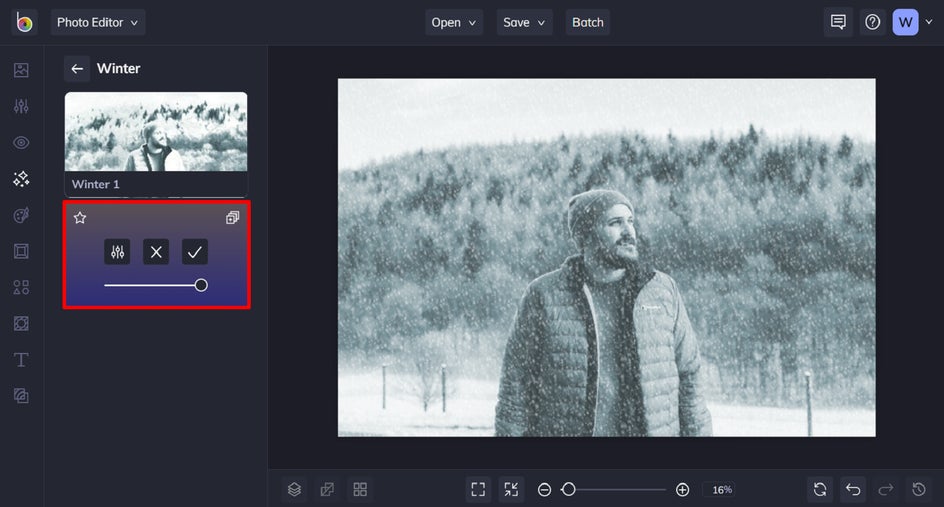
Step 2: Click Winter 2
Within the Winter effects category, click Winter 2. You’ll notice when you click on an effect, three options are available: Settings, which allows you to alter the effect further; Cancel, which cancels the selected effect; and Apply, which applies the effect as-is. You can also adjust the strength of the effect using the slider.
To adjust your Winter 2 effect, click the Settings icon.
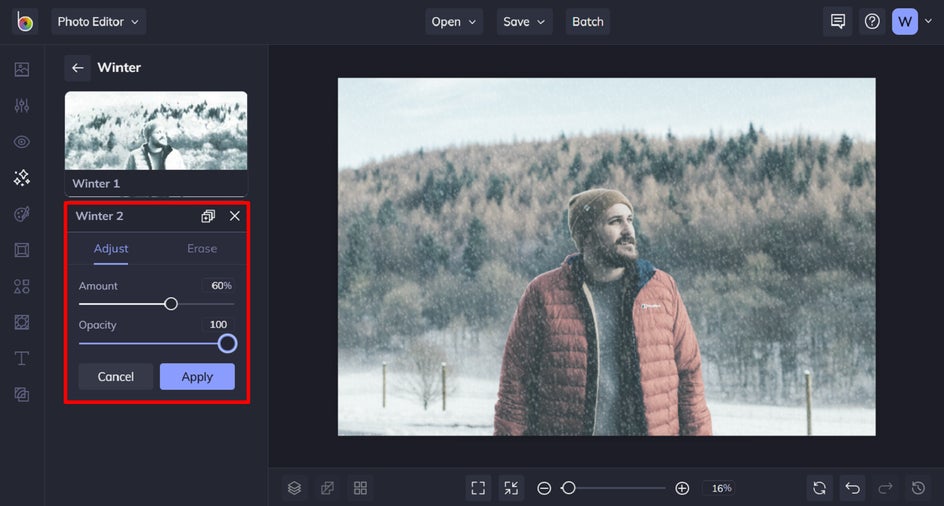
Step 3: Adjust the Winter 2 Effect
Within this menu, you can further customize elements of the snow effect, including Amount and Opacity. Use the sliders located underneath each to increase or decrease the desired effect.
Once you’re happy with your changes, click Apply.
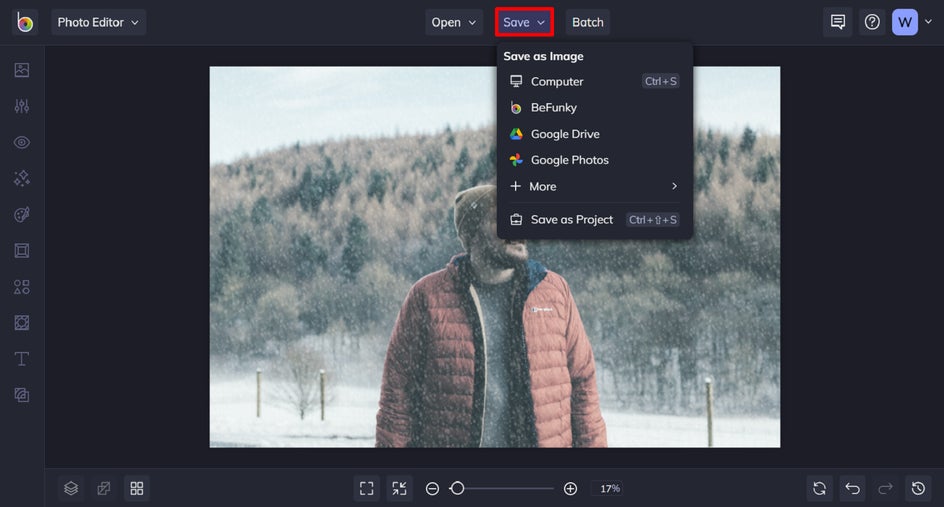
Step 4: Save Your Photo
Click Save at the top of the screen, followed by your desired save location.
Final Results
Now that you know how to add snow to a photo, your winter photo editing just reached new heights!

Method 2: Turn Down the Temperature
Have you noticed wintery photos aren’t as vibrant or warm-toned as those taken in other seasons? When it comes to winter photography, it’s all about frosty hues. Embrace this look in the Photo Editor using a photo of your own!
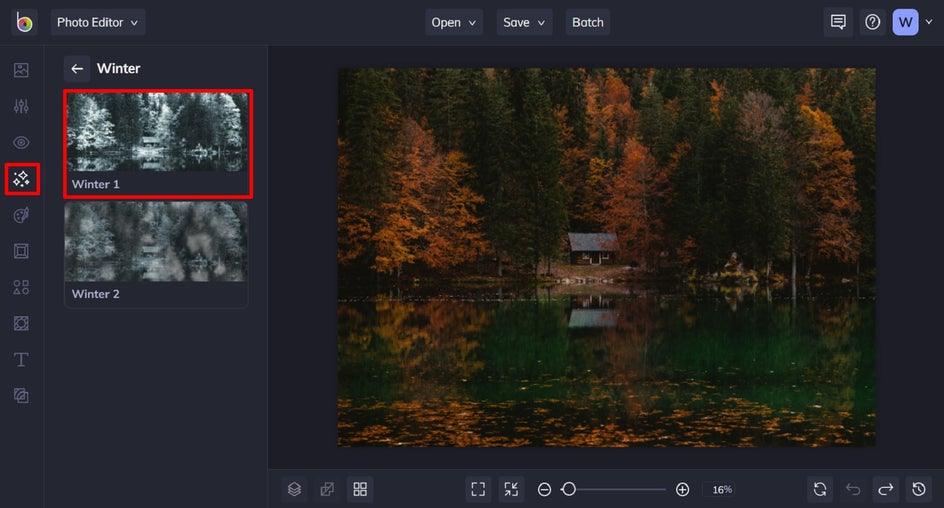
Step 1: Navigate to Winter Effects
Just like the last section, this tutorial uses an effect from the Winter category. Navigate to Effects > Winter, and then click on Winter 1.
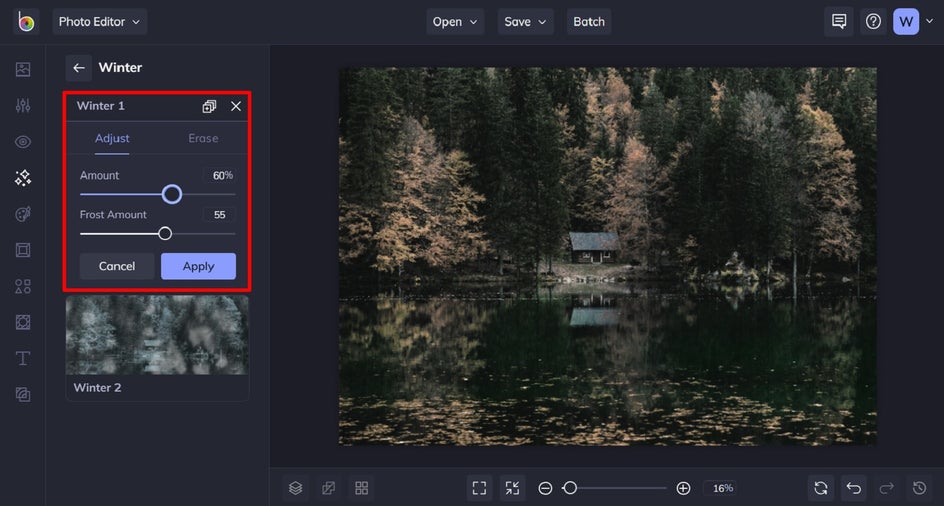
Step 2: Adjust the Winter 1 Effect
Click on the Settings icon if you wish to further customize the amount and opacity of the effect to achieve a specific look. Use the sliders located underneath each to increase or decrease the desired effect. Once you’re happy with your changes, click Apply.
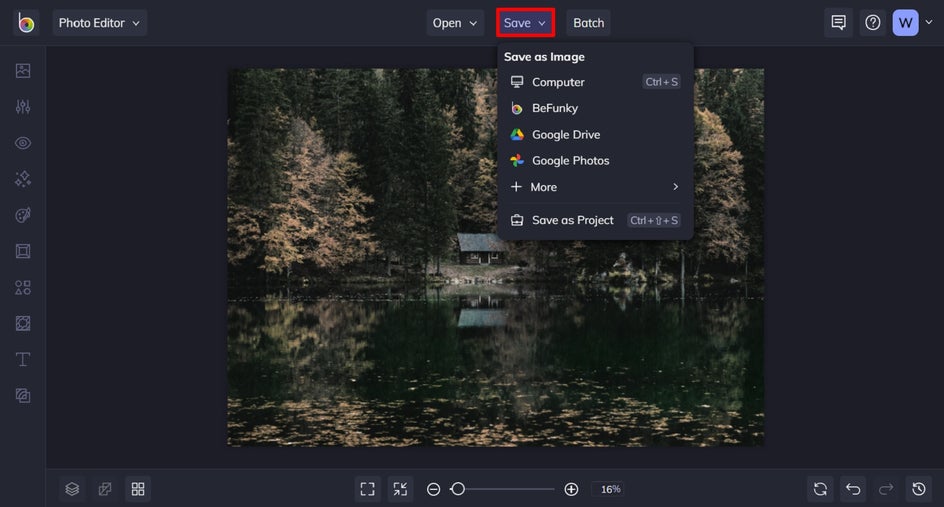
Step 3: Save Your Photo
Click Save at the top of the screen, followed by your desired save location.
Final Results
As you can see, turning down your photo’s temperature is a great way to capture those gloomy winter tones!
Method 3: Add Cooler Colors
Winter photography typically features cooler colors, including blue and gray, as this reflects the frosty, overcast weather that winter is known for. BeFunky’s Cooler effects are perfect for recreating this look!
Head to the Photo Editor and open a photo of your choice to begin.
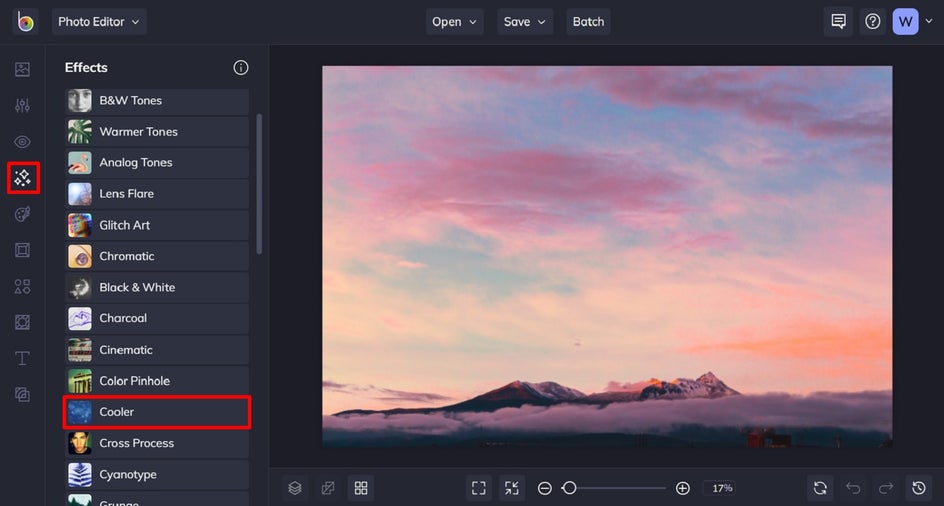
Step 1: Navigate to the Cooler Effects
Click Effects in the main menu on the left. Then, click on Cooler to access the Cooler photo effects.
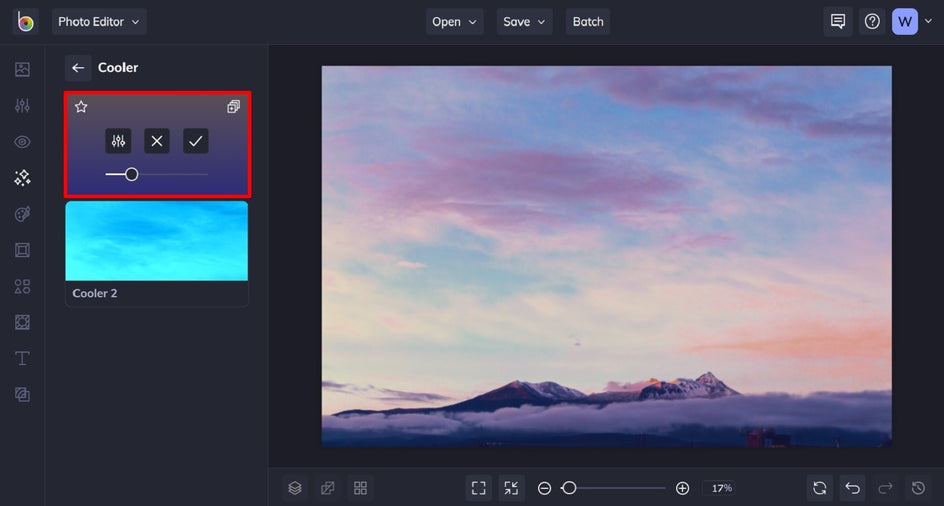
Step 2: Apply a Cooler Effect
Click on each Cooler Effect to sample how they look with your image. You can also use the slider to increase or decrease the effect. Just as in the previous two tutorials, you can click on the Settings button to alter the effect further, as well as Cancel or Apply.
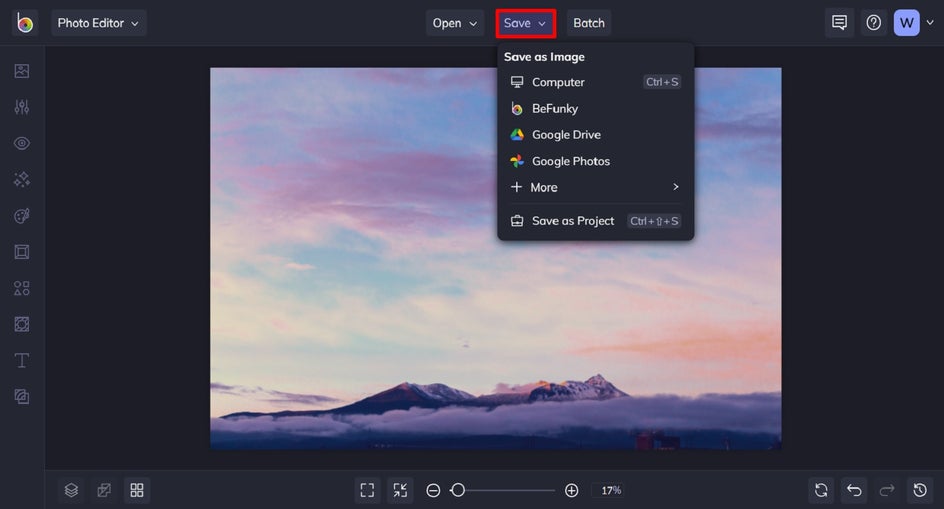
Step 3: Save Your Photo
To save your new cool-toned photo, click Save at the top of the screen, followed by your desired save location.
Final Results
Adding cooler tones to your photo is the perfect way to make those dreary colors pop!

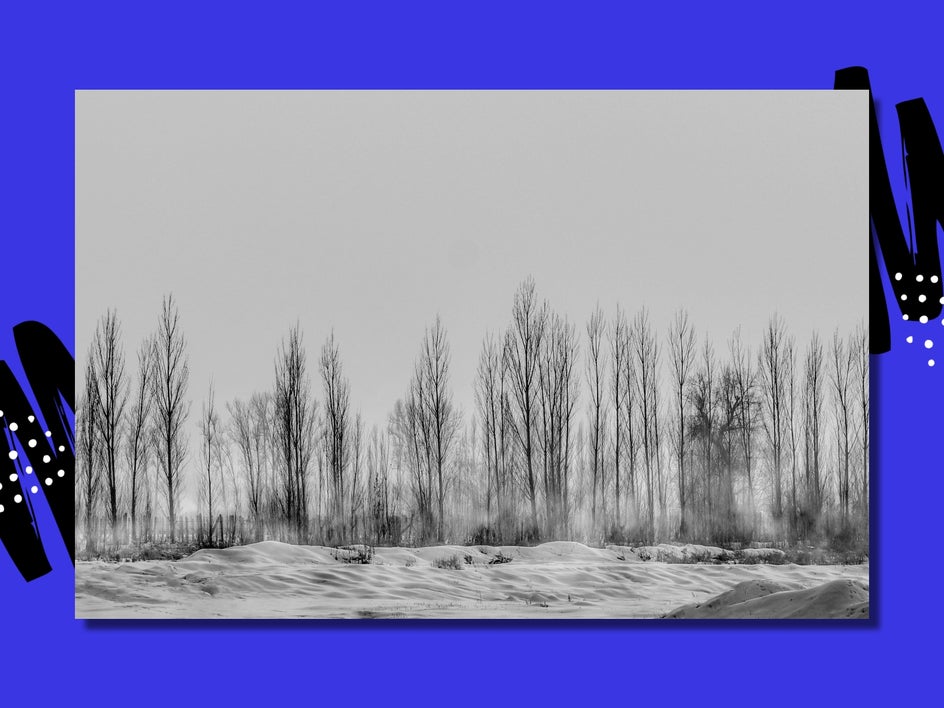
Method 4: Add a Black and White Filter
Winter weather is typically gloomy by nature, so adding a Black and White effect can add drama and make the scene look more compelling. To do this, head to the Photo Editor and open the photo you wish to edit.
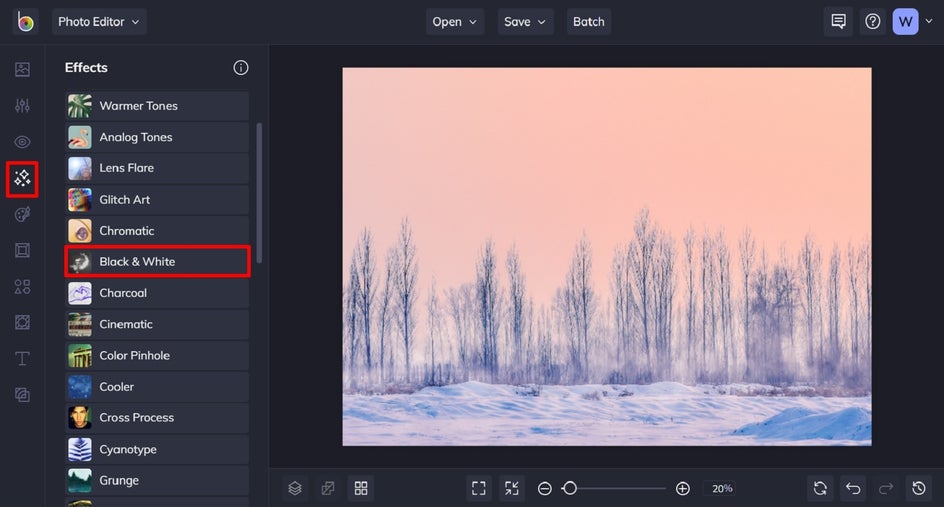
Step 1: Navigate to the Black & White Effects
You’ll find these by clicking on Effects in the main menu on the left, followed by Black and White.
Step 2: Apply Black & White Effect
There are numerous Black and White effects to choose from, each using a different calibration of exposure and highlighting so you can really get the look you want. Simply use the slider to increase or decrease the nominated effect.
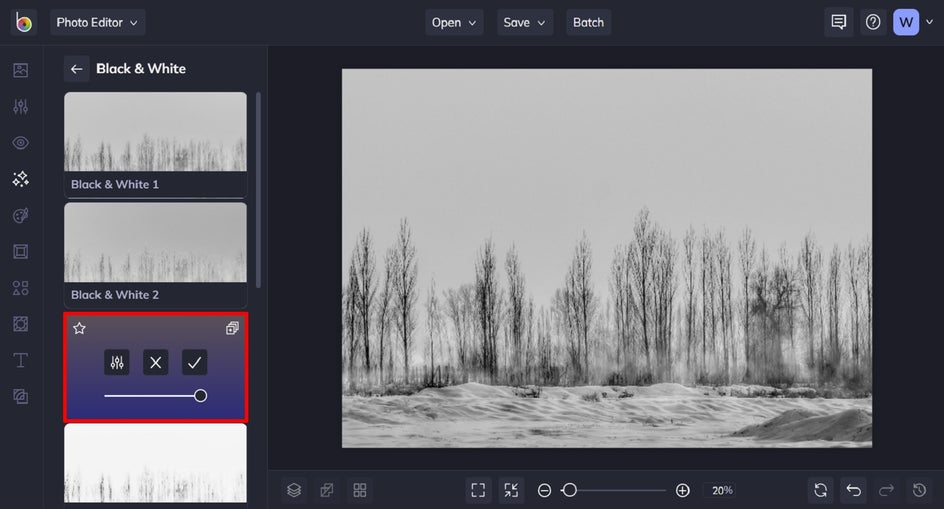
Step 3: Make Adjustments, If Necessary
If you love how the effect looks as it is, simply click Apply.
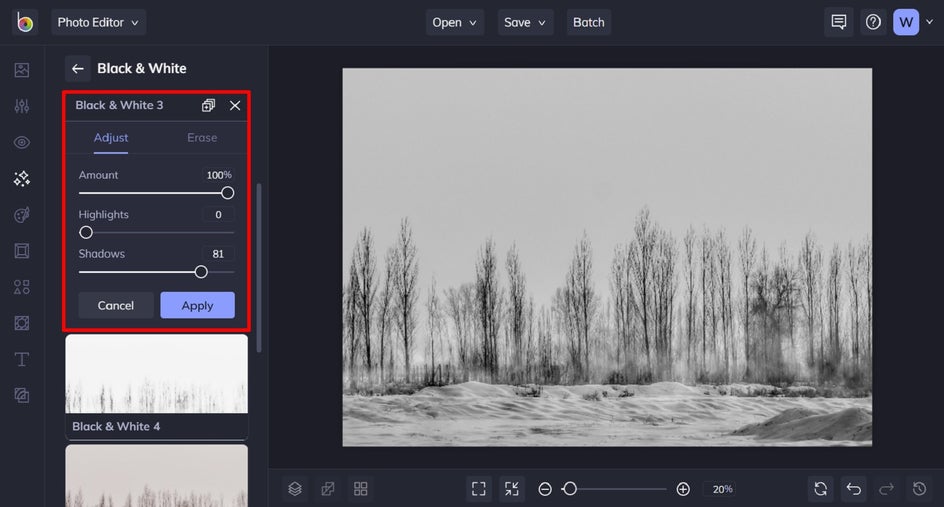
If you’d like to alter the effect further, click on the Settings button. This allows you to alter additional elements such as the highlights and shadows.
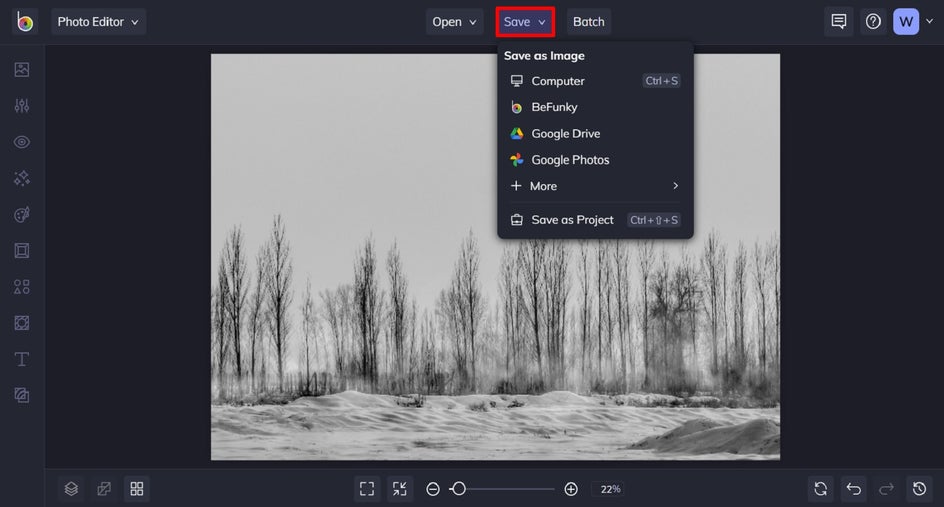
Step 4: Save Your Photo
To save your new black and white photo, click Save at the top of the screen, followed by your desired save location.
Final Results
As you can see, embracing a black and white color palette can also turn your photo into a wintery work of art!
Layering Winter Filters and Effects
One of the great things about BeFunky is there’s no limit to how many Photo Effects you can add to your image, so you can layer as many effects as you need to achieve your desired look.
If you want to add effects to only a portion of your photo, you can click the Settings button of the selected effect and choose Paint to apply your effect to parts of your photo, rather than the whole thing.
The sky's the limit, so don’t be afraid to experiment and get creative!
Winterize Your Photos the Easy Way
Thanks to BeFunky’s wide range of winter filters and effects, you can create stunning winter photos in just seconds. If you’ve ever wanted to add snow to photos or perfect your winter photo editing, our Photo Editor has the answers.
Winterize your own photo today to see what all of the fuss is about!