Your Guide to Creating a YouTube Banner
Video content has become increasingly important in our ever-changing media culture. It makes sense that this kind of content is on the uptick, because videos are one of the most interpersonal ways we can connect to people and brands around the world.
Whether you’ve already started a YouTube channel or you’re planning to, our YouTube Channel Art Maker got super helpful tools and templates, along with guides so you can see how your image will appear across different displays.
How to Create a YouTube Banner
This tutorial will walk you through how to create YouTube channel art for your profile, which can be used on desktop, mobile, and TV. Let's start creating!
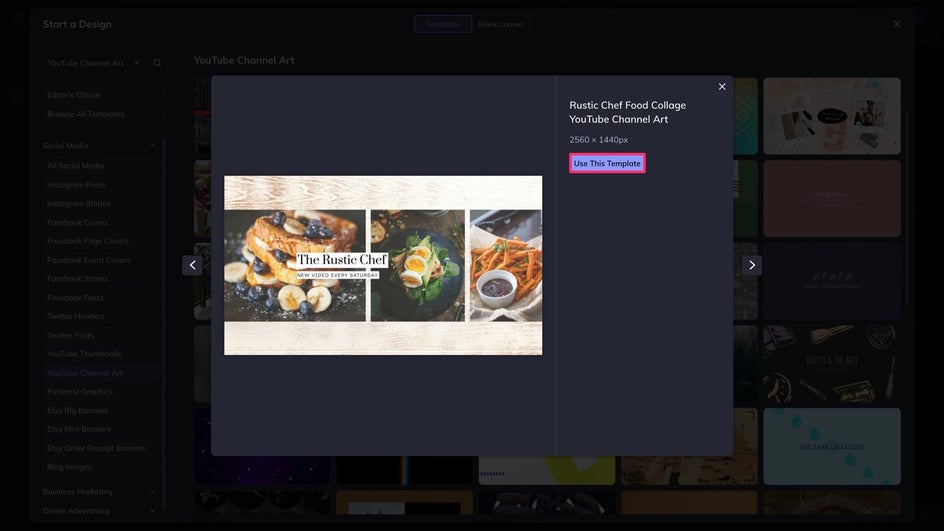
Step 1: Choose a Template
To get started, click on this link to find the YouTube Channel Art Maker and choose your favorite template by clicking Use This Template.
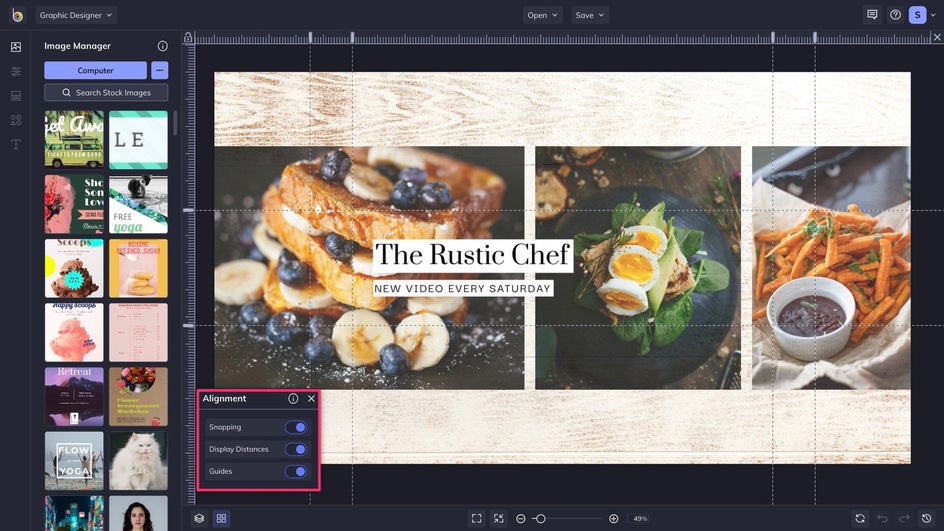
Once you've got your template ready to go, you have the option to add guides by using the Alignment sliders, found in the bottom left of the canvas. Guides show you where your design will be cut off for mobile, desktop, and TV.
Step 2: Change the Background
Let's change the background image. Click on the Image Manager tab to upload a photo, or click the Search Stock Images button to find a free stock image to use in your design. Either way, your images will appear as thumbnails that you can drag and drop.
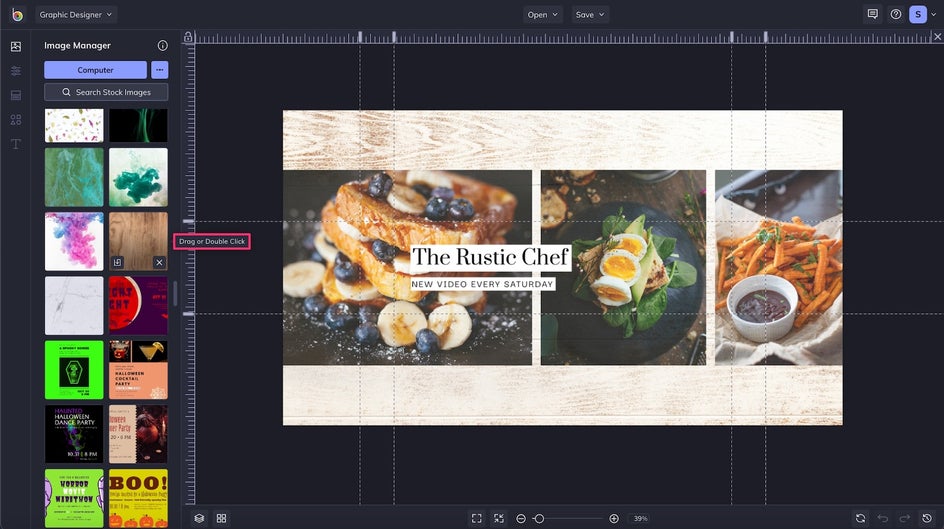
Step 3: Replace the Images
Now it's time to add your own images. Head to the Image Manager and follow the same steps as you did with the background. If your images don't fit the preset just how you'd like, you can double click to adjust them.
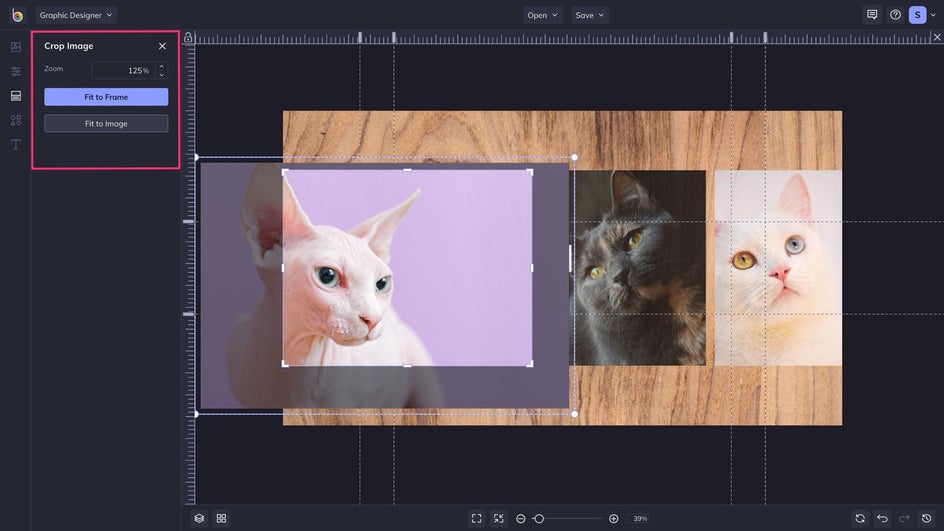
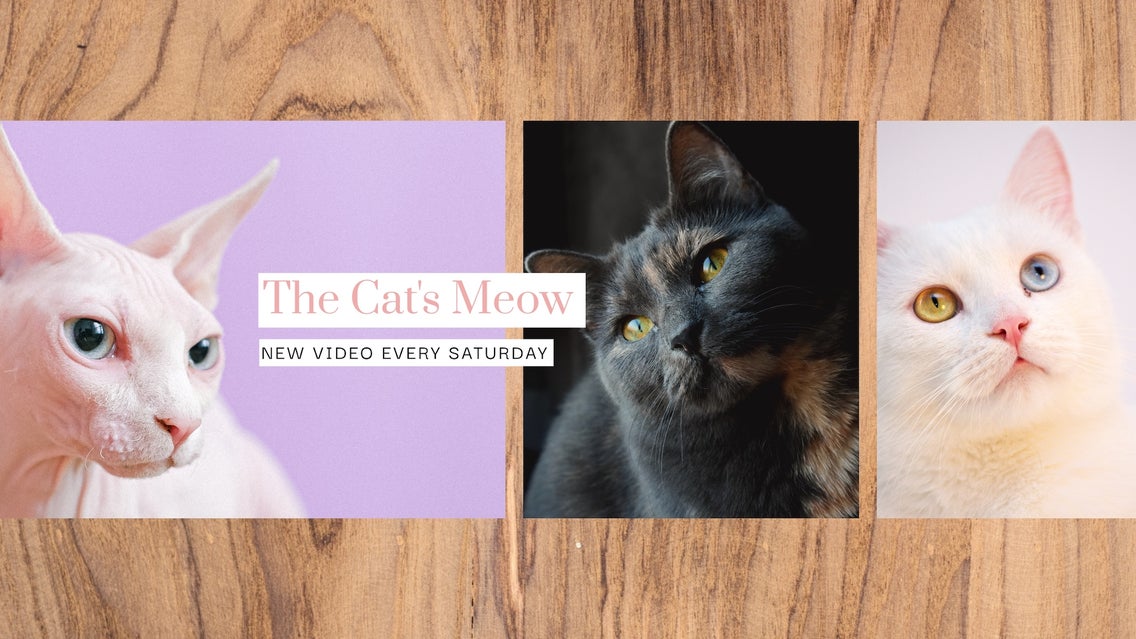
This template had a low opacity, so we decided to increase the slider a bit to clarify our kitties. You can do this by selecting your image and clicking on Options under the Image Properties menu.

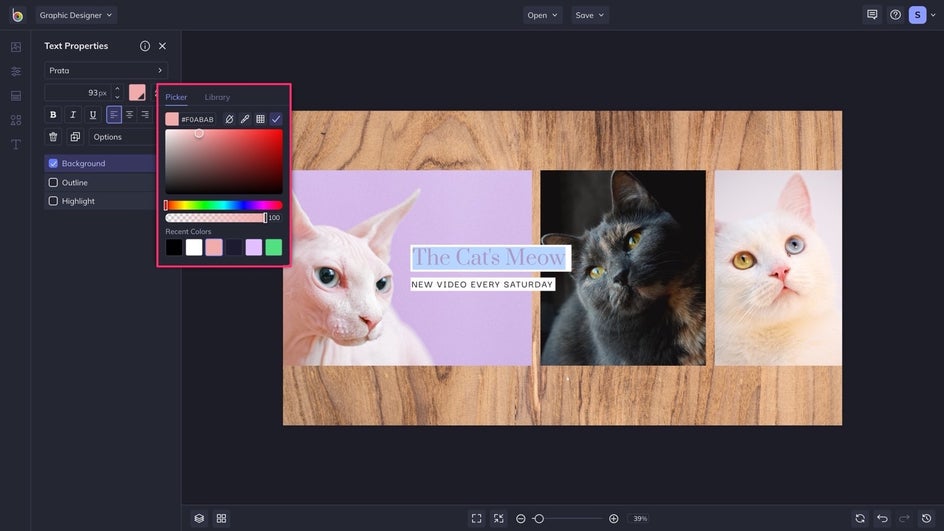
Step 4: Change the Text Properties
Next, let's change the text properties. Simply double-click the pre-existing text boxes to start typing your own text. Then, you can use the Text Properties menu to change the text color, add a background, and more. Here, we used the Color Picker to change the text color. We already saved some of our favorite colors to our Library, so it was super easy!
Step 5: Save as a Project
When you’re finished with your design, click the Save button at the top of the Designer and be sure to save it to your computer and As a Project, so you can come back and edit it at a later date.
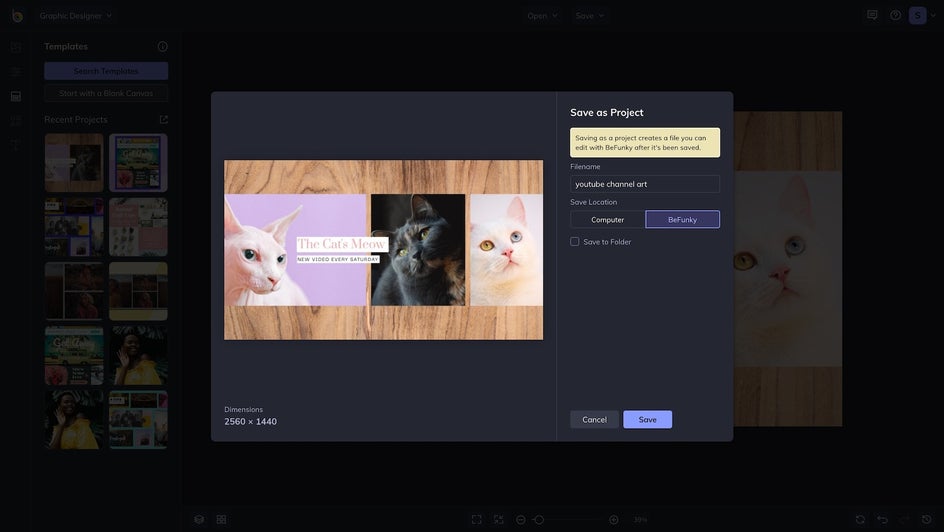
Saving your channel art as a project is ideal – because even with guides, there are always little, aesthetic changes you may want to make later. In this case, we are very happy with the final result, but who knows what direction our fake channel will go in the future.

Refine Your YouTube Channel
With BeFunky's YouTube Channel Art Maker, you can refine your channel to fit whatever aesthetic works for your personal brand. Along with our YouTube Thumbnail Maker, your channel will definitely look polished and in sync.